20190304_TM_6.jpg

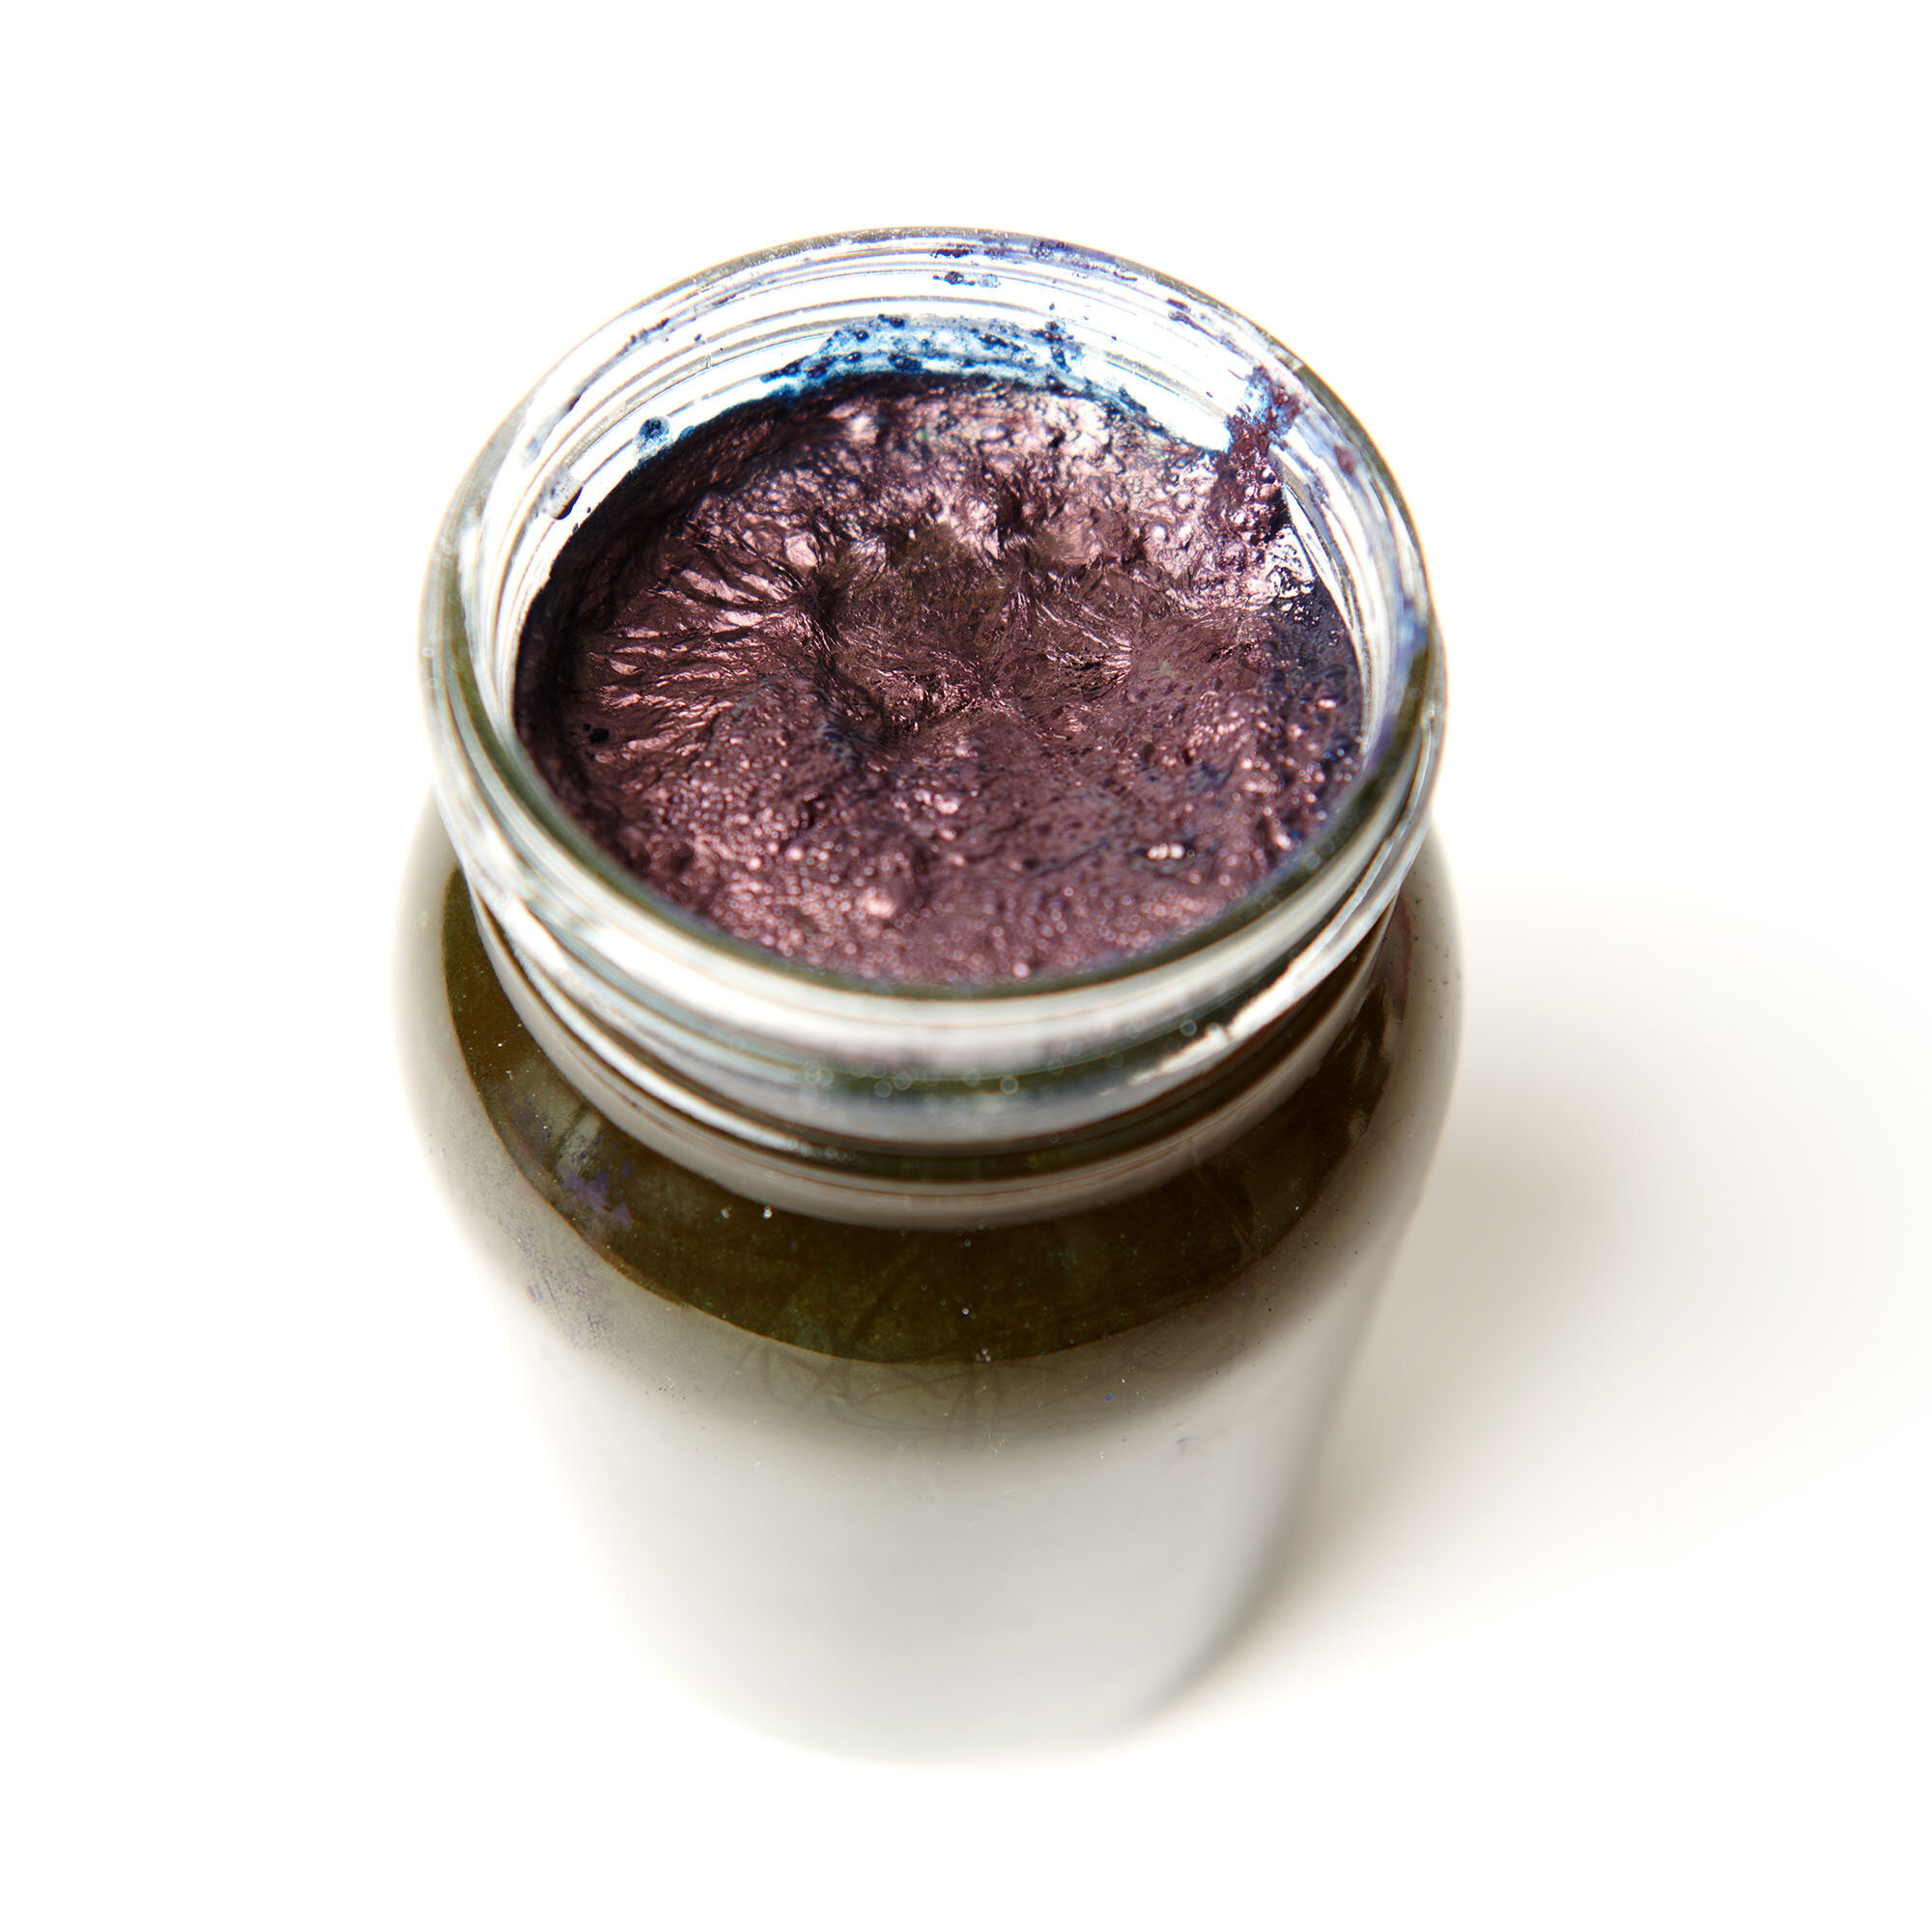
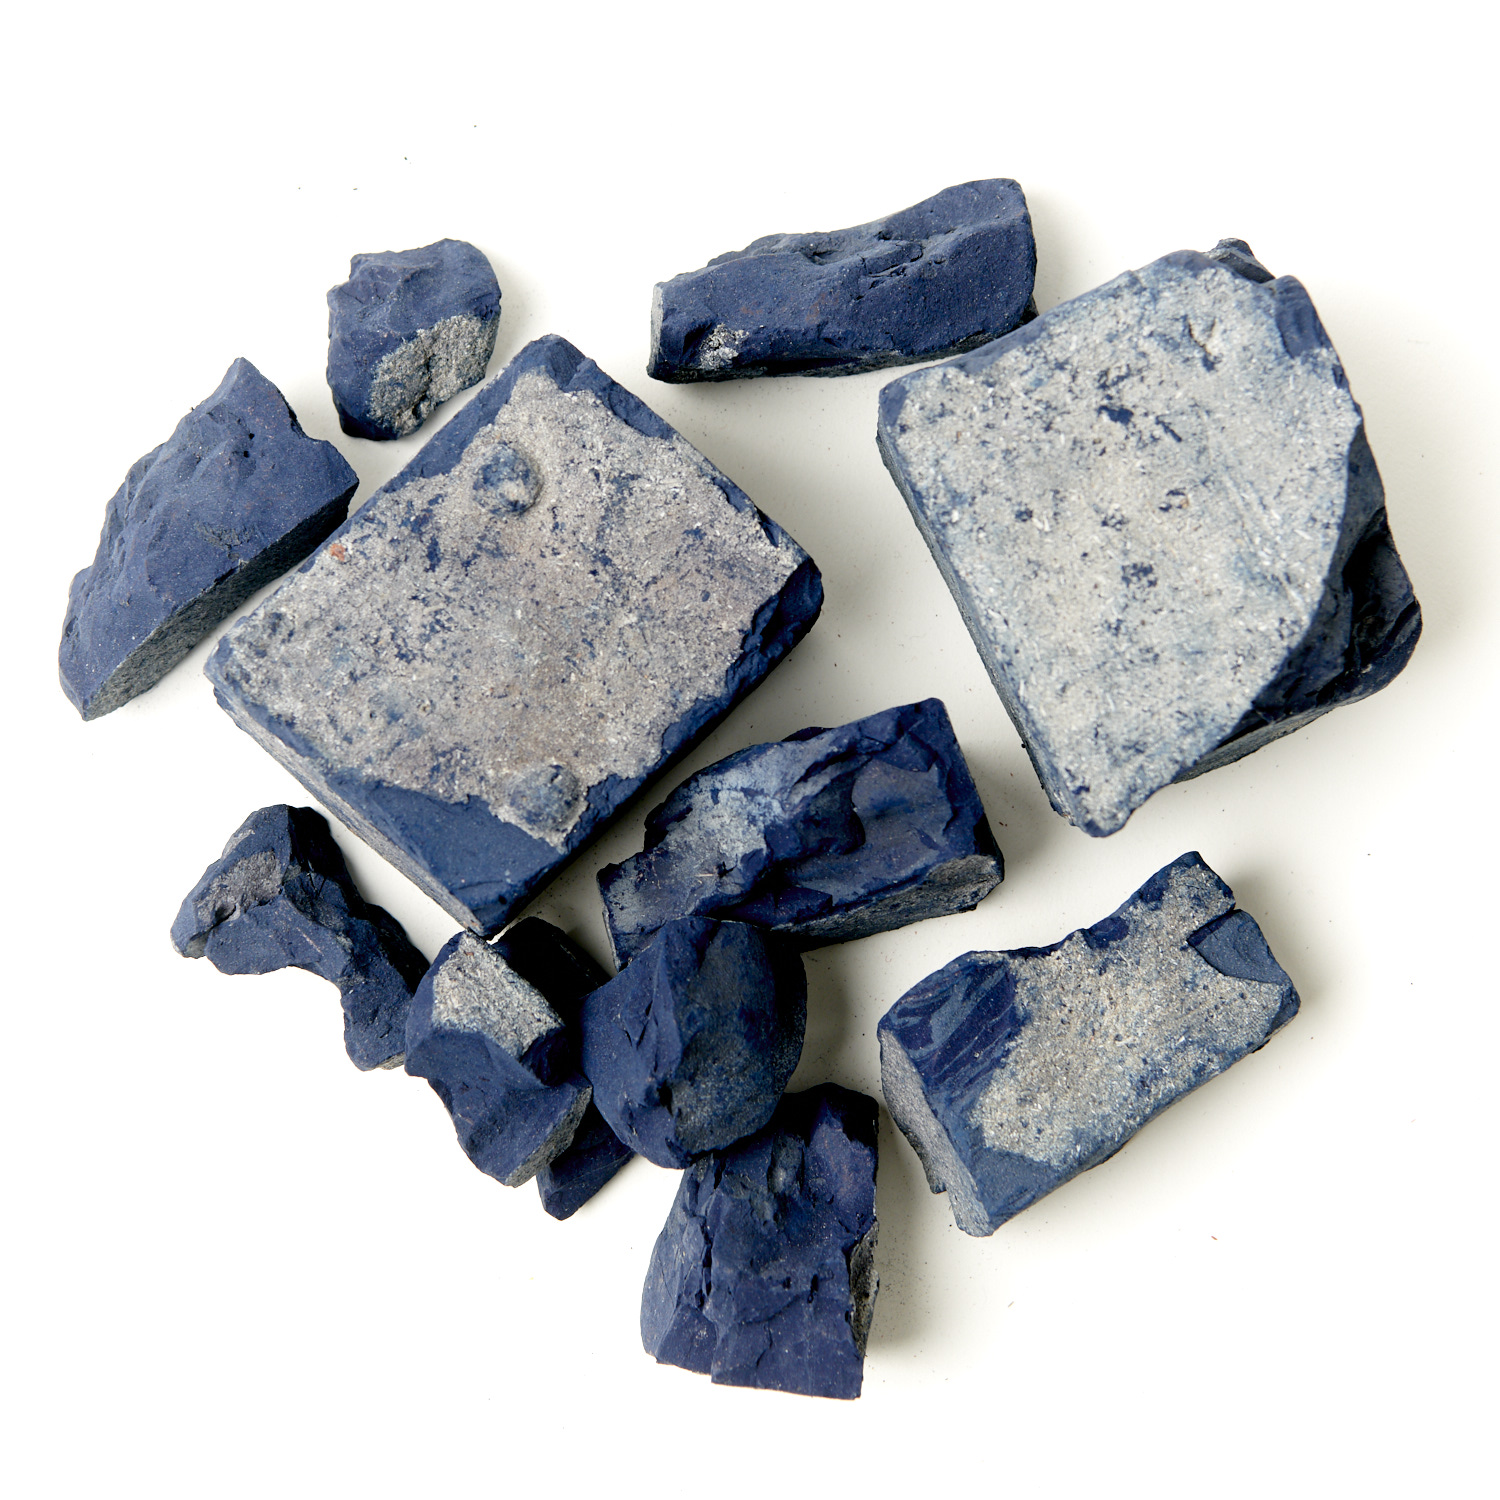
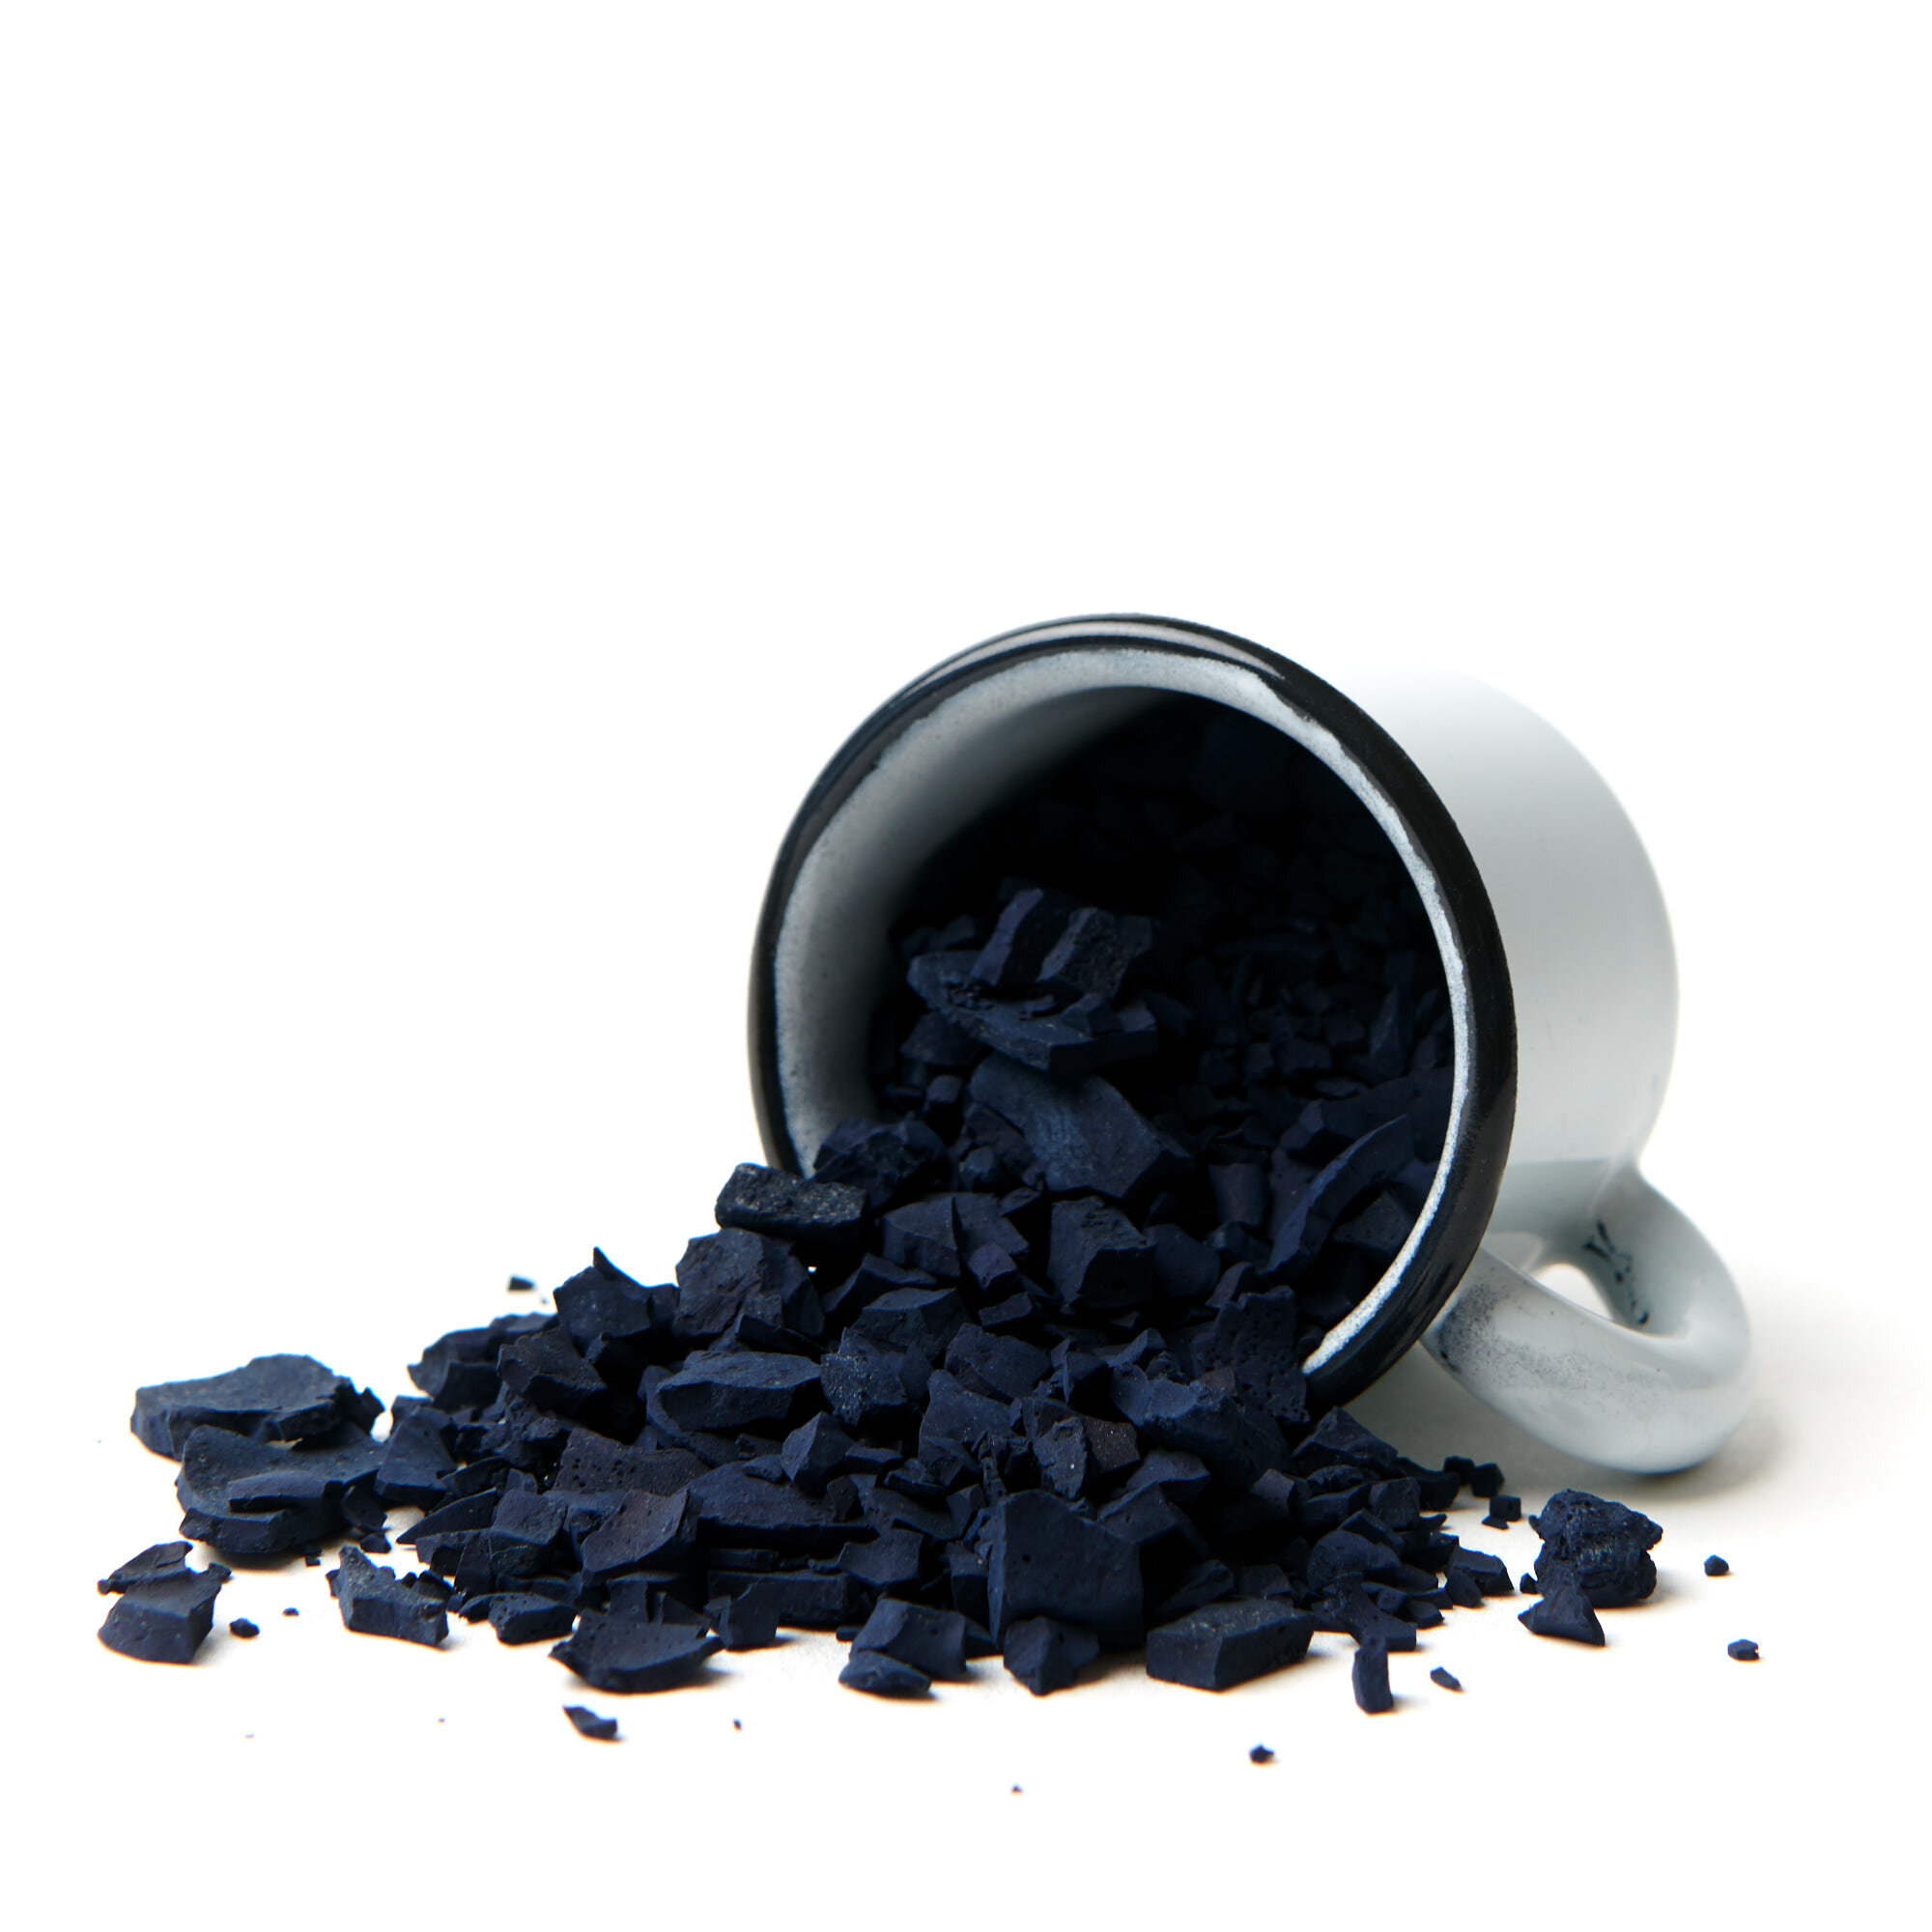
Natural indigo is obtained from a variety of plants, the most widely used one being indigofera tinctoria. This shrub grows wild and is cultivated in tropical areas throughout the world. Indigo powder - the famous blue dye - is extracted from the leaves of the indigo plant. The extract may be purchased as lumps or chips (both of which require grinding before use) or as a fine powder.

Indigo is also available in leaf form - the leaves are harvested, dried and ground into a powder. This form is used as a hair dye and for direct application. We don’t recommend the dried leaf for making these indigo vats.

Indigotin was first synthesized in 1880. Today, synthetic indigo is manufactured from raw materials obtained from the petrochemical industry. It is used on a large scale in the commercial production of blue jeans. Unlike synthetic indigo, natural indigo is extracted from indigo plants. Maiwa gets it’s natural indigo from indigo farms in South India.

Download these instructions as a PDF


Our Relationship With Indigo

20190405_TM 0064.jpg

Decades ago, Maiwa began looking for blue. The word “indigo” was everywhere, but the legendary dyeplant proved much more elusive. It had been a little over one hundred years since the German chemist Adolph von Baeyer had discovered the chemical formula for indigo and worked out a way to synthesize it industrially. During that time farmers who grew indigo and those who knew how to extract it became increasingly rare.

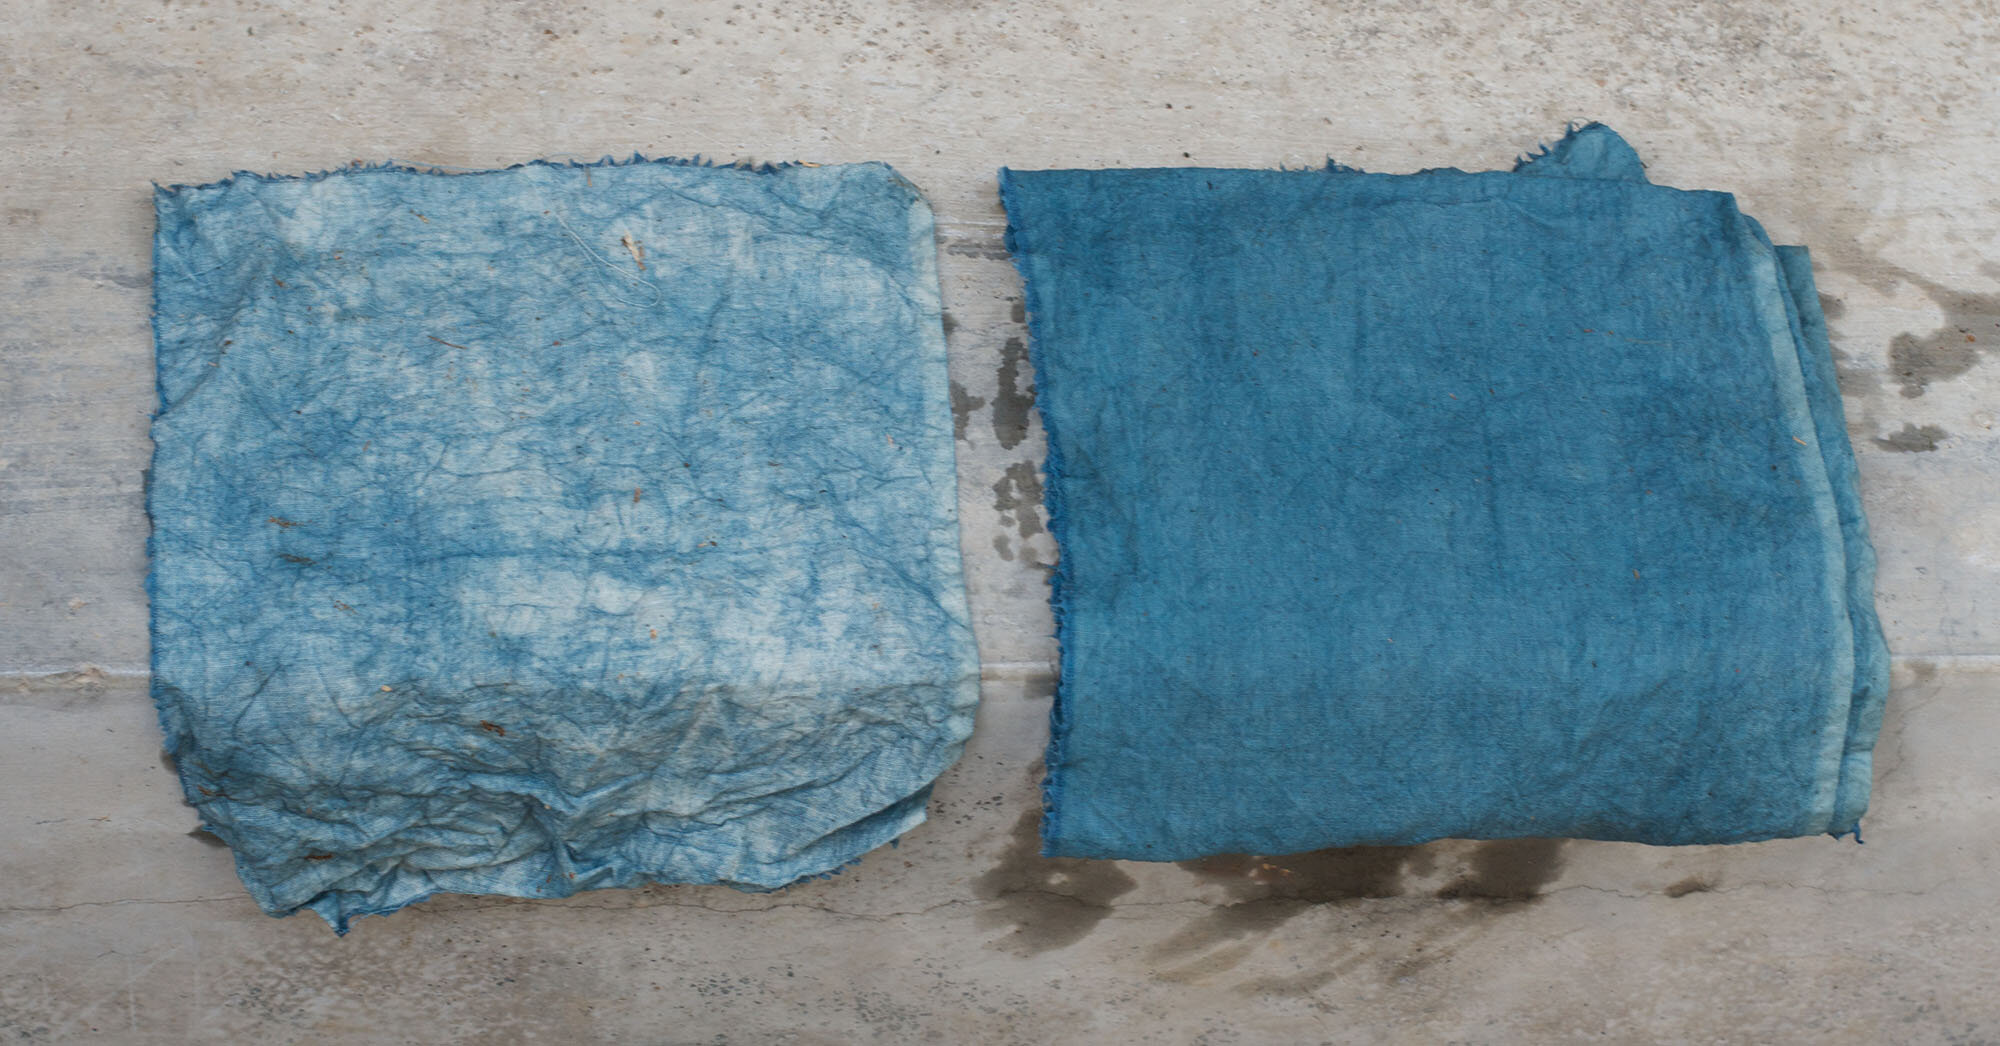
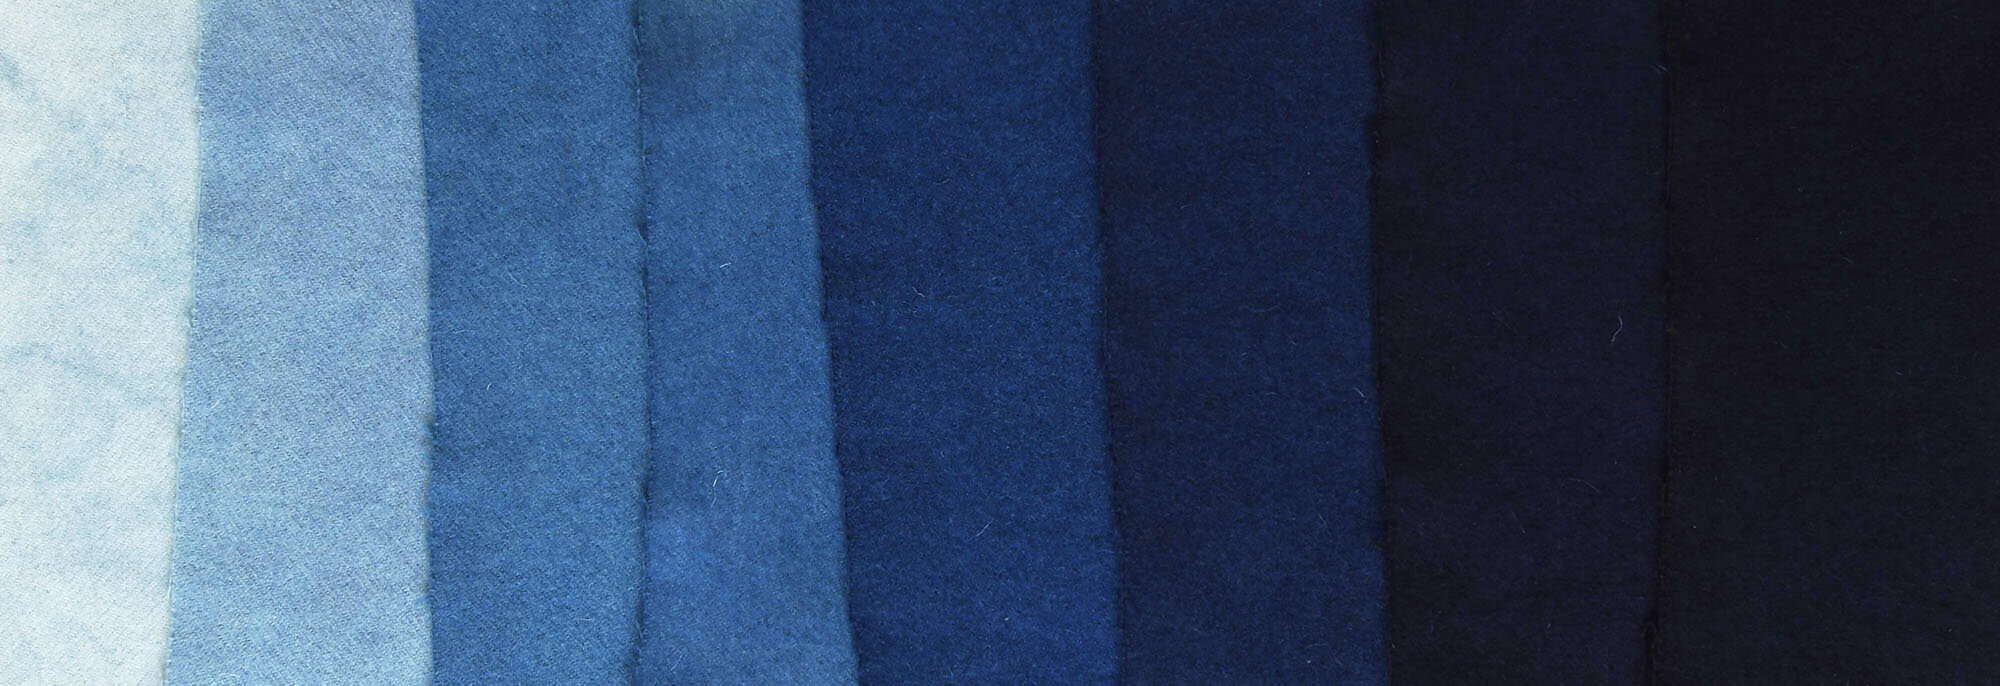
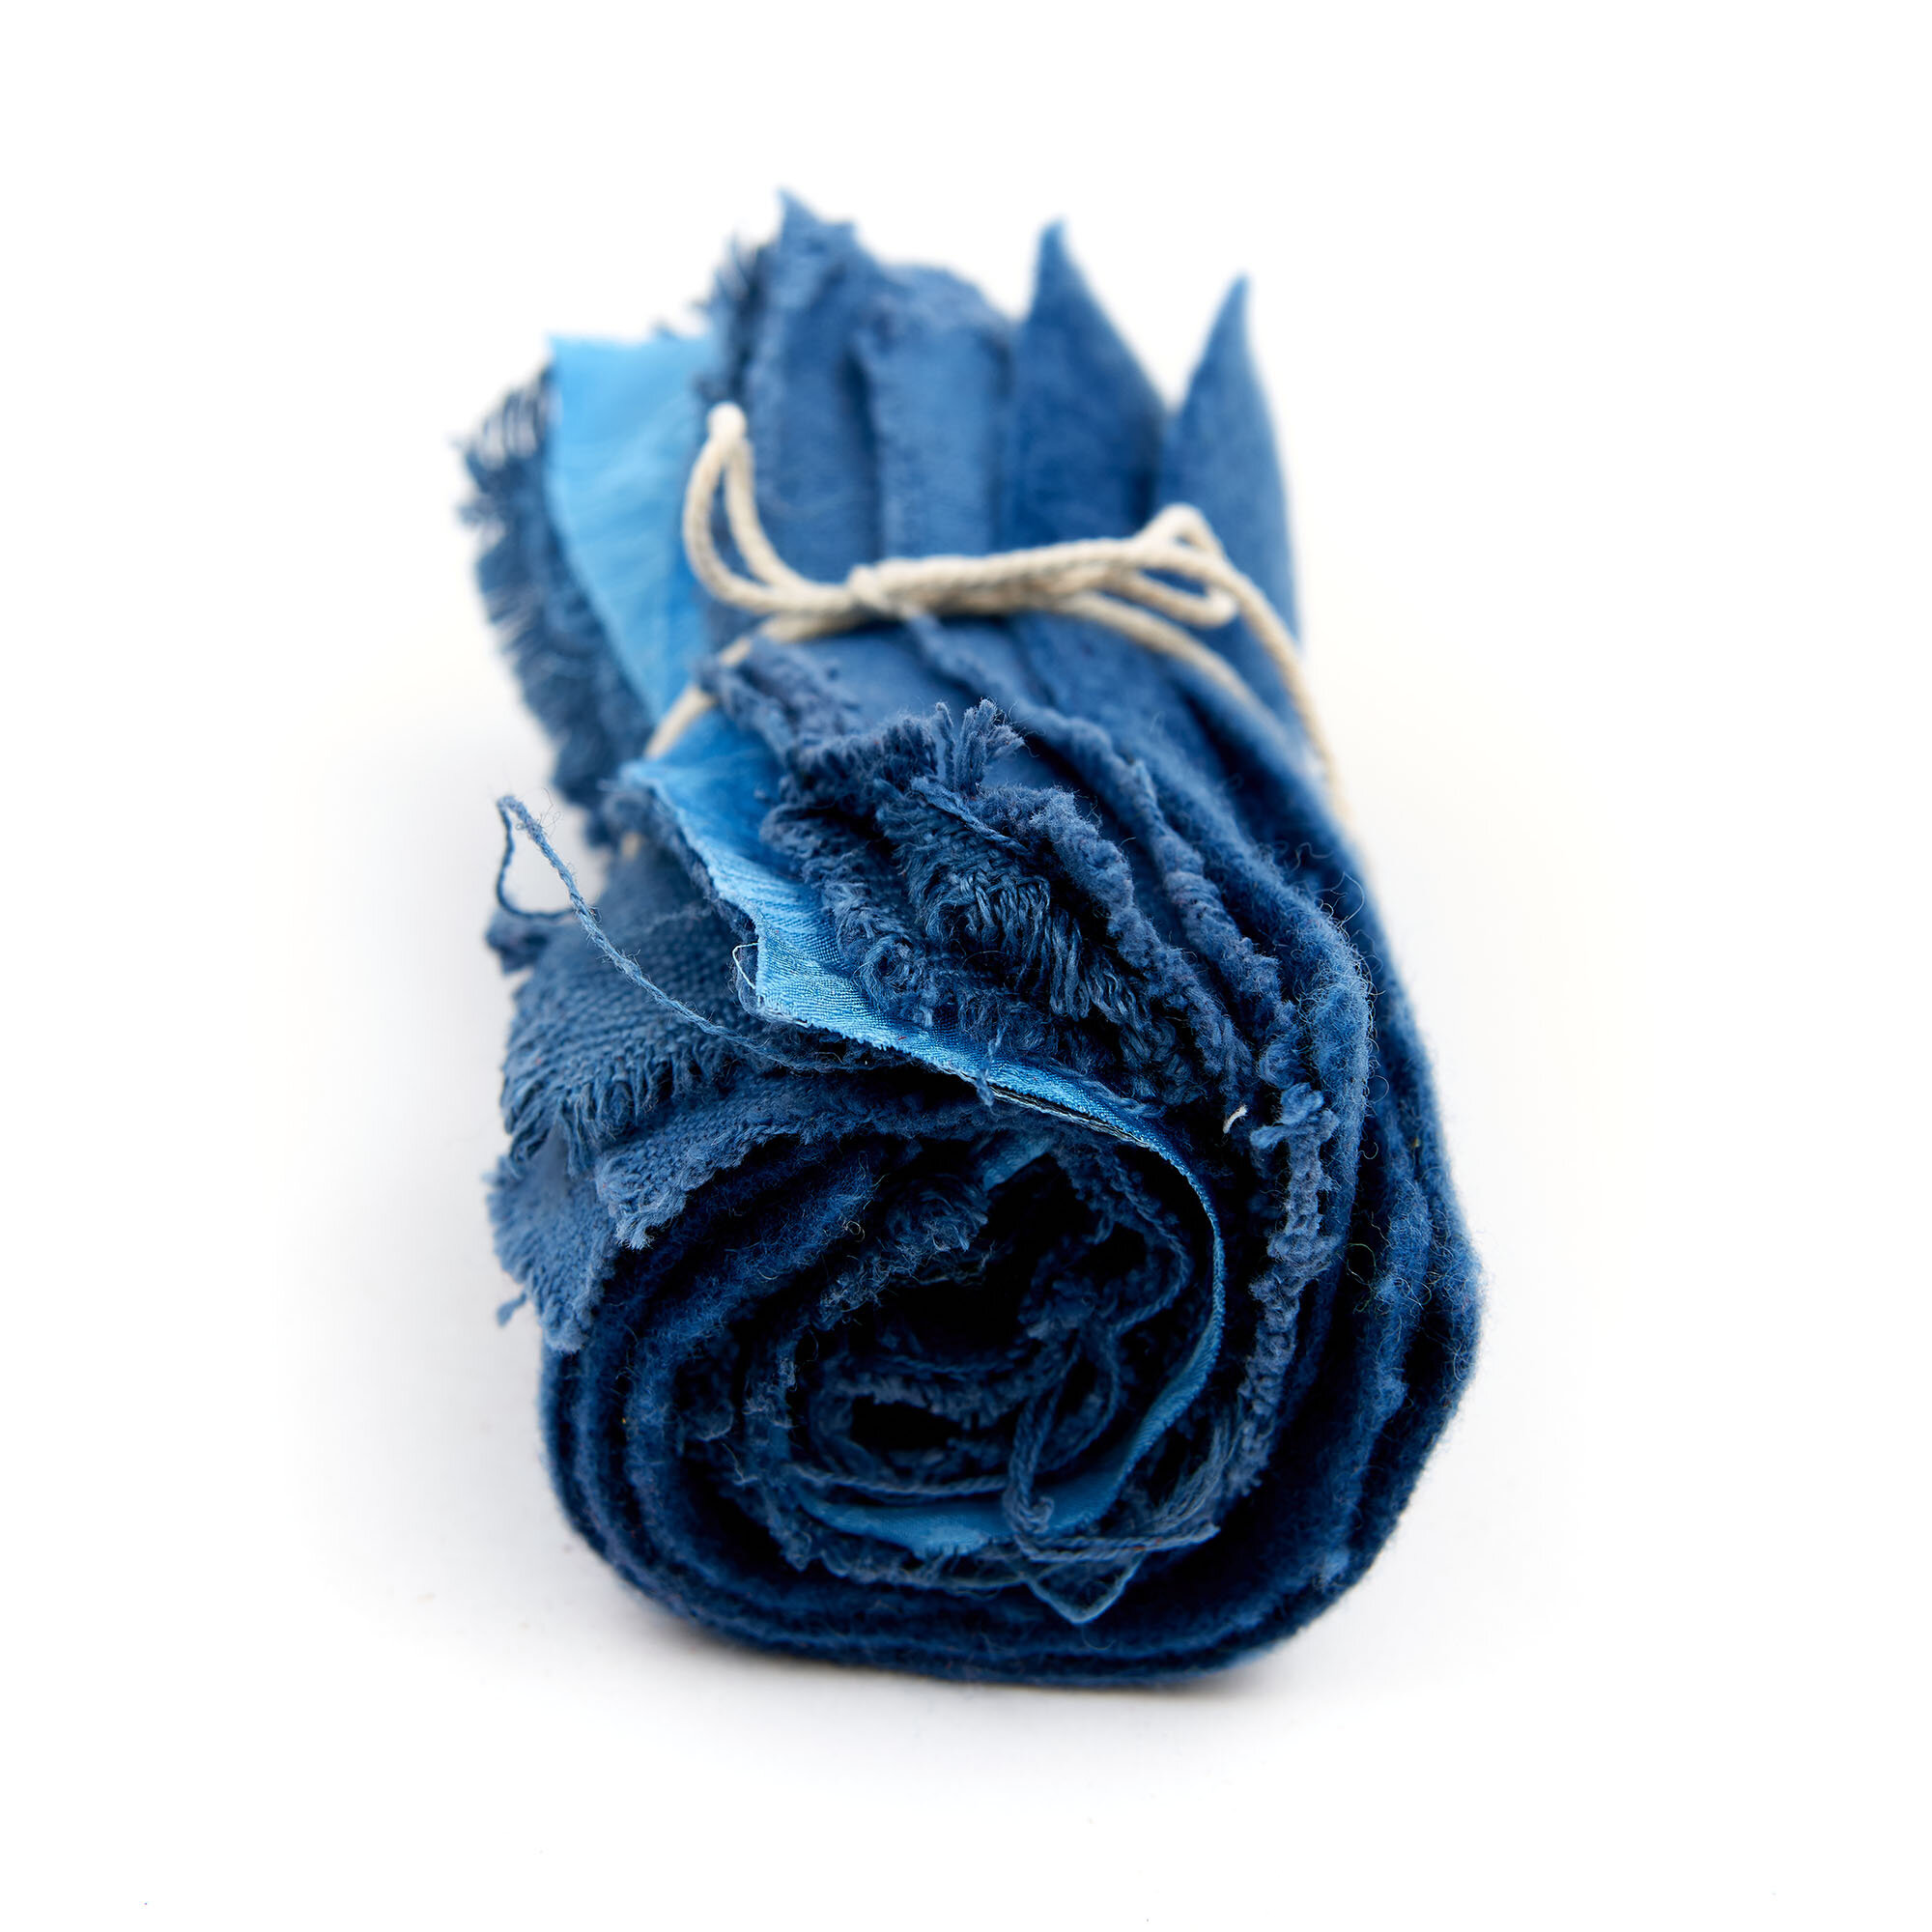
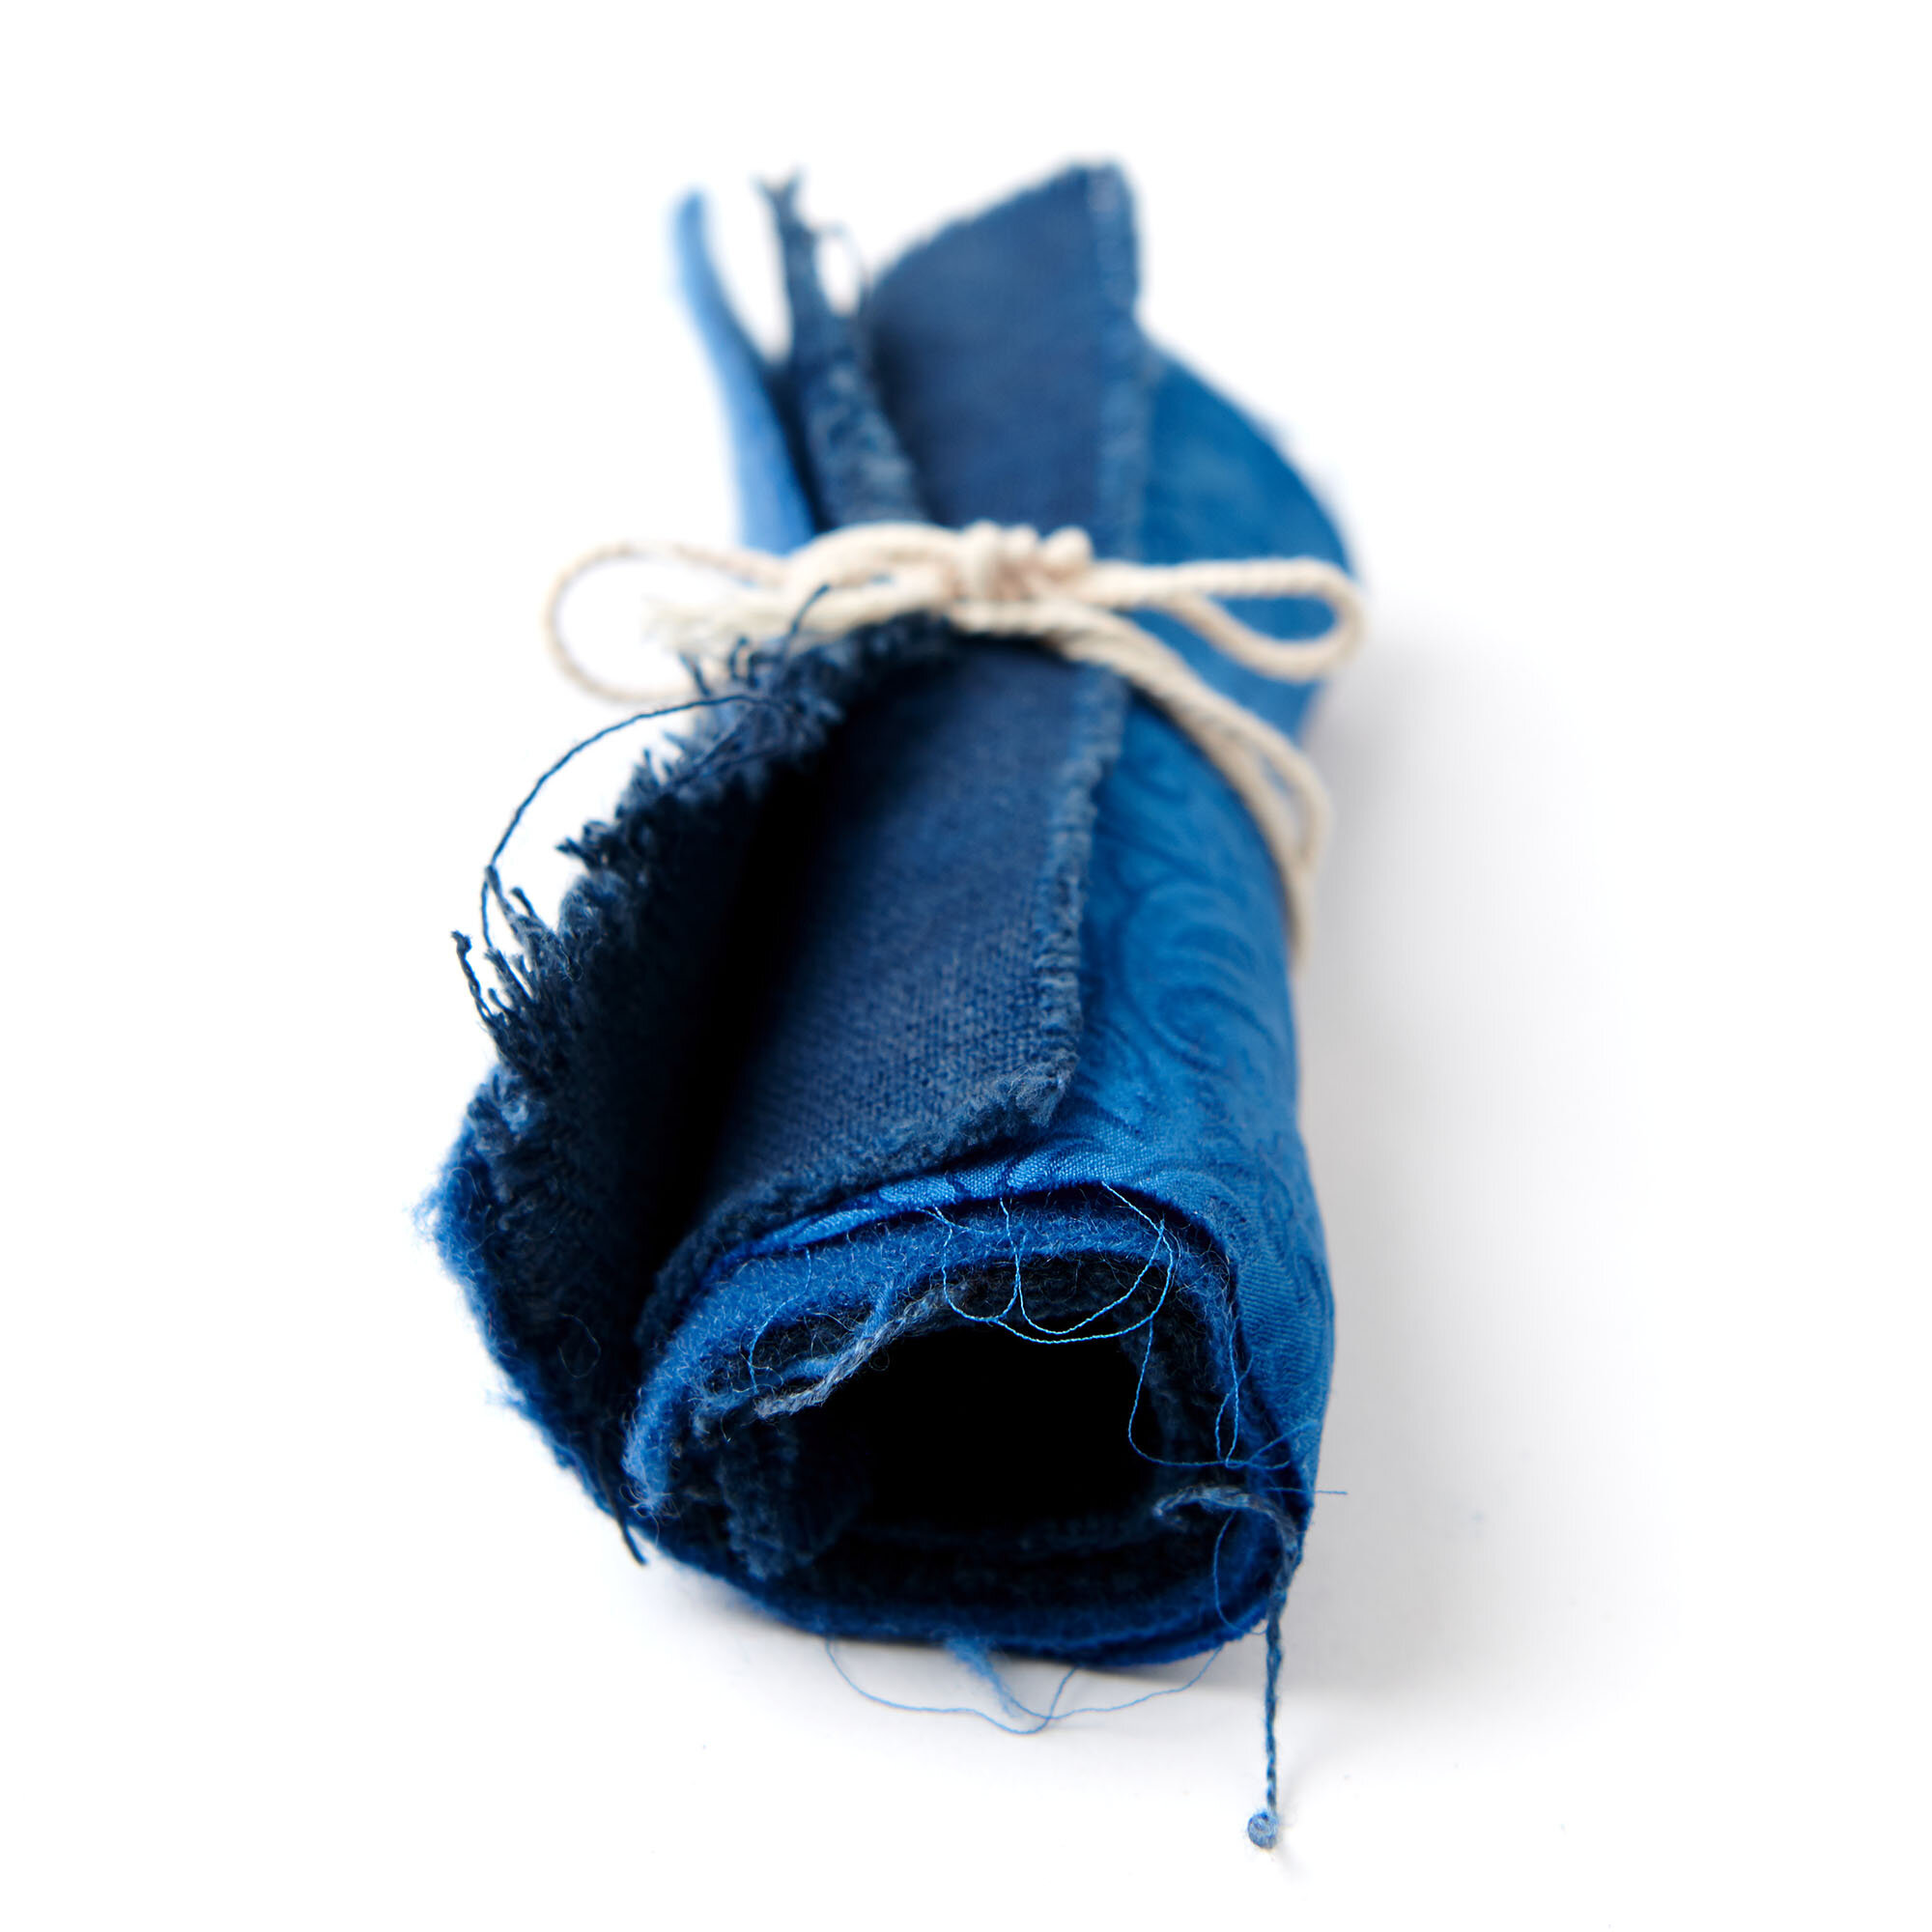
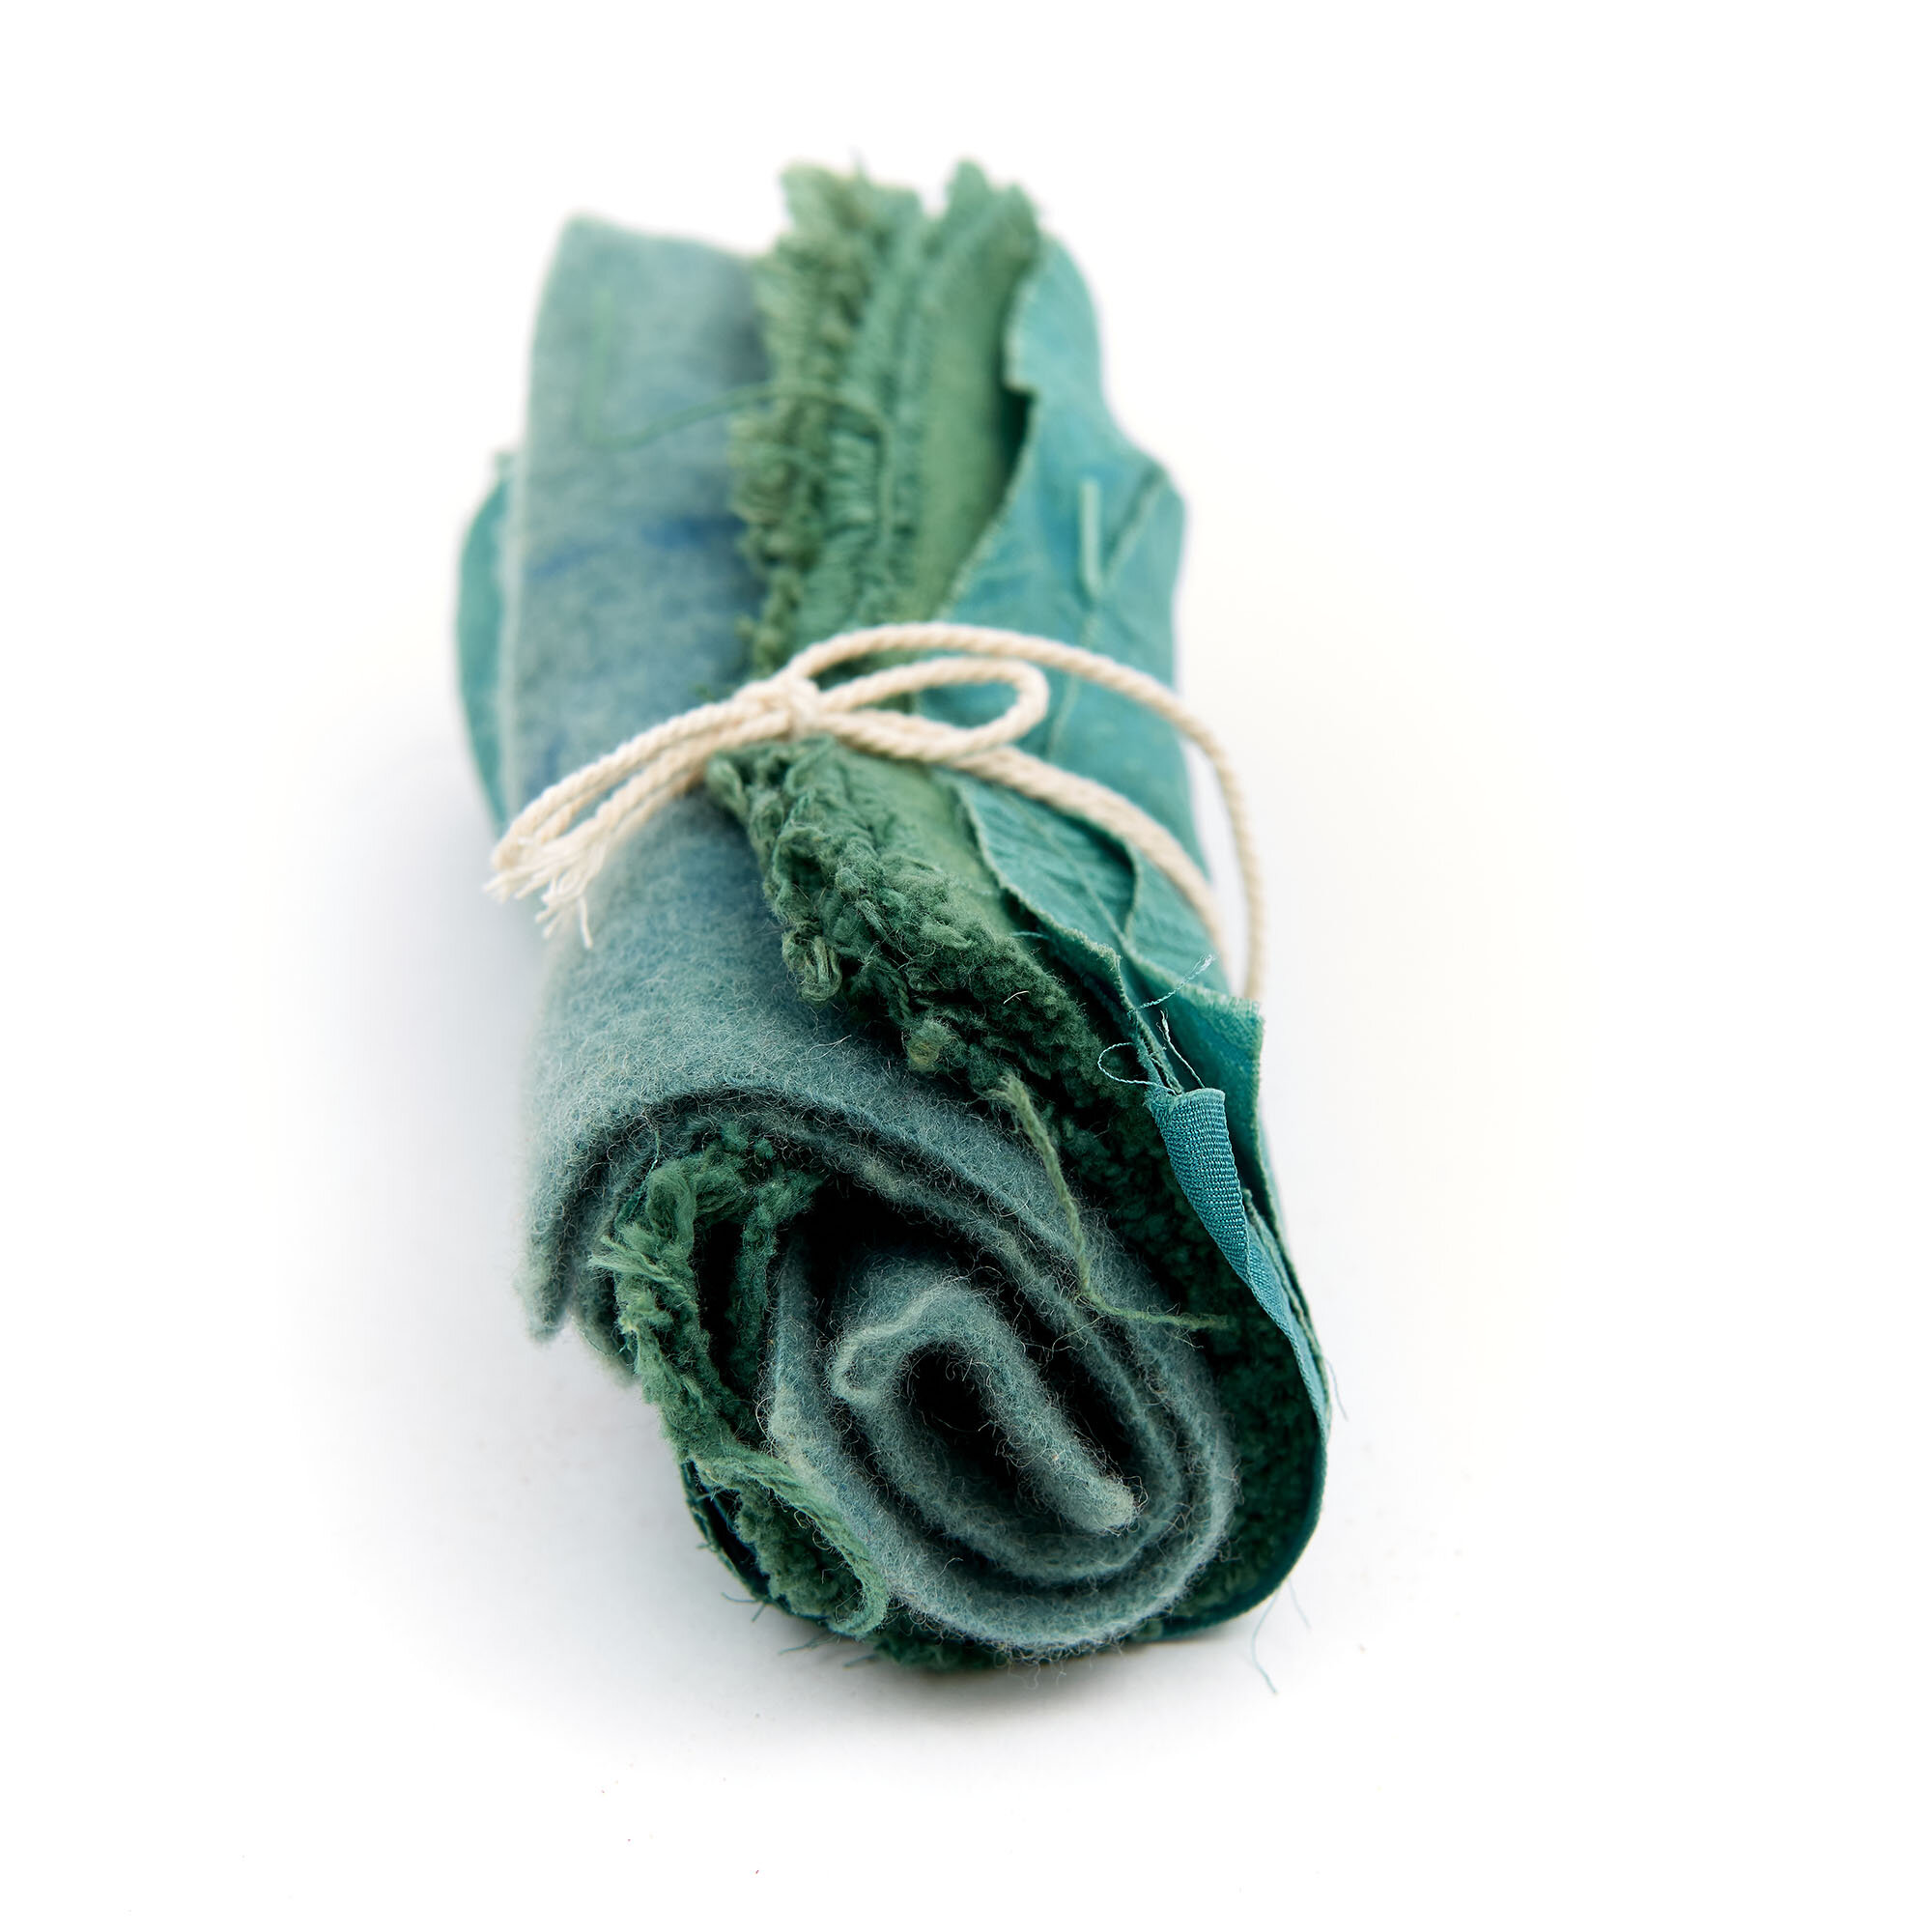
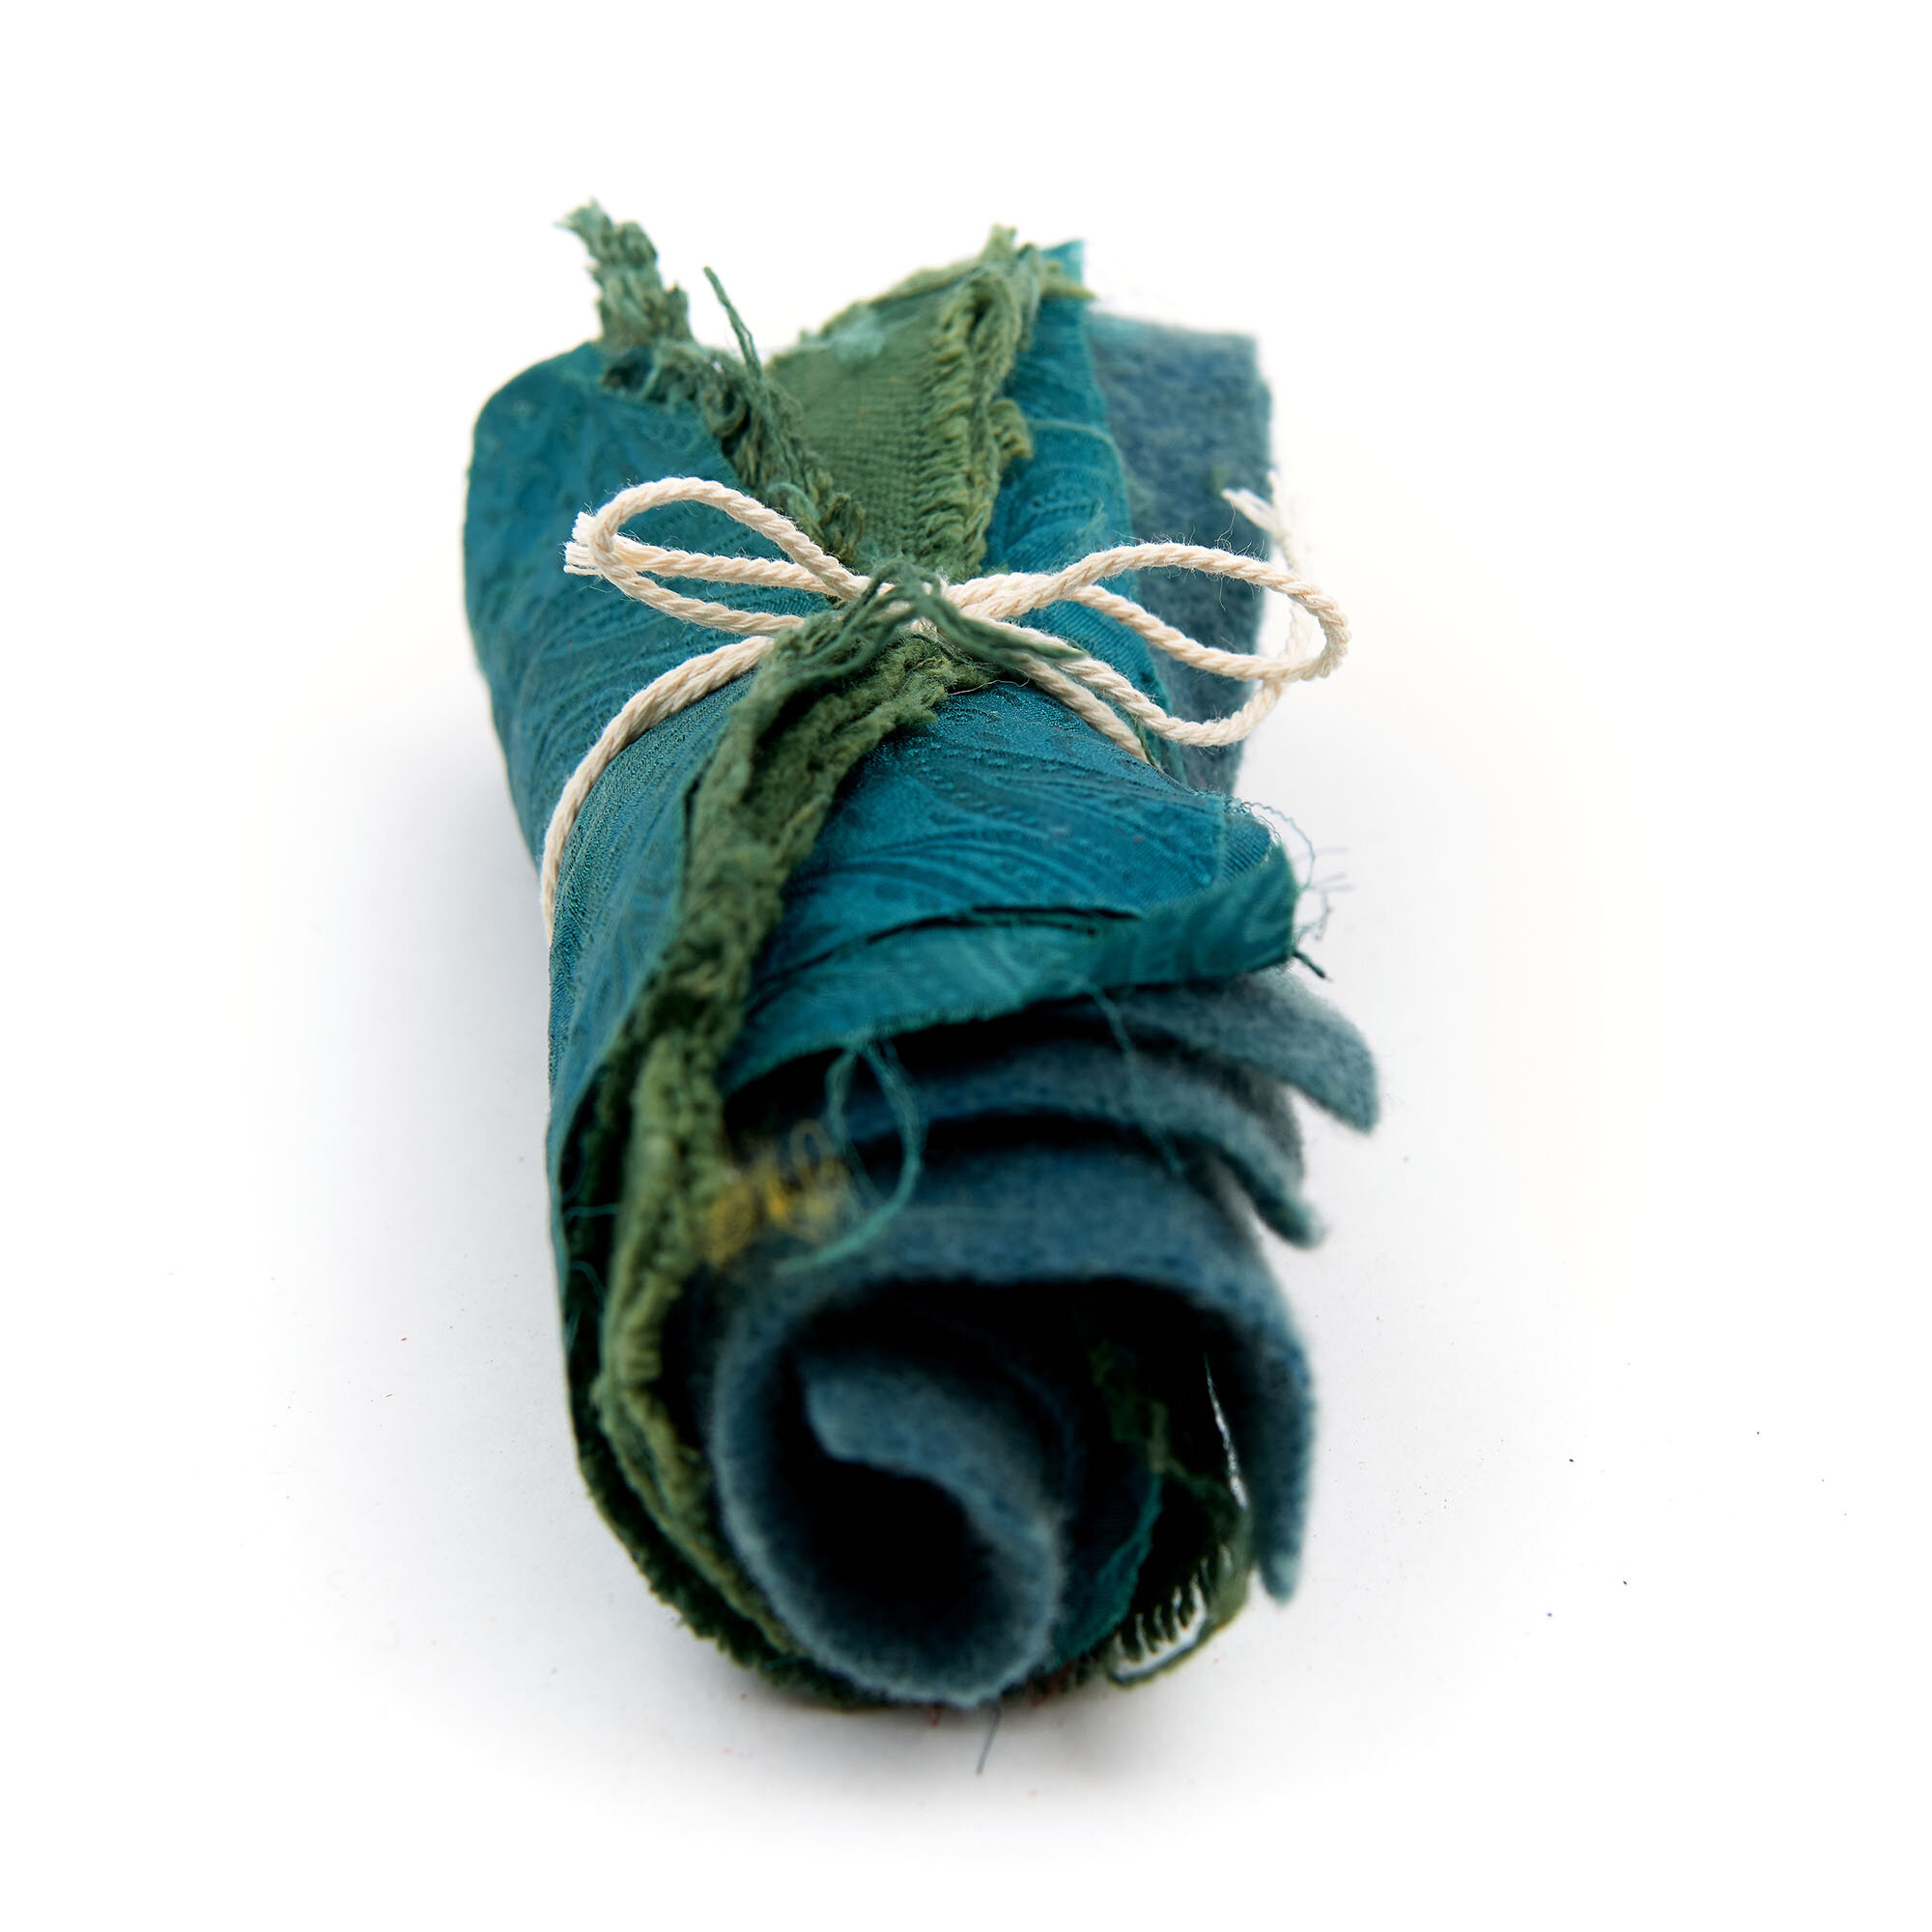
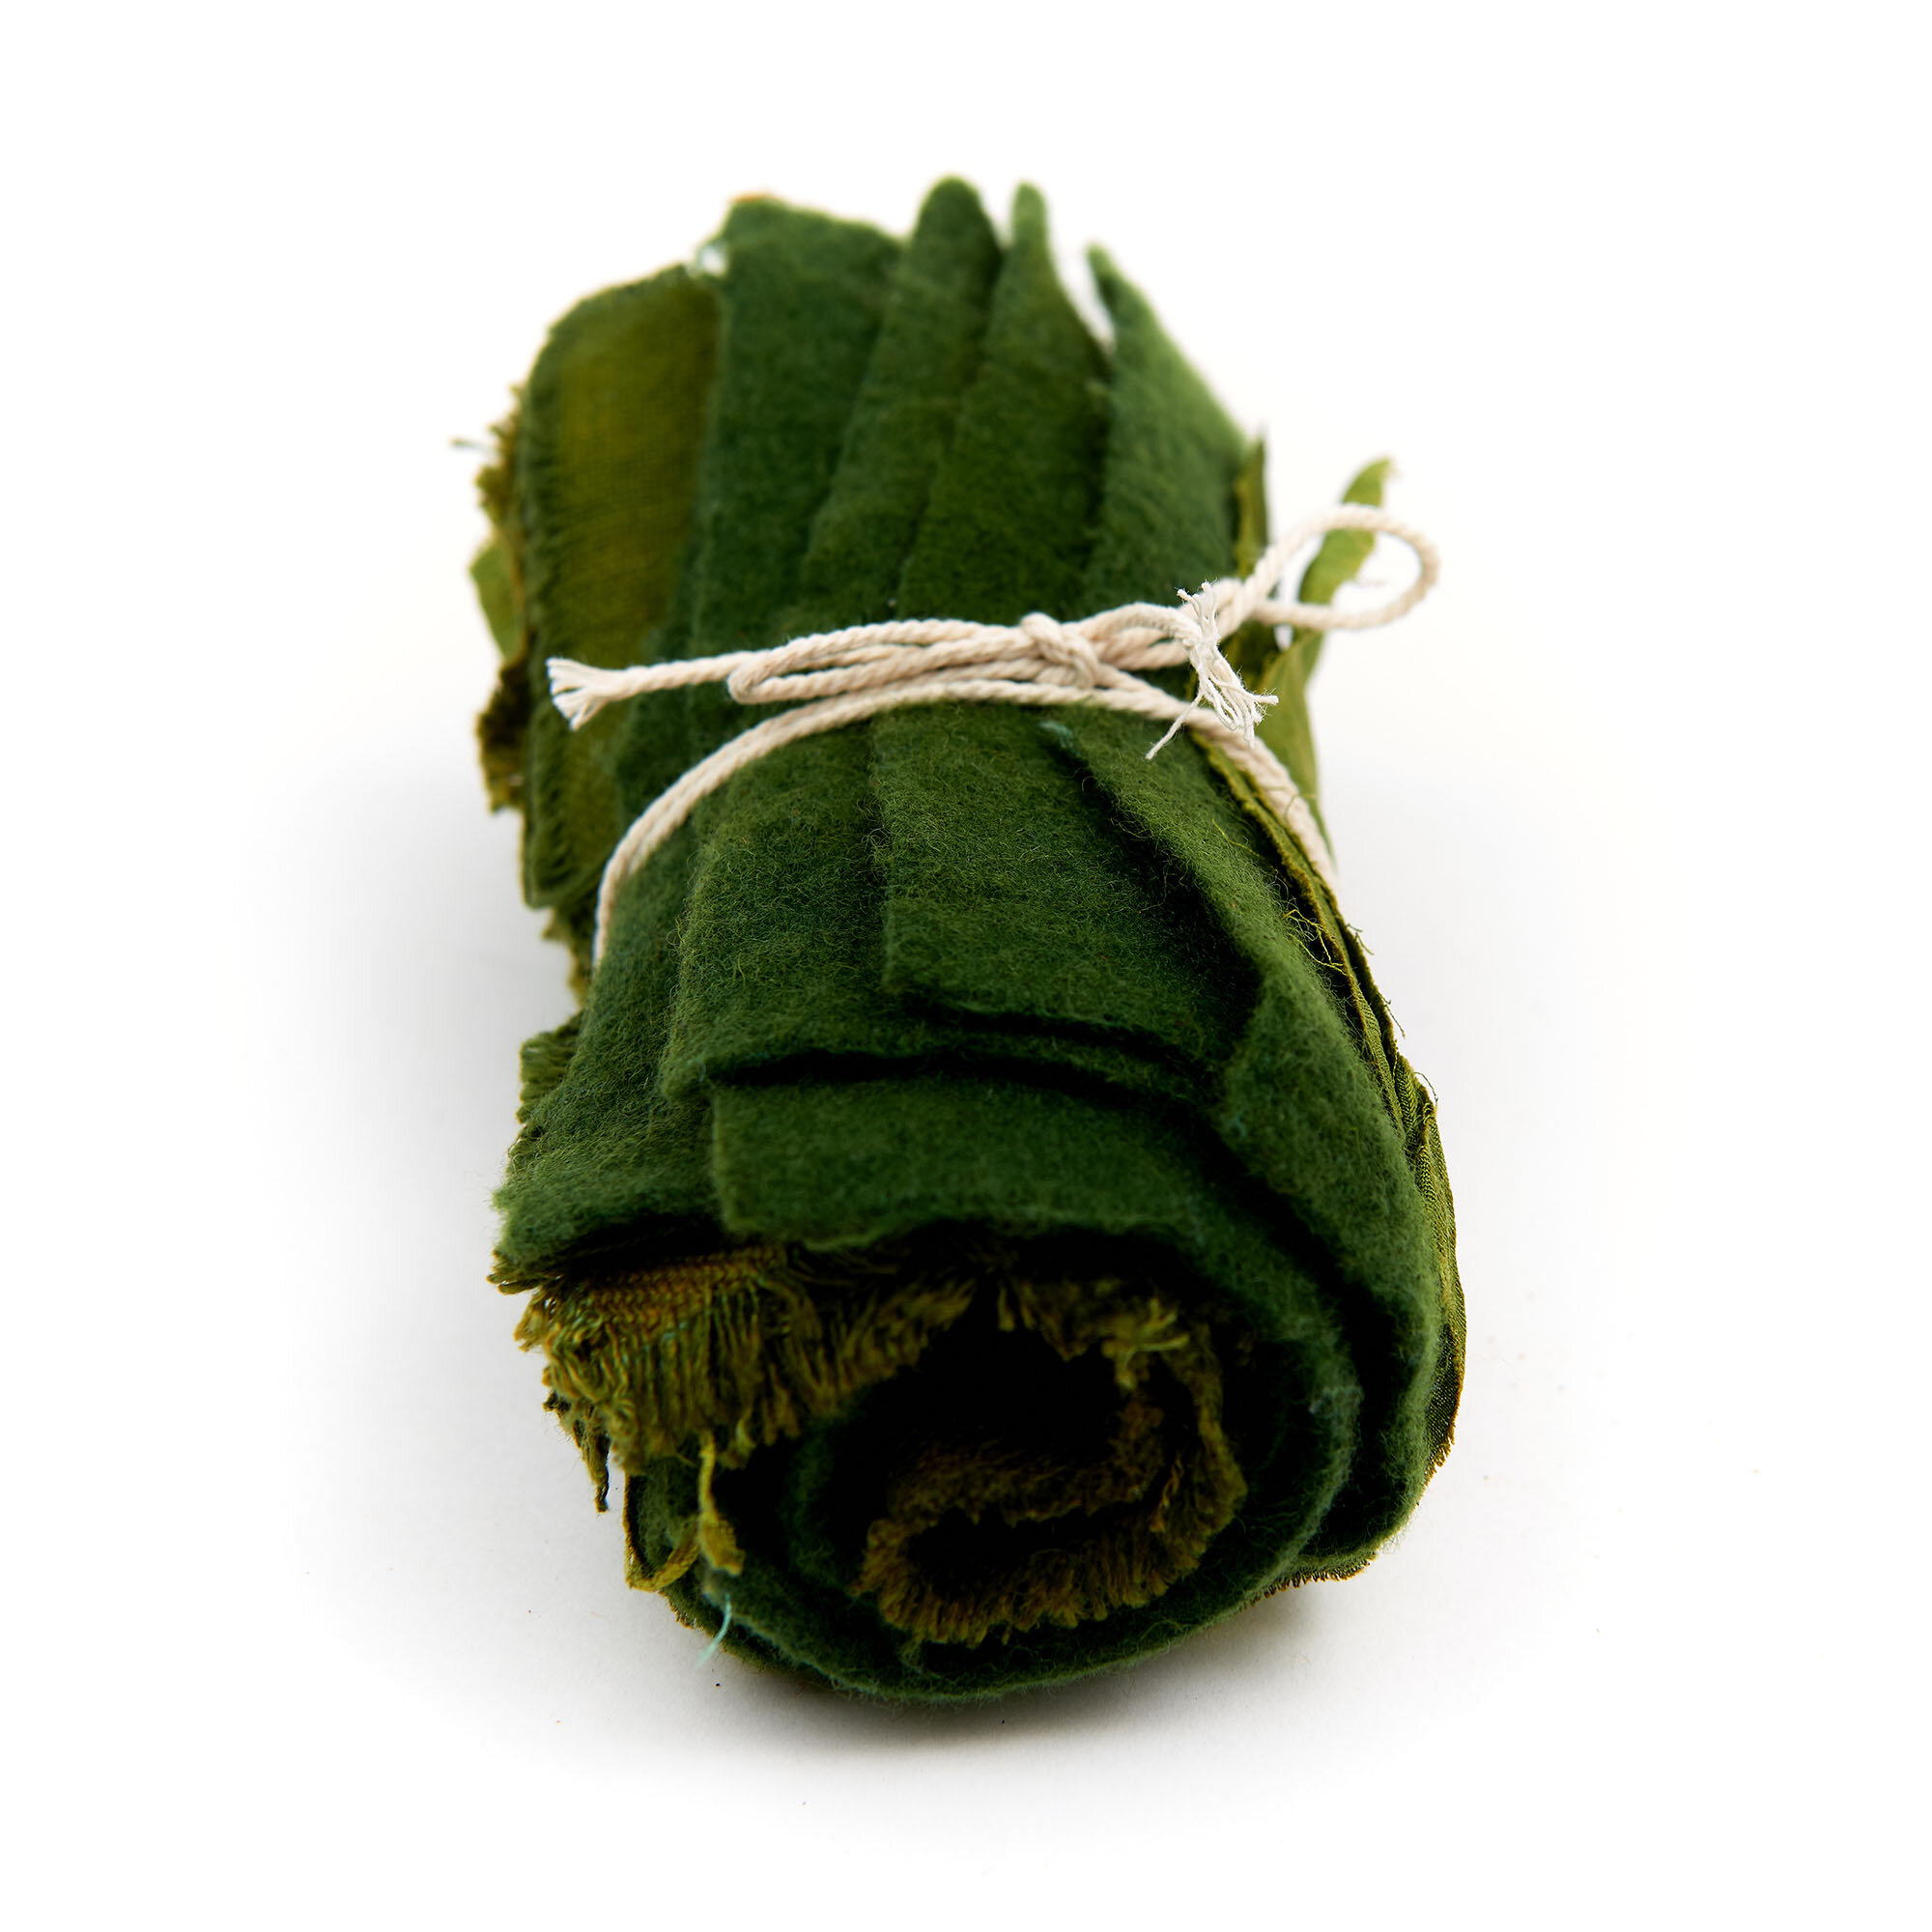
Indigo has great longevity: archeological evidence of its use dates back to Indus valley civilization in the third millennium BCE. Ancient cultures—Greek, Roman, Chinese, Japanese, Indian—all created distinctive textiles based on indigo blue. Remarkably, indigo was also used in Central and South America, where it was independently discovered. Blue seems to be both universal and at the same time deeply tied to the culture that uses it. 

Indigo is the first dye we use at Maiwa. When exploring a new relationship with block printers, or scaling up a weaving or dyeing project, indigo is first. In contrast, when we are teaching, indigo is last. The experience of working and dyeing with indigo is so powerful, there is such magic in the process, that if we began with indigo, the students would never move on to the other colours.

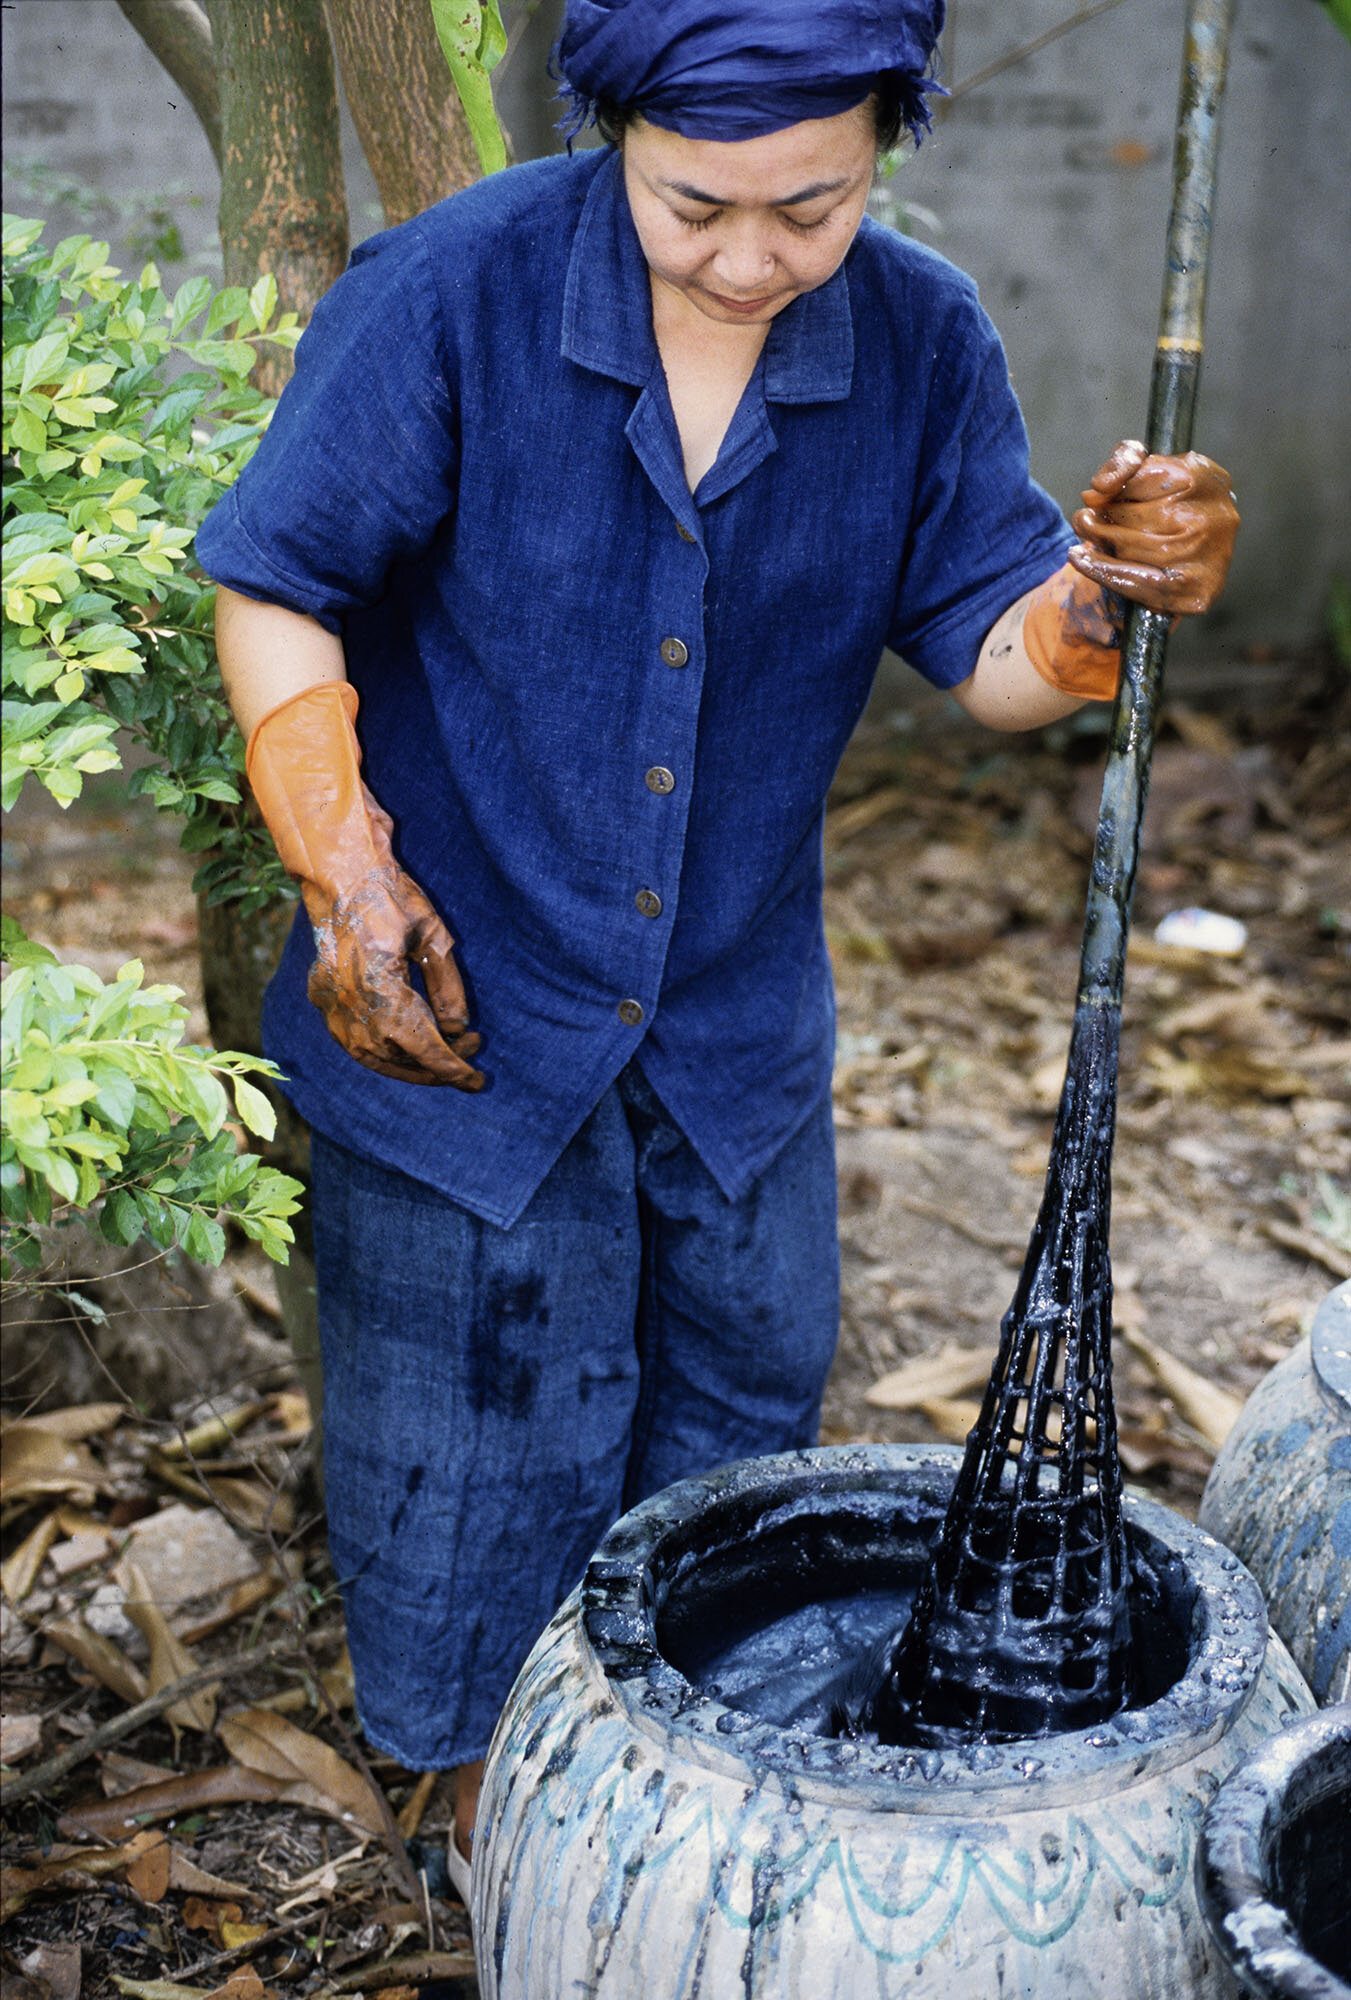
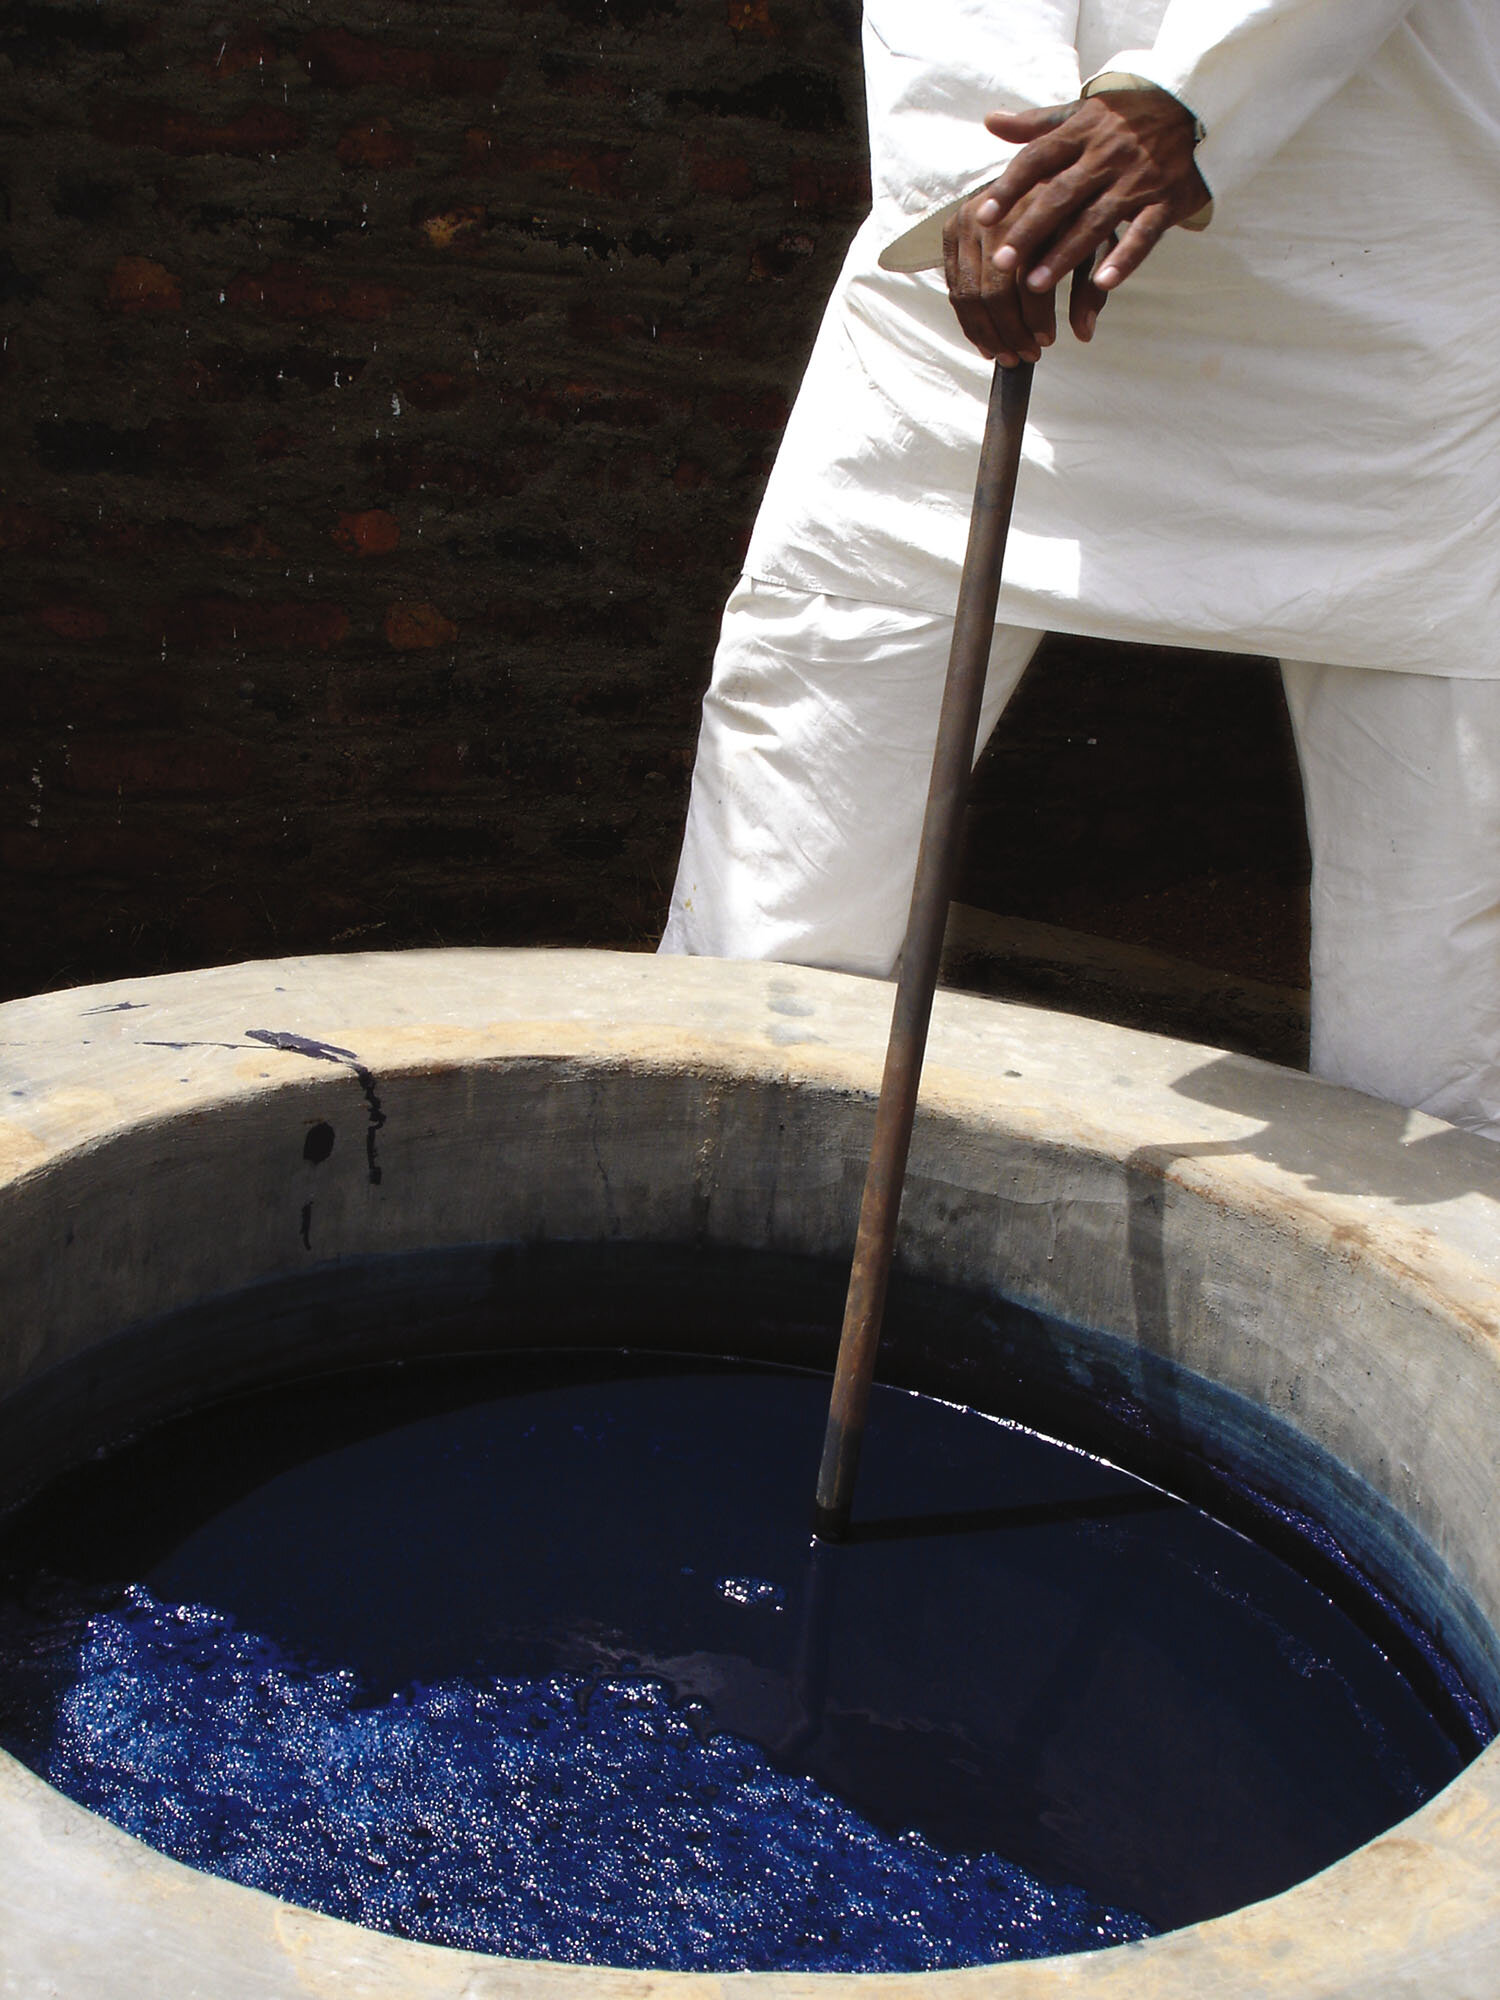
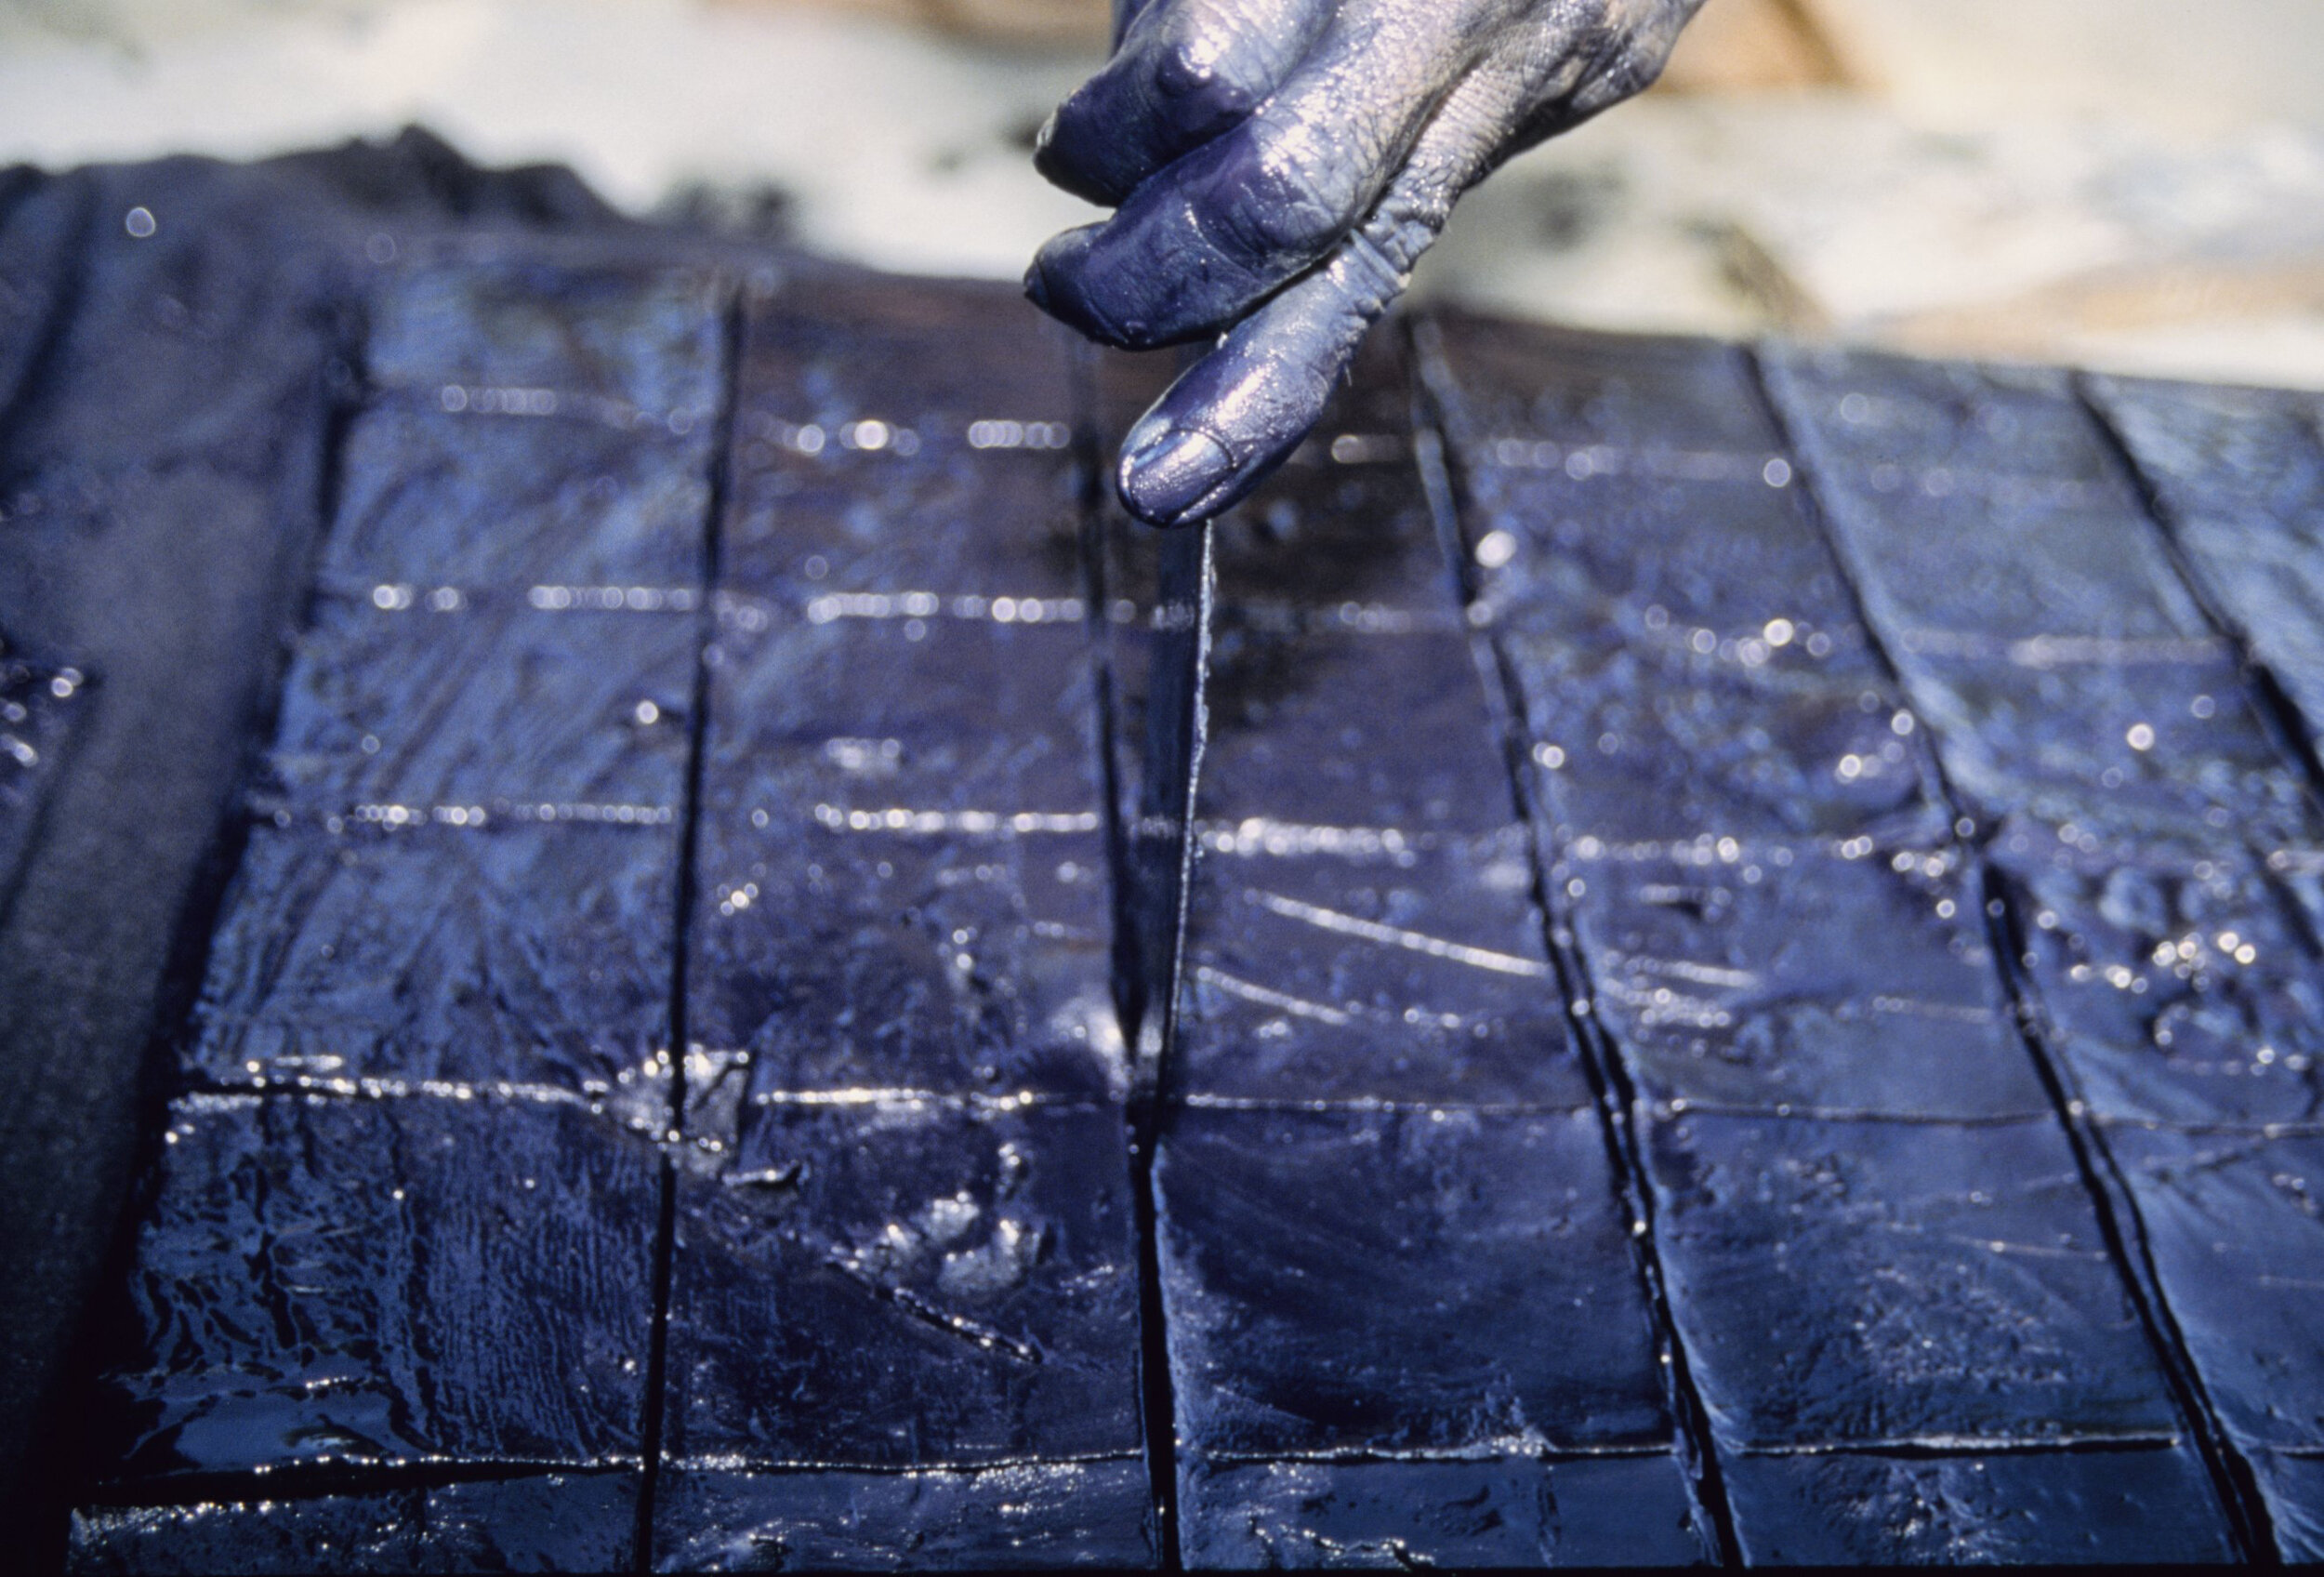
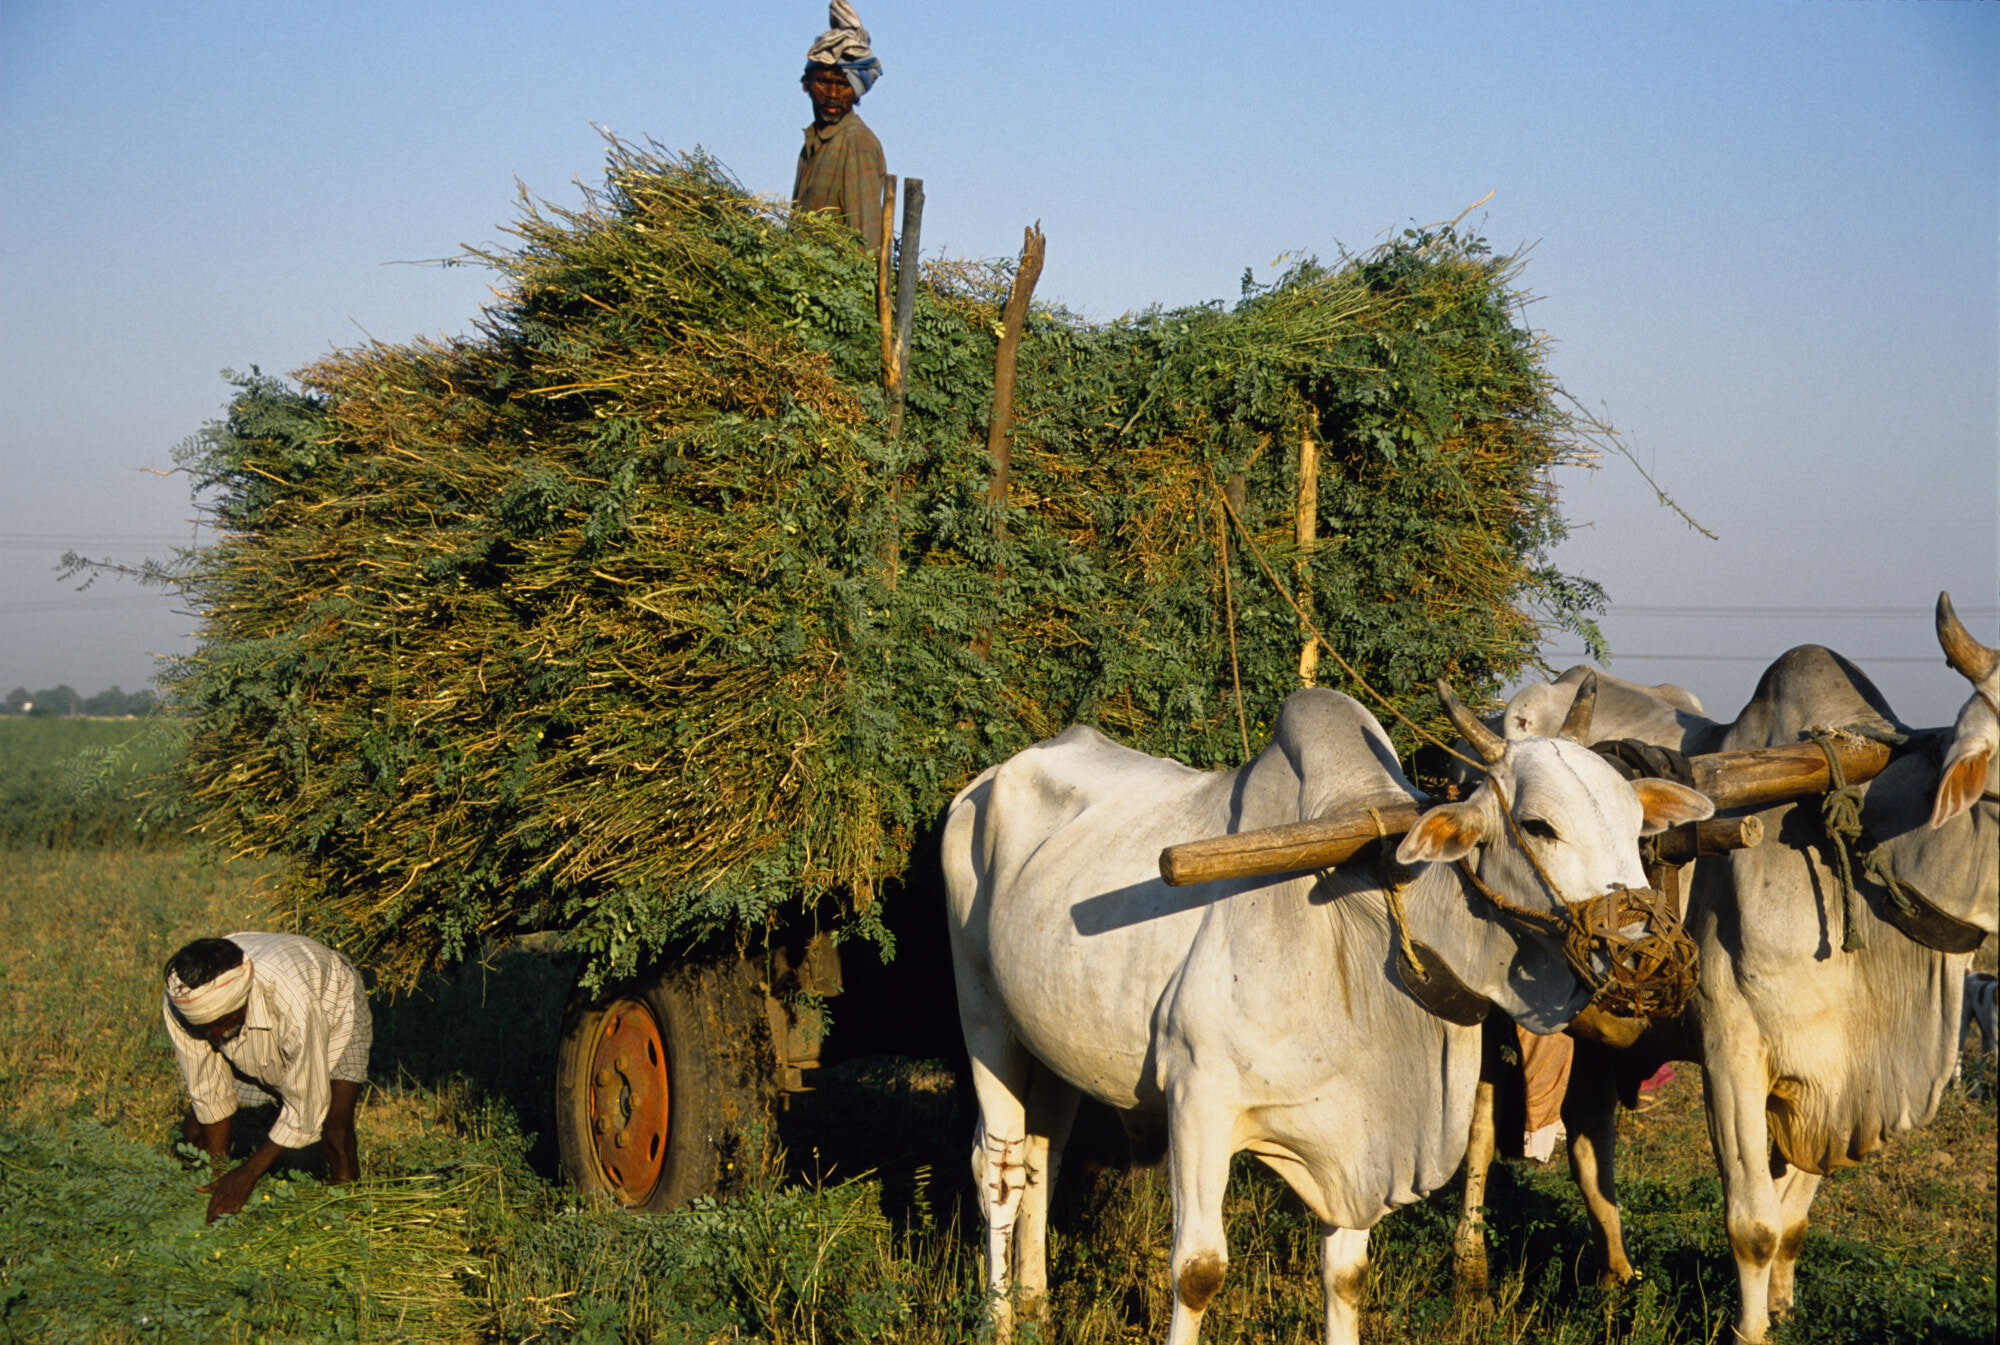
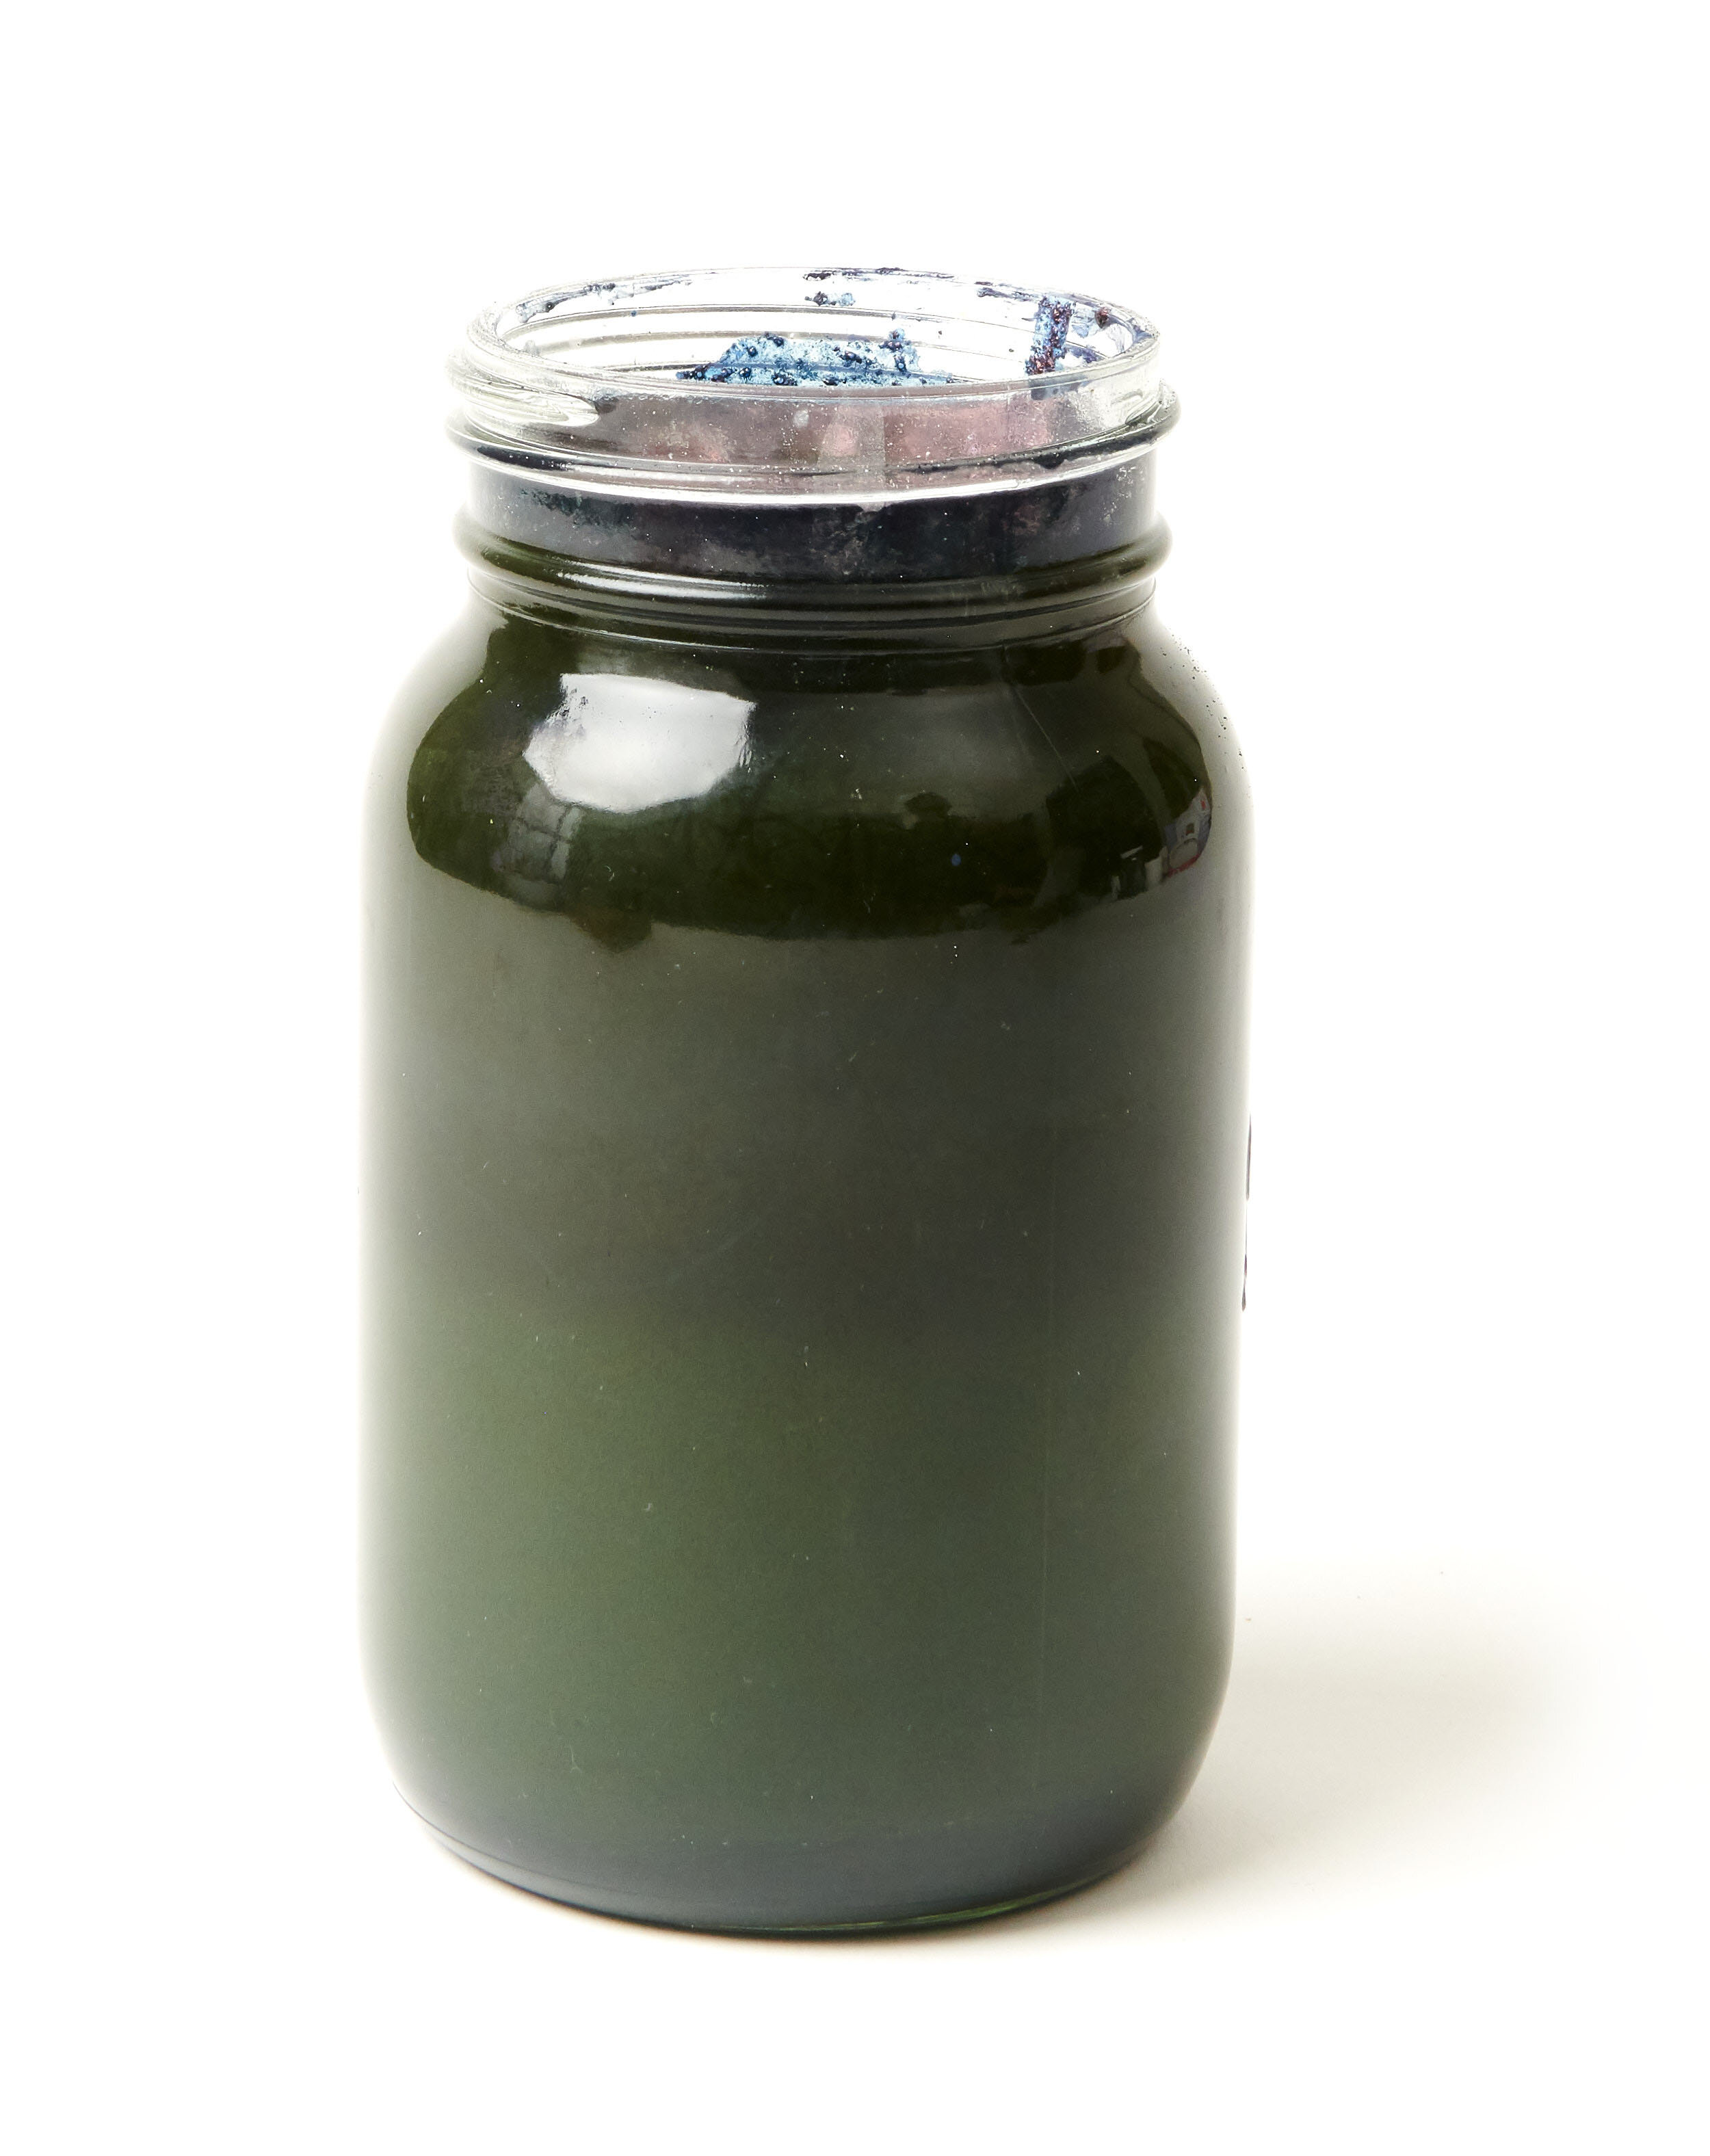
It took us years to trace indigo blue back to the fields where it was growing. Each year we would get a little closer. One day, fifteen years ago, someone recommended that we make a trip to Andhra Pradesh in South India. We arrived at a farm and—there it was. There were the fields, the oxcarts working early in the morning to bring in the fresh cut indigo plants. There also were the cement extraction tanks. Decades of processing indigo had stained them a deep blue—as dark as the tropical night.

Maiwa, after thirty years, has formed an intimate relationship with indigo. We have worked with historians like Jenny Balfour Paul, researchers like Dominique Cardon, and botanist-chemists like Michel Garcia. We’ve brought together block printers from Rajasthan and the Kutch desert and placed them in the same natural dye studio as ikat weavers from the south and eri silk farmers from Ethiopia. Indigo connects them all.


HOW TO DYE WITH INDIGO

Indigo can dye all natural fibres. It gives beautiful shades of blue — from the palest summer sky to an almost purple black. The colour achieved depends on the type of vat, the concentration of indigo, and the number of dips. 

Indigotin (the dye component of indigo powder) is insoluble in water. To use it for dyeing it must be reduced to a water-soluble form. All indigo vats need three things: 1) Indigo 2) A reducing agent 3) A Base.

Three Things.JPG

INDIGo

We recommend natural indigo extract in powdered form. Natural indigo generally contains anywhere from 15% to 55% indigotin by weight depending on the crop, growing season and harvest. Maiwa’s natural indigo generally tests at between 40 and 45% indigotin. In a well maintained vat, 15 grams of indigo will dye approximately 450 g (1 pound) of fibre a dark blue. It will dye 900 g (2 pounds) of fibre a medium blue.

A reducing agent

Chemically, we need to reduce the indigo to make it soluble — we do this with a reducing agent.

Reducing agents can be sugars, some natural dyes or other plants, or chemicals. A reducing agent lowers the oxidation state of the indigo molecule, transforming indigotin into leuco-indigo — which is soluble in water at room temperature. If we just add powdered indigo to water it will remain in pigment form, suspended but not dissolved.

fish.jpg

What is the difference between a suspension and a solution? A fish is suspended in the ocean. But salt is dissolved in the ocean. You can see the fish (which remains distinct) you cannot see the salt (which has dissolved). If we can see the indigo (the dye bath is blue inside) then the indigo is not dissolved and the dye bath cannot be used to for dyeing. When the indigo is reduced it dissolves and the dye bath is a greeny-yellow colour.

A BASE

In order for the reducing agent to act on the indigo, a basic environment is required. Chemically speaking, a base is the opposite of an acid. The reduction of indigo requires a basic (alkaline) solution. A recommended base for an indigo vat is calx (calcium hydroxide) also known as lime, pickling lime, or hydrated lime. Do not confuse it with “quick lime” (calcium oxide) which is much more corrosive, or chalk (calcium carbonate) which is too mild a base for an indigo vat. Maiwa sells a high grade calx, perfect for making a vat. Soda ash or lye are alternatives to calx. Lye is a strong base and should be treated with caution. Soda ash is less caustic than lye and is a good alternative but it takes longer.

Health & Safety

The following guidelines will help ensure that dyeing is a fun, enjoyable activity. Wear a mask when working with powders such as calx, lye, or indigo. Gloves are recommended for dyeing as the indigo vat is highly alkaline. Some of these recipes suggest the use of lye which is very caustic and can cause burns to exposed skin. Lye should be treated as a hazardous substance. The casual use of lye in the home studio is not recommended. When mixing powders and water always add the powder to the water. Never add water to a measure of powder. Keep pots and utensils used for dyeing completely separate from items used for cooking. Clearly label all containers and substances. Store dyes and chemicals separately and away from foods. Hazardous substances such as lye should be in a locked cabinet. Be mindful of pets and children.

 
amber vat med2.JPG

THE INDIGO VAT

When the indigo is dissolved, the dye bath is a greeny-yellow colour. On the top of the vat, air oxidizes the indigo, resulting in blue indigo pigment. Resting on the bottom of the vat is the sediment consisting of any undissolved indigo, reducing agent or base.

HOW TO DYE WITH INDIGO

1) Scour the cloth or yarn.

2) Build your vat.

3) Dip the cloth or yarn.

4) Oxidize the cloth or yarn.

5) Final wash of the cloth or yarn.

1) SCOUR THE CLOTH OR YARN

Proper scouring is absolutely essential to good dyeing. Improperly scoured items do not dye level, the dye does not penetrate well and the dyed item will have poor rub fastness. The difference between scoured and not scoured can be dramatic.

A single length of cloth torn in two — soured on the right, not scoured on the left.

A single length of cloth torn in two — soured on the right, not scoured on the left.

cotton+scour+med.jpg

Scouring Cellulose

Cotton, linen, hemp, etc.

1. Fill a large pot so that cloth or yarns are covered and not crowded.

2. For each 450g (1 pound) of goods add 10ml (2 teaspoons) synthrapol and 20 g (4 teaspoons) soda ash.

3. Simmer for approximately 1 hour. Cotton is full of wax, pectic substances, and oil, all of which must be removed. The resulting wash water may be yellow brown. Bleached white cotton yarns and fabrics may not need as long.

4. Allow fibre to cool down slowly and then rinse in warm water.

Fabrics marked PFD (Prepared for Dyeing) may only need a light scour or none at all (always test before omitting). To lightly scour fabrics (not yarns) you may use a top-loading washing machine. Use the above recipe and hot water.

Wook Scour med.JPG

Scouring Protein

Silk, wool, hair etc.

1. Fill a large pot so that cloth or yarns are covered and not crowded.

2. For each 450g (1 pound) of goods add 5 ml (1 teaspoon) orvus Paste soap.

3. Heat gently to 60º C (140º F) for approximately 1 hour. Turn gently but do not agitate

4. Allow fibre to cool down slowly and then rinse in warm water.

Fabrics marked PFD (Prepared for Dyeing) may only need a light scour or none at all (always test before omitting). To lightly scour fabrics (not yarns) you may use a top-loading washing machine. Use the above recipe and warm water. To avoid felting do not agitate.

2) BUILD YOUR VAT

The indigo flower sitting on the surface.

The indigo flower sitting on the surface.

We have included detailed instructions for each type of vat with each recipe. Here is some useful information for all vats.

Heat may be used to start a vat, or later to revive it, but indigo vats do not require maintained heat. This gives you more flexibility in terms of the container you select for your vat. If using a plastic container you can supply heat with an immersion heater. If you are using gas or electric heat you will, of course, need to use a stainless steel pot.

Check the recipe for the size of vat. Fill the pot with warm water (hot tap water is perfect). Fill slowly and avoid adding air to the water. Add the ingredients as specified in the recipe. Once your vat is made, stir the vat gently. Don’t whip it - you do not want air in the liquid. Wait for a few minutes then stir again. Repeat this three or four times. The vat will form a bronzy surface. Wait for ten to twenty minutes after stirring to let the sediment fall to the bottom of the vat before dyeing.

The famous “indigo flower” will appear in the vortex. Before dyeing move the flower to one side. You can also remove it completely, save it, and return it to the vat when you are finished dyeing. The flower is indigo pigment and so is good to add back to the vat.

The vat is now ready to be used for dyeing.

Starter2.JPG

TIP - The secret of a Starter Solution

Sometimes it is easier to get your vat working by beginning in a small container and then transferring it to a full-size vat. A one litre (one quart) mason jar is the perfect size to make a “starter solution.” In a concentrated space the indigo tends to reduce more quickly and thoroughly. Sometimes a starter solution can also be used to kick-start or revive a dormant vat. If a starter solution is recommended we have mentioned it in the recipe.

If using a starter solution for the organic vats, add the liquid used as a reducing agent to the mason jar while hot. Add all of the indigo called for in the recipe and mix well. Then add half the base called for in the recipe. The mason jar is your starter solution. It should be yellowy-green inside and have a coppery-blue skim on top.

The remaining half of the base will be added to the warm water in the vat.

Gently submerge the mason jar under the water in the vat so that you can transfer the contents of the jar without creating bubbles or adding air. Rinse the jar so that all its contents are in the vat.

TIP - Hydrating Indigo

marbles med.JPG

Maiwa’s powdered indigo is ground very fine and does not require hydrating as a separate step but if you are working with a more coarse indigo, it will be helpful to hydrate it first. Sometimes alcohol is used to do this, but we have found a quick and efficient way to hydrate indigo is to use marbles. Simply fill a strong plastic container 2/3 full of marbles (or smooth, round stones). Add the indigo powder and cover the marbles with warm water. Shake vigorously for one minute. The indigo is now hydrated. Pour the hydrated indigo into your vat or starter solution, using the lid to keep the marbles in the jar. Swirl a little bit of water in the jar to wash the rest of the indigo out.

3) DIP THE CLOTH OR YARN

yarns.JPG

Generally the item to be dyed is wetted before dyeing, however some resist techniques require the item to be added dry. To dye cloth or yarns, submerge the item completely in the vat. Hold it under the surface but don’t let it touch the bottom of the vat. Gently squeeze the item to work the liquid into all the fibres. Time your dip if you are attempting to achieve a specific shade of blue. Be gentle putting items into the vat. When taking items out, squeeze them under the surface and remove slowly. Always avoid making bubbles which add oxygen to the vat.

Immerse the yarn or cloth for 10-30 minutes (20-60 minutes for wool) depending on the type of vat. The organic vats require longer dips, shorter dips are needed for the workhorse vat.

Rub-fast and wash-fast colours are built up by doing several long dips in a medium strength vat, rather than quick dips in a strong vat. A long dip permits the indigo to penetrate the fibres so that as much indigo as possible is inside the fibres, not just on the surface.

Tip - Dyeing with a Basket

When using an indigo vat, it is good practice to keep yarns and cloth from touching any sediment in the bottom of the vat. This is particularly important with the ferrous vat as the iron may cause dots or stains. A metal or bamboo basket works well for this. Stir the vat, wait for the sediment to settle, then submerge a basket into the vat. Place fabric or yarn inside the submerged basket.

Eight shades of indigo on wool. Dyed using an organic banana vat.

Eight shades of indigo on wool. Dyed using an organic banana vat.

Overdyeing with Indigo

If planning to overdye with indigo, we generally do indigo last as indigo can be stripped out by other processes. Some natural dyes are acidic (i.e. cochineal) and can interact with the vat to lower the pH. Also, some natural dyes can be altered by the indigo vat. 

If using the workhorse vat we recommend doing the indigo first as the reducing agent (particularly in a new vat) may discharge some colours.

4) OXIDIZE THE CLOTH OR YARN

Indigo will oxidize in the air or under water. As cloth or yarns are removed from the vat you will see how the yellowy green magically turns to blue. Some fibres will benefit from being oxidized under water. The piece is agitated in a bucket of cool water for at least ten minutes. The water oxidizes the item more slowly, eliminates darker areas caused by the dye pooling and washes off any stray indigo pigment. Regardless of oxidizing in air or water, hang out of the light and permit the item to fully oxidize.

Darker colours can be obtained through repeated dips. For darkest colour, let items dry completely (out of the light) between dips.

5) FINAL WASH OF THE CLOTH OR YARN

A final rinse is done with a solution of weak vinegar. Use 15 ml (1 tablespoon) of vinegar per litre (quart) of water. The vinegar will neutralize any remaining calx and counter the effect of the alkaline dye bath.

Once the item is completely dry, we like to leave it to rest in the dark for two weeks. Then, do a final wash with a neutral soap and warm water.

For both yarns and cloth, a good test to see if you have washed the item thoroughly is to rub the dry item lightly with a white cloth. The white cloth should remain white. Indigo will naturally rub off with time (as it does on blue jeans) however a well-dyed item should not rub off prematurely.


VAT MAINTENANCE

ph_paper.JPG

Keep your indigo vat covered when not in use. It does not need to be air-tight, but it will be happier with a lid.

In a well maintained vat, 15 grams (2 tablespoons) of indigo will dye approximately 450 g (1 pound) of fibre a dark blue. It will dye 900 g (2 pounds) of fibre a medium blue.

As you dye cloth or yarn you will necessarily use up the indigo in the vat. The reducing agent and base will also be used up. Dyeing cloth or yarns will introduce oxygen into the vat and change the vat’s chemistry. In short, using the indigo vat will mean that you have to make adjustments to maintain it.

Good observation is the key to vat maintenance. Start with your dyed item. If it is lighter than you think it should be, it is time to check the vat. Stir the vat to ensure it is well mixed, give it 10 - 20 minutes to settle. This could be all it needs. If not, next check the pH.

pH

The proper pH of an indigo vat is 9-10 for protein fibres and 11-12 for cellulose. You may test the pH of the vat with a pH test strip. If it is too low, carefully add some more base. If it is too high, you can just wait (a few hours or a day) for the pH to come down. If you want to work more quickly, add some more reducing agent or dilute the vat with cold water and wait a little, the pH will decrease.

The indigo flower at the centre of the vat.

The indigo flower at the centre of the vat.

ReDucing agent

Use a metal spoon to look at the liquid just under the surface. If it is yellowy-green with blue specs (or if the liquid has a blue tinge), then you may need more reducing agent or a little heat. These specks are indigo pigment created by oxygen in the vat. Heat or reducing agent (or both) will remove the oxygen and you can begin dyeing again.

Feed your vat

After a long day of dyeing, a vat likes to go to bed with a full stomach. When using the organic vats, you will find that adding some of the mash used to build the vat works well. Add half a cup of mash (not the liquid) stir, and cover for the night.

INDIGO

If the indigo flower has gone from a dark indigo blue to light cobalt blue, it may be time to add more indigo. If the pH is correct and the vat is a beautiful yellow-green, but your dyeing is too light — it is time to add more indigo. A common mistake of beginning dyers is to try to solve all vat problems by adding more indigo. Try to calculate how much fibre you have dyed, and compared that to how much indigo has gone into the vat. Adding more indigo should be your last option.

Reviving Vats

measure indigo.JPG

Indigo vats may be maintained for months or even years. Some of Maiwa’s vats are over five-years old. A vat is more easily maintained if it is checked on a regular basis. A vat may be revived until the amount of sediment becomes problematic. There is an art to reviving an indigo vat: check the pH, adjust, check the colour of the liquid below the surface, consider the addition of more reducing agent or indigo. A vat may be revived by the addition of a gentle heat or the addition of a mini-starter. Indigo vats all have distinct personalities. Some are happy to be revived, others, not so much.

Vat DISPOSAL

With the exception of the ferrous vat, the organic vats and the workhorse vat may be used as compost by following this procedure. 1) Oxidize the vat. Whip air into the vat as if you were making whip cream. This will convert the calx (calcium hydroxide) into chalk (calcium carbonate). If the pH is still high, either leave the vat uncovered for a week or two to neutralize itself, or add vinegar to bring down the ph to around 7. Let the vat settle for a day. Carefully pour off the liquid (this may go down domestic drains or be used on gardens). The sludge in the bottom of the vat may be disposed of as compost or as solid waste in domestic garbage.

The ferrous vat lasts such a long time that you should not need to throw it out, but if you do, follow the procedure above. The sludge from the ferrous vat cannot go down the drain. Take the sludge to a waste disposal centre.

ABOUT WOAD

Woad extract may be substituted for indigo in these recipes. Woad generally has a lower content of indigotin and gives weaker, more pastel-esque shades.

wooden spoon med.JPG

THE ORGANIC VAT

To make an organic indigo vat we need the same three things we need for any indigo vat :1) indigo, 2) a reducing agent and, 3) a base. We recommend natural indigo, an organic reducing agent, and a benign base.

Three Things.JPG

INDIGO

We recommend natural indigo in powdered form.

A Reducing agent

To make an organic vat, use organic reducing agents. Many natural substances will behave as reducing agents. Fructose is a “reducing sugar” so it will reduce the indigo. Sucrose (white table sugar) is not a reducing sugar - it will not work. Fruits work best when they are very ripe or over-ripe. Fruits which the greengrocer is about to throw away are often perfect. Generally the less acidic the fruit the better. Other organic matter will work well, such as spent madder or henna. In the case of these dyes we are not using them as colourants but as reducing agents.

A Base

For the organic vat we recommend using the most benign base possible. This is calx (calcium hydroxide) also known as slaked lime or hydrated lime. Do not confuse it with “quick lime” (calcium oxide) which is very corrosive, or chalk (calcium carbonate) which will not work. Calx is recommended because when the vat is exhausted, whipping oxygen into the vat converts the remaining calx to calcium carbonate (chalk). Hence the exhausted vat contains only plant matter, indigo, and chalk. It makes excellent compost due to the nitrogen in the indigo.

Recipes for Organic Indigo Vats

We suggest that you take these recipes as a guidelines. Adapt them to use local materials that are plentiful and inexpensive. As with all natural dye recipes you may find yourself adjusting measures to suit your situation. We suggest that individuals do their own experiments. Clear glass pots of about one litre make excellent test vats. Try different combinations or experiment with local plants and fruits. For example, we have found mixing two organic reducing agents, such as henna and fructose, gives a strong indigo vat.

These vats give the best results if they are made the day before dyeing. See INDIGO VATS for general tips on dyeing with indigo. Remember to cover your vat when not in use.

These organic vats were originally developed by Michel Garcia, a botanist and dye chemist with a deep knowledge of how colour behaves on the molecular level. The recipes outlined here were developed by him to create efficient indigo vats using eco-friendly ingredients. Michel has been teaching and lecturing at the Maiwa Textile Symposium since 2009. He has worked with Maiwa in India as a dye specialist. Michel and Maiwa founder Charllotte Kwon meet on a regular basis to conduct natural dye research, explore recipes and test procedures. Together they are always looking for techniques that give the most exquisite colours - made to outlast the fibres they adorn.

spoon med.JPG

banana-ripe med.JPG

The Banana Vat

The banana vat is the most popular of the fruit vats. It is reliable, gives a clear bright blue, smells good, and is fun to make.

Review the instructions for indigo vats. Don’t forget to scour your cloth or yarn before dyeing.

For a vat of about 20 litres

— 75 g (2.5 oz) powdered natural indigo

— 3 kg (7 lbs) sweet, over-ripe bananas (2 kg (5 lb) if peeled).

— 75 g (2.5 oz) calx (calcium hydroxide).

Peel the bananas and discard the peels. In a saucepan, mash the bananas well, cover with a generous amount of water and boil for 30 minutes.

Fill a 20 litre (5 gallon) stainless steel vat 3/4 full with hot water.

Filter the juice from the boiled bananas and add to the water in the vat.

Keep the mash and cover with water. You may need to reheat this and strain off more juice later to adjust or revive the vat.

Add the indigo to the vat. Sprinkle on the surface of the vat and stir in until well mixed.

Add half the calx (reserve the second half if you need to raise the pH). Sprinkle on the surface of the vat and stir the vat gently. Do not whip it. You do not want air in the liquid. Wait for a few minutes. Then stir again. Repeat this stirring three or four times.

Heat until the liquid reaches 50°C (120° F). You may then turn off the heat. Leave the vat covered overnight. The next day the vat will have a bronzy surface and a dark blue indigo flower. The interior of the vat will be a clear yellow green.

Follow our How to Dye With Indigo instructions.


See our video tutorial on how to build a banana vat.

 
20200419_TM_765.jpg

The Fruit Vat

Review the instructions for indigo vats. Don’t forget to scour your cloth or yarn before dyeing.

For a vat of about 20 litres

— 75 g (2.5 oz) powdered natural indigo

— 2 kg (4.5 pounds) sweet, over-ripe fruit.

— 75 g (2.5 oz) calx (calcium hydroxide).

In a saucepan, mash the fruit well, cover with a generous amount of water and boil for 30 minutes.

Fill a 20 litre (5 gallon) stainless steel vat 3/4 full with hot water.

Filter the juice from the boiled fruit and add to the water in the vat.

Keep the mash and cover with water. You may need to reheat this later to use to adjust or revive the vat.

Add the indigo to the vat. Sprinkle on the surface of the vat and stir in until well mixed.

Add half the calx (reserve the second half if you need to raise the pH). Sprinkle on the surface of the vat and stir the vat gently. Do not whip it. You do not want air in the liquid. Wait for a few minutes. Then stir again. Repeat this stirring three or four times.

Heat until the liquid reaches 50°C (120° F). You may then turn off the heat. Leave the vat covered overnight. The next day the vat will have a bronzy surface and a dark blue indigo flower. The interior of the vat will be a clear yellow green.

Follow our How to Dye With Indigo instructions.

KNOW YOUR FRUIT

Sweet, non-acidic fruits, rich in fructose or glucose, make excellent reducing agents. Over-ripe fruits which a greengrocer would throw away are best and may be purchased quite cheaply. The waste from jam production, peels, and rotten bits are also good.

We have tested a lot of fruit. Here is what we have found: Pears work well - apples not so much. Bananas are excellent but must be peeled. Mangos and peaches work well (take out the pits) plums are not so good. Grapes work well - white varieties have less tannin in the skin. Fresh figs can also be used. Dried dates are great. Lemon and orange rinds work well because the rinds are full of pectin - orange or lemon juice does not work because it is acidic. Some sweet vegetables also work...such as sweet onions, sweet potato and beets. Remember that the purpose of the fruit (or vegetables) is to act as a reducing agent, not to provide a colourant. Fruit stones, seeds, and pits, often contain tannin that may cause uneven dyeing or marks so should be removed. In Maiwa’s studio we have found that fruits which have ripened on the vine or tree are remarkably better

Dates Med.JPG

 The Date Vat

Review the instructions for indigo vats. Don’t forget to scour your cloth or yarn before dyeing.

For a vat of about 20 litres

— 75 g (2.5 oz) powdered natural indigo

— 500 g (1 pound) chopped dried dates (no pits)

— 75 g (2.5 oz) calx (calcium hydroxide) You will use more later as you adjust the vat.

Soak the dates in hot water for 30 minutes and then simmer for 30 minutes. Ensure there is always ample water covering the dates.

Blend this mixture until it is smooth.

Fill a 20 litre (5 Gallon) stainless steel vat 3/4 full with hot water.

Add half the blended date mixture to the water in the vat. Set the other half aside and cover. The second half may be used to maintain or revive the vat.

Add the indigo to the vat. Sprinkle on the surface of the vat and stir in until well mixed.

Add half the calx (reserve the second half if you need to raise the pH). Sprinkle on the surface of the vat and stir the vat gently. Do not whip it. You do not want air in the liquid. Wait for a few minutes. Then stir again. Repeat this stirring three or four times.

Heat until the liquid reaches 50°C (120° F). You may then turn off the heat. Leave the vat covered overnight. The next day the vat will have a bronzy surface and a dark blue indigo flower. The interior of the vat will be a clear yellow green.

Follow our How to Dye With Indigo instructions.

Fructose_med.JPG

The Fructose Vat

 Review the instructions for indigo vats. Don’t forget to scour your cloth or yarn before dyeing.

For a vat of about 8 litres

— 30 g (1 oz) powdered natural indigo

— 90 g (3 oz) fructose

— 60 g (2 oz) calx (calcium hydroxide)

Fill a 10 litre (2.5 gallon) stainless steel vat 3/4 full with hot water.

Add the fructose and stir to dissolve.

Add the indigo to the vat. Sprinkle on the surface of the vat and stir in until well mixed.

Add half the calx (reserve the second half if you need to raise the pH). Sprinkle on the surface of the vat and stir the vat gently. Do not whip it. You do not want air in the liquid. Wait for a few minutes. Then stir again. Repeat this stirring three or four times.

Heat until the liquid reaches 50°C (120° F). You may then turn off the heat. In about an hour the vat develops a bronzy surface and a small dark blue indigo flower. The interior of the vat will be a clear yellow green.

Follow our How to Dye With Indigo instructions.

Fructose can be used to quickly build a strong vat. However, it has been our experience that fructose vats can also collapse easily or be difficult to revive. For this reason we recommend making a smaller vat when using fructose. A smaller vat also uses less indigo and so (if your vat collapses) there is less dye wasted. We have also found that fructose from fruit works well, whereas commercially available fructose from corn is less effective. Sucrose (refined table sugar) is not a reducing sugar and so will not work.

The next day this vat will benefit from being heated to 50°C (120° F) before use.

Maiwa has a Fructose Kit with everything you need to make this vat.

Henna large.jpg

The Henna/Madder Vat

Review the instructions for indigo vats. Don’t forget to scour your cloth or yarn before dyeing.

For a vat of about 20 litres

— 75 g (2.5 oz) powdered natural indigo

— 150 g (5 oz) henna

OR 200 g (7 oz) of madder

— 75 g (2.5 oz) calx (calcium hydroxide.)

Boil the henna (or madder) for 20 minutes and filter. Set the liquid aside. Then, in order to extract the full potential of the plant, add water, boil again for 20 minutes, filter and save the liquid. Combine the two batches of liquid together. Set the mash aside and cover with water. This can be used to make another extraction to revive or adjust the vat.

Fill a 20 litre (5 gallon) stainless steel vat 3/4 full with hot water.

Add the liquid to the water in the vat.

Add the indigo to the vat. Sprinkle on the surface of the vat and stir in until well mixed.

Add half the calx (reserve the second half if you need to raise the pH). Sprinkle on the surface of the vat and stir the vat gently. Do not whip it. You do not want air in the liquid. Wait for a few minutes. Then stir again. Repeat this stirring three or four times.

Heat until the liquid reaches 50°C (120° F). You may then turn off the heat. Leave the vat covered overnight. The next day the vat will have a bronzy surface and a dark blue indigo flower. The interior of the vat will be a clear yellow green.

Follow our How to Dye With Indigo instructions.

This vat can be used until exhausted, or it can be combined with a fruit vat.

This vat takes advantage of plant material that is rich in antioxidants. These are dyes that contain flavonoïds, for example, henna, madder or osage. Remember that these materials are used as reducing agents, not as colourants. Spent dye matter that is no longer useful for dyeing is best.

If you wish to store spent matter until you are ready to make an indigo vat you must dry the dye matter first. Otherwise it will go mouldy. 

ferrous med.JPG

The Ferrous Vat 

Review the instructions for indigo vats. Don’t forget to scour your cloth or yarn before dyeing.

For a vat of about 15 litres

— 30 g (1 oz) Natural indigo (1 part)

— 60 g (2 oz) ferrous sulphate (2 parts)

— 90 g (3 oz) calx (calcium hydroxide) (3 parts)

This is called the “1, 2, 3 vat” – it is a cold vat that is great for cellulose and some silks; however, it is not recommended for wool because of the iron. The Ferrous Vat gives a beautiful dark indigo and has the advantage of being a cold vat that keeps for months. It is good for cloth that has been printed with resist as it does not require long dips. It is a vat with a long history in many cultures.

Start with hot water – almost boiling. Add the indigo to the vat, then the ferrous sulphate, then the lime. Wait for the vat to turn yellowy-green. Lower down in the vat, the liquid will be amber coloured. Check for the bronze surface and the dark bubbles. Begin to dye with short dips (10-15 minutes).

Follow our How to Dye With Indigo instructions.

A basket is highly recommended for dying when using the ferrous vat. If the iron in the bottom of the vat touches items being dyed it may cause discolouration. The ferrous vat gives a more stately blue, little less bright than many of the other vats and more like what might be found on a pair of seasoned blue jeans.

Keep the vat covered when not in use.

Maiwa has a ferrous kit with everything you need to make this vat.

THE WORKHORSE VAT

Our first choice for a vat is usually an organic vat. However, the workhorse vat is a very dependable alternative that is quick and easy to make. If you are new to indigo you may want to make a small workhorse vat to see how a successful vat behaves before moving on to one of the organic vats. As for all indigo vats, three things are necessary: 1) Indigo, 2) A reducing agent, 3) A base.

Three Things 3.JPG

INDIGO

We recommend natural indigo in powder form.

A REDUCING AGENT

Maiwa uses thiourea dioxide as a reducing agent in the workhorse vat because it has a long shelf-life and can be disposed of safely.

A BASE

We recommend calx (calcium hydroxide) as a base. There are two alternatives to calx: lye and soda ash. Lye is a strong base and as such should be treated with caution. The casual use of lye around the home studio is not recommended. Soda ash is less caustic than lye and is a good alternative. If using soda ash the vat may reduce more slowly and may need the pH checked more often.

Starter_med.JPG
 
workhorse med.JPG

The Workhorse Vat

Review the instructions for indigo vats. Don’t forget to scour your cloth or yarn before dyeing.

For a vat of about 20 litres

PREPARATION OF THE STARTER SOLUTION

— 15 g (2 tablespoons, 1/2 oz) indigo

— 4 g (1 teaspoon .14 oz) thiourea dioxide

— 30 g (4 tablespoons, 1 oz) calx (calcium hydroxide)

instead of calx you may substitute:

— 10 g (1.5 teaspoons) of lye

OR — 60 g (4 tablespoons) of soda ash.

Caution: a mask should be worn to avoid inhaling any powders; especially lye, soda ash, calx or thiourea dioxide.

1. Fill a 1 litre (1 quart) mason jar with hot water, add the calx (or lye or soda ash) and stir until dissolved.

2. Add the indigo and gently stir for 2 minutes (chopsticks work well for this).

3. Add the thiourea dioxide and stir for about a minute. Do not close the jar.

As the starter reduces, the colour of the surface of the liquid will change to a purplish violet with a coppery sheen. Below the surface the solution will change from an opaque blue to a translucent yellow-green. This may take about 30 - 60 minutes.

If reduction is slow, set jar aside in a warm room (or place it in a bath of warm water) for about 60 minutes. Check the stock solution to see if it is ready by dribbling some solution on the side of a white cup. If it changes from clear yellow to opaque blue as the indigo oxidizes — it is ready.

The stock solution may be used immediately or kept for later (up to a week). If kept longer than a week the solution may need to be revived. Heat gently to about 50°C (120°F) and add some more reducing agent (thiourea) and stir well.

PREPARATION OF THE VAT

— 4 g (1 teaspoon) thiourea dioxide

— 4 g (1.5 teaspoons) calx (calcium hydroxide)

instead of calx you may substitute:

— 1 g (1/8 teaspoons) of lye.

OR — 120 g (8 tablespoons) soda ash

This vat does not need maintained heat and so you can use a plastic container.

1. Put 4 gallons (15L) of hot water 50°C (120°F) into your vat.

2. Add the calx (or lye or soda ash) into the water and stir until dissolved. This makes the vat slightly alkaline so that the reduced indigo from the stock solution does not re-oxidize when added.

3. Add 4 g (1 teaspoon) of thiourea dioxide and stir gently until dissolved. Allow the vat to reduce for about 15 minutes.

4. Carefully lower the jar of stock solution into the vat. Avoid pouring from above as this adds oxygen. Transfer the contents of the jar completely.

5. Stir to create a vortex. Then allow 30-60 minutes for the vat to turn yellowish green. Check the pH. The pH of a new vat should be 11 (the correct for cellulose). If dyeing protein fibres, wait for the pH to lower to 10.

Now you are ready to dye.

In a well maintained vat, 15 grams (1/2 oz) of indigo will dye approximately 450 g (1 pound) of fibre a dark blue. It will dye 900 g (2 pounds) of fibre a medium blue. This recipe can be doubled, halved, or made in any size so long as the proportions remain the same.

NOTE: If using this vat in combination with other natural dyes, we recommend doing the indigo first as the thiourea (particularly in a new vat) may discharge some colours.

Maiwa has an indigo kit with natural indigo, calx, thiourea and printed instructions.