HOW TO DYE WITH INDIGO
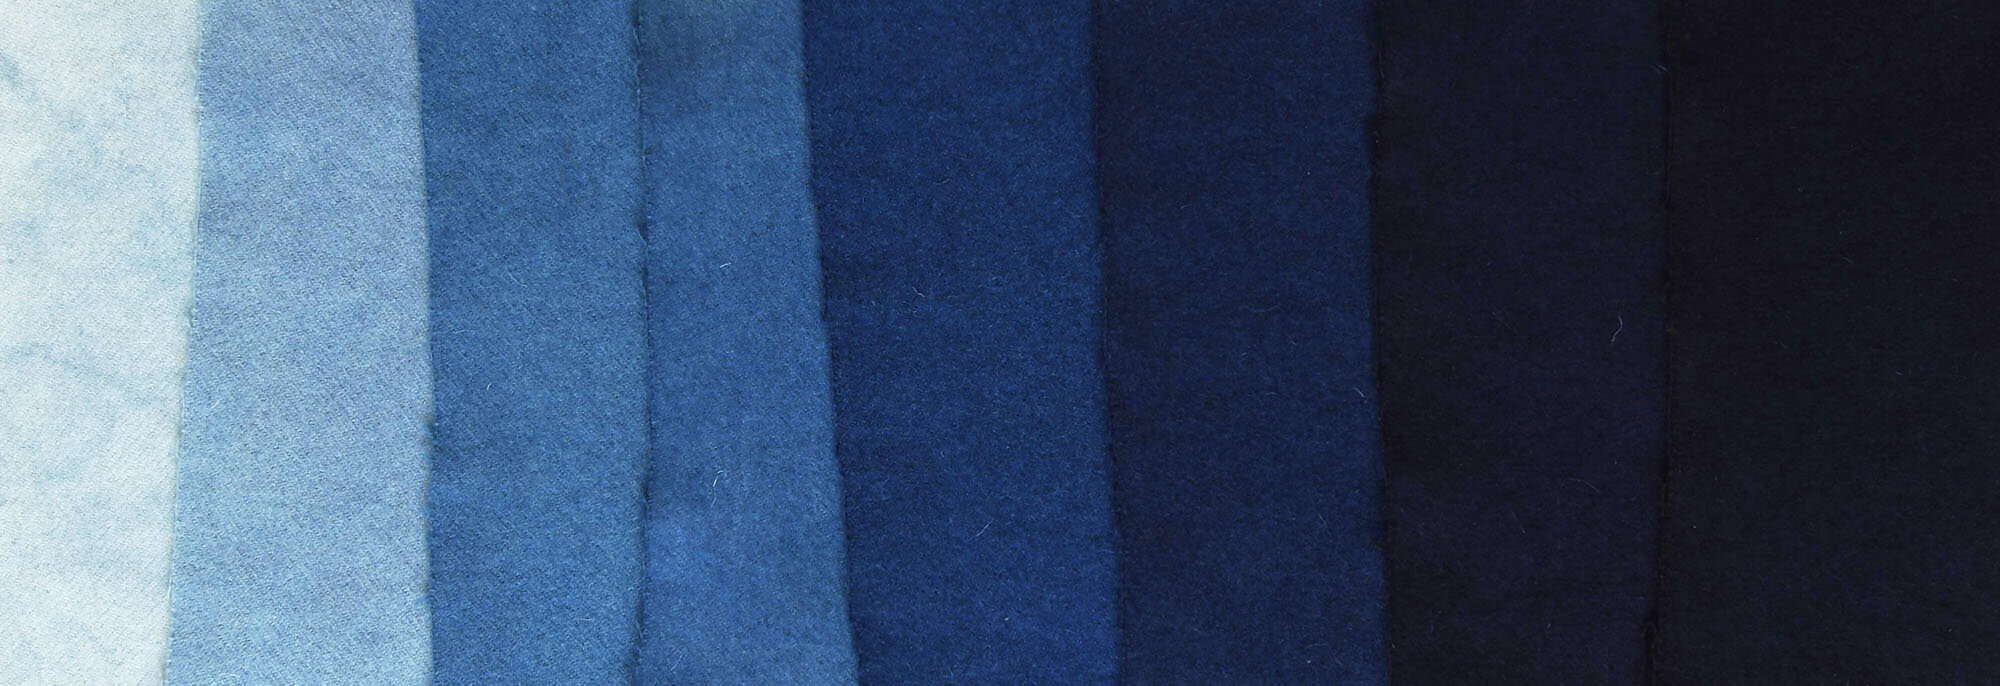
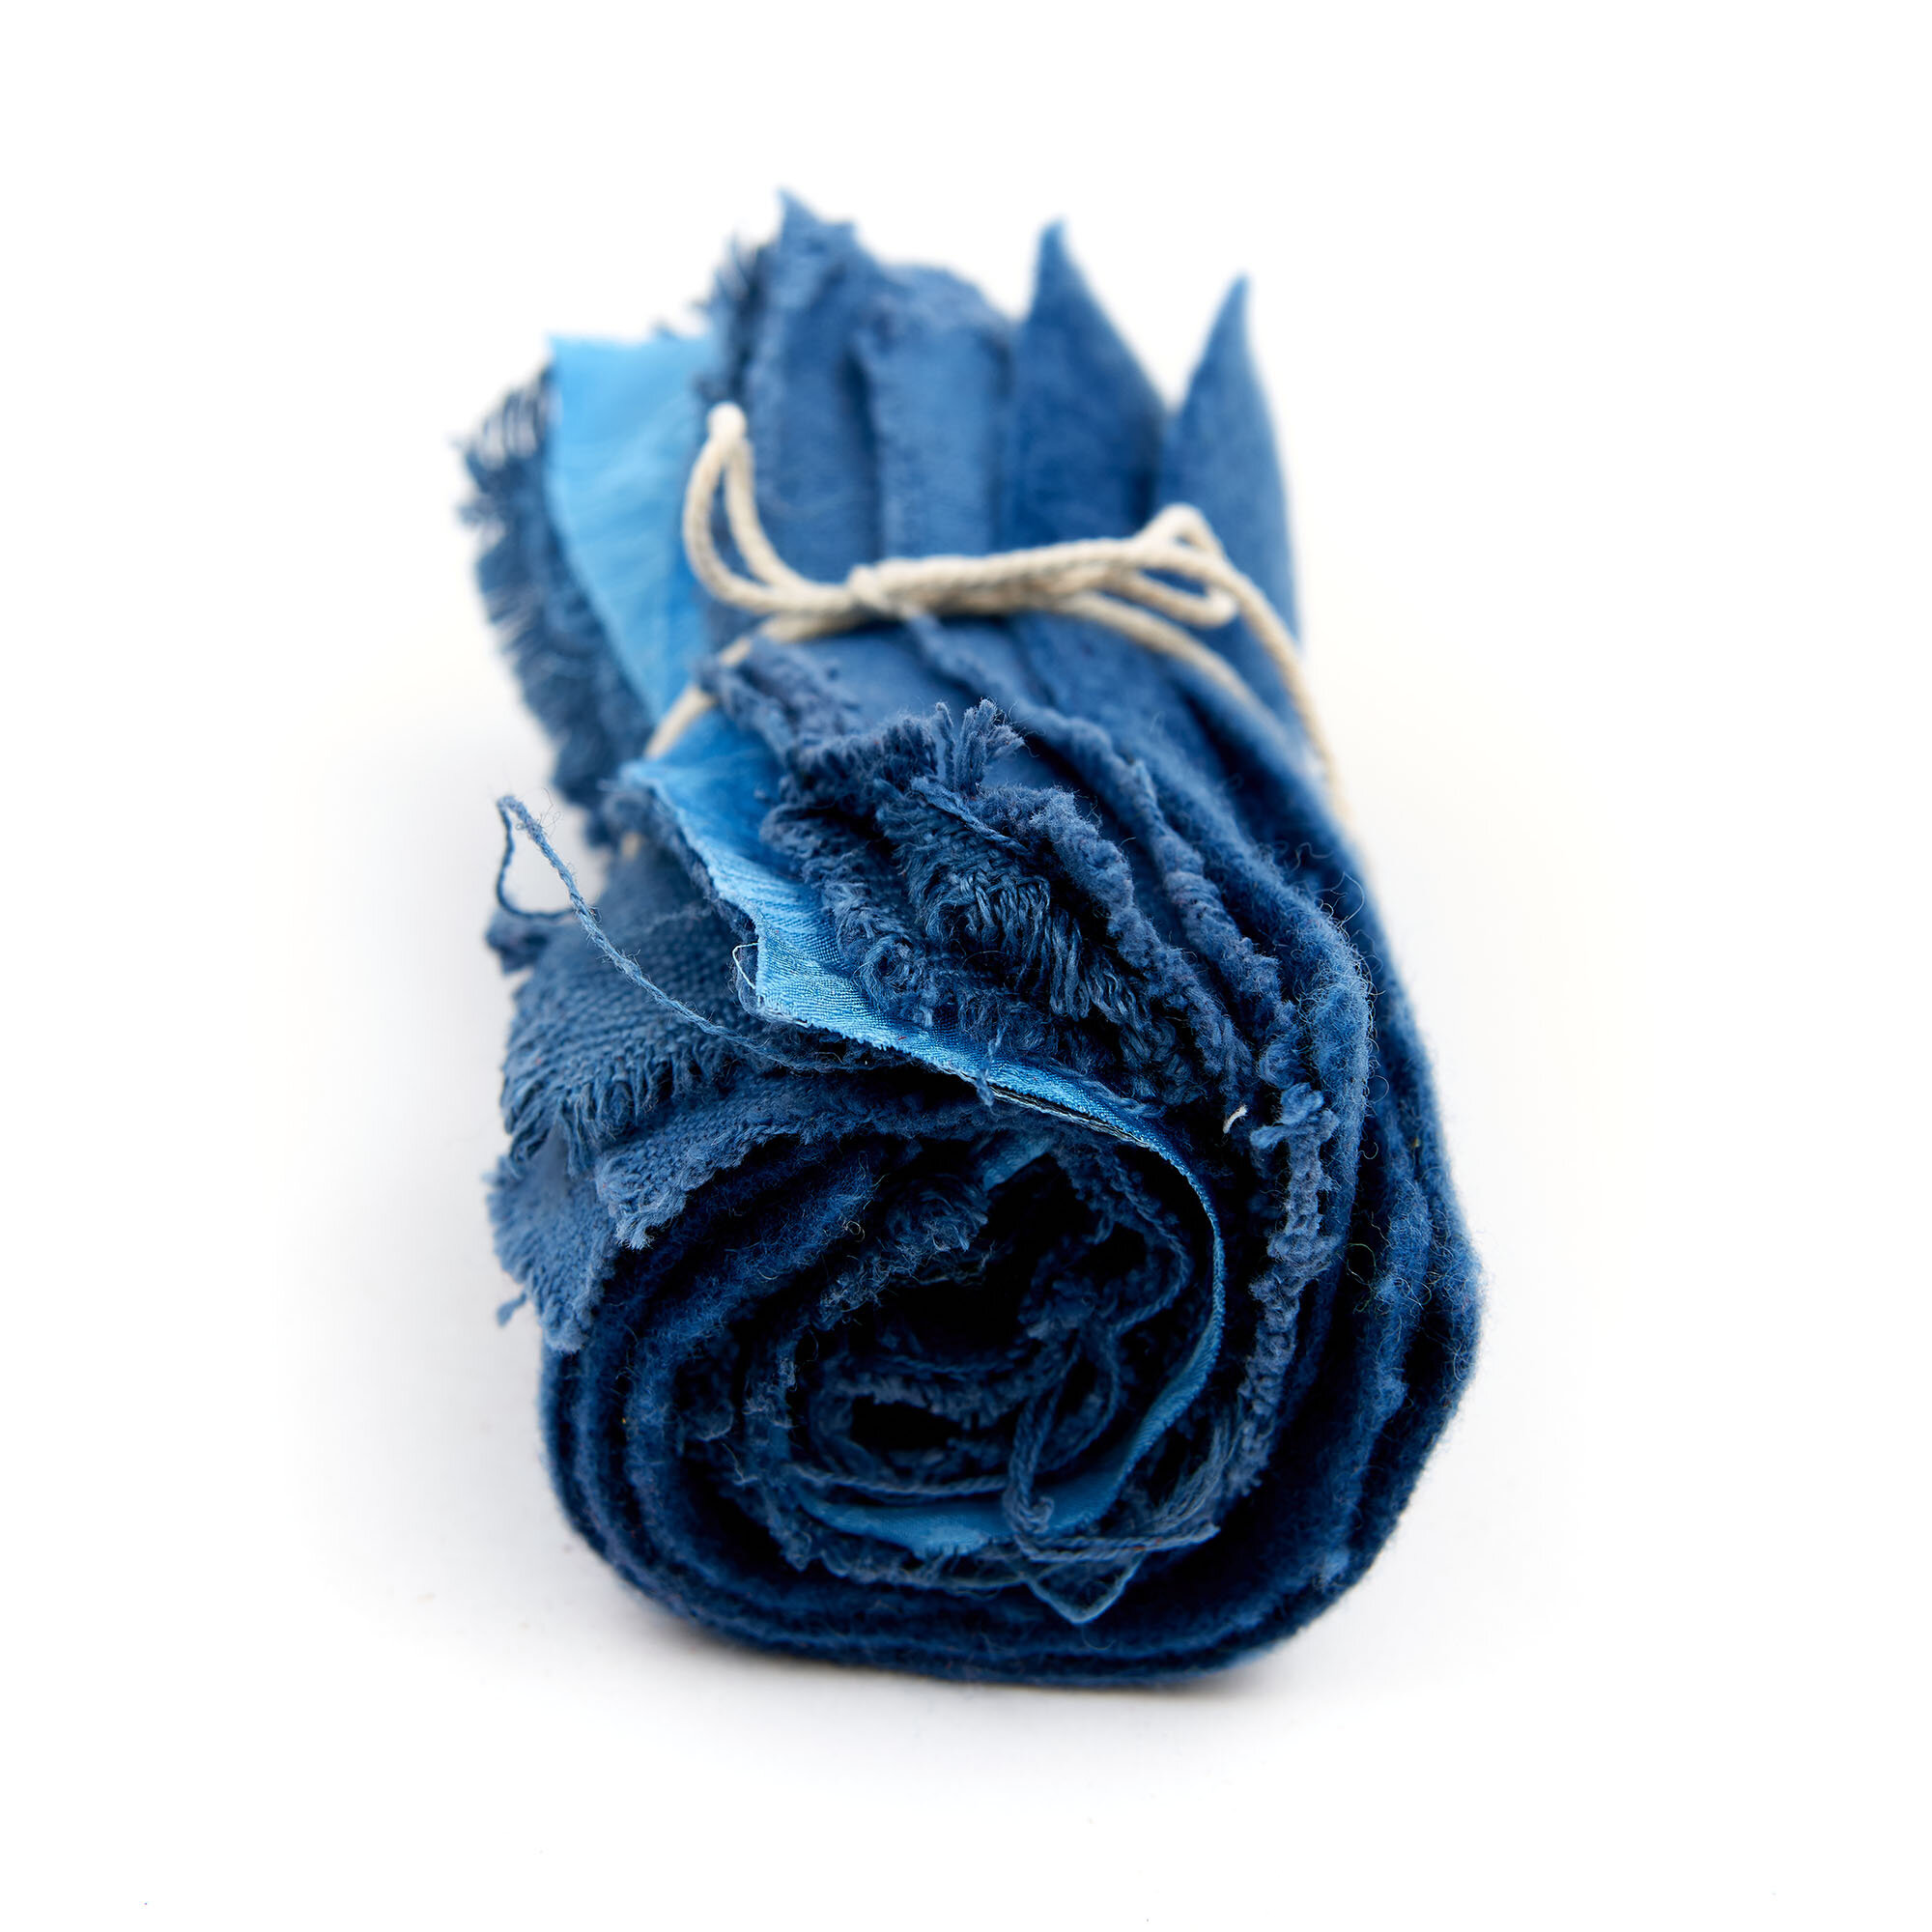
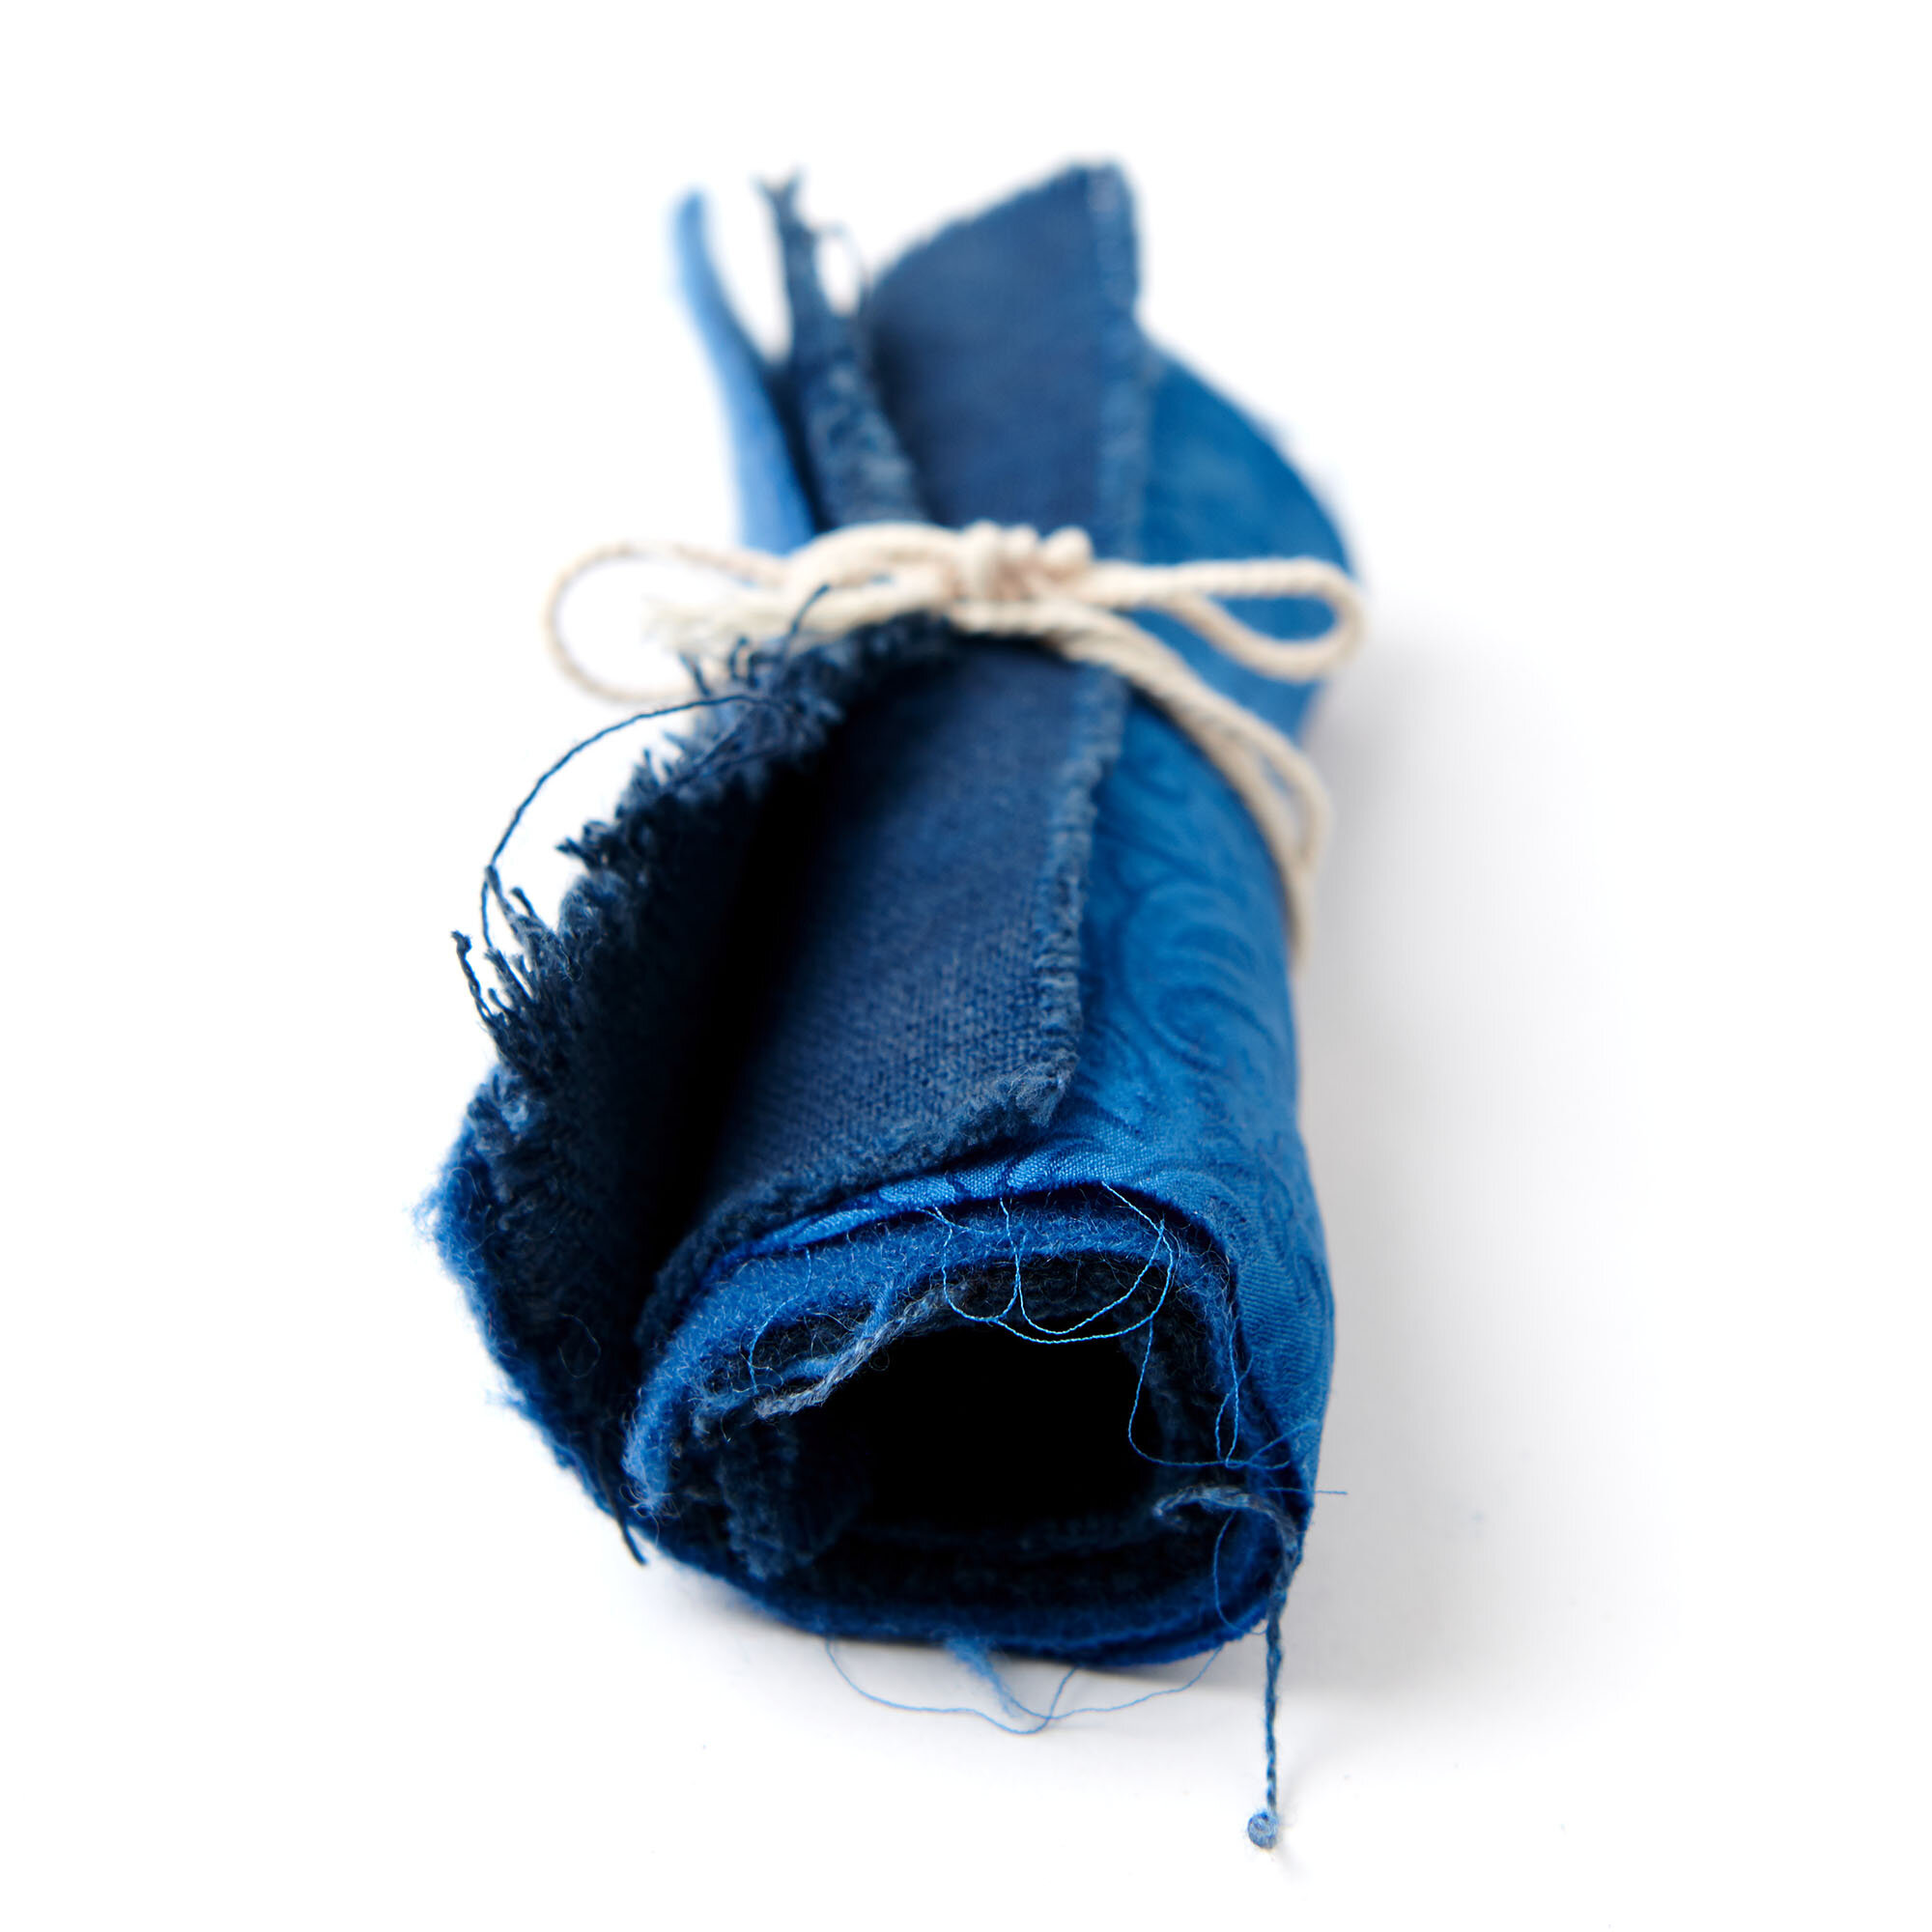
Indigo can dye all natural fibres. It gives beautiful shades of blue — from the palest summer sky to an almost purple black. The colour achieved depends on the type of vat, the concentration of indigo, and the number of dips.
Indigotin (the dye component of indigo powder) is insoluble in water. To use it for dyeing it must be reduced to a water-soluble form. All indigo vats need three things: 1) Indigo 2) A reducing agent 3) A Base.
INDIGo
We recommend natural indigo extract in powdered form. Natural indigo generally contains anywhere from 15% to 55% indigotin by weight depending on the crop, growing season and harvest. Maiwa’s natural indigo generally tests at between 40 and 45% indigotin. In a well maintained vat, 15 grams of indigo will dye approximately 450 g (1 pound) of fibre a dark blue. It will dye 900 g (2 pounds) of fibre a medium blue.
A reducing agent
Chemically, we need to reduce the indigo to make it soluble — we do this with a reducing agent.
Reducing agents can be sugars, some natural dyes or other plants, or chemicals. A reducing agent lowers the oxidation state of the indigo molecule, transforming indigotin into leuco-indigo — which is soluble in water at room temperature. If we just add powdered indigo to water it will remain in pigment form, suspended but not dissolved.
What is the difference between a suspension and a solution? A fish is suspended in the ocean. But salt is dissolved in the ocean. You can see the fish (which remains distinct) you cannot see the salt (which has dissolved). If we can see the indigo (the dye bath is blue inside) then the indigo is not dissolved and the dye bath cannot be used to for dyeing. When the indigo is reduced it dissolves and the dye bath is a greeny-yellow colour.
A BASE
In order for the reducing agent to act on the indigo, a basic environment is required. Chemically speaking, a base is the opposite of an acid. The reduction of indigo requires a basic (alkaline) solution. A recommended base for an indigo vat is calx (calcium hydroxide) also known as lime, pickling lime, or hydrated lime. Do not confuse it with “quick lime” (calcium oxide) which is much more corrosive, or chalk (calcium carbonate) which is too mild a base for an indigo vat. Maiwa sells a high grade calx, perfect for making a vat. Soda ash or lye are alternatives to calx. Lye is a strong base and should be treated with caution. Soda ash is less caustic than lye and is a good alternative but it takes longer.
Health & Safety
The following guidelines will help ensure that dyeing is a fun, enjoyable activity. Wear a mask when working with powders such as calx, lye, or indigo. Gloves are recommended for dyeing as the indigo vat is highly alkaline. Some of these recipes suggest the use of lye which is very caustic and can cause burns to exposed skin. Lye should be treated as a hazardous substance. The casual use of lye in the home studio is not recommended. When mixing powders and water always add the powder to the water. Never add water to a measure of powder. Keep pots and utensils used for dyeing completely separate from items used for cooking. Clearly label all containers and substances. Store dyes and chemicals separately and away from foods. Hazardous substances such as lye should be in a locked cabinet. Be mindful of pets and children.
THE INDIGO VAT
When the indigo is dissolved, the dye bath is a greeny-yellow colour. On the top of the vat, air oxidizes the indigo, resulting in blue indigo pigment. Resting on the bottom of the vat is the sediment consisting of any undissolved indigo, reducing agent or base.
HOW TO DYE WITH INDIGO
1) Scour the cloth or yarn.
2) Build your vat.
3) Dip the cloth or yarn.
4) Oxidize the cloth or yarn.
5) Final wash of the cloth or yarn.
1) SCOUR THE CLOTH OR YARN
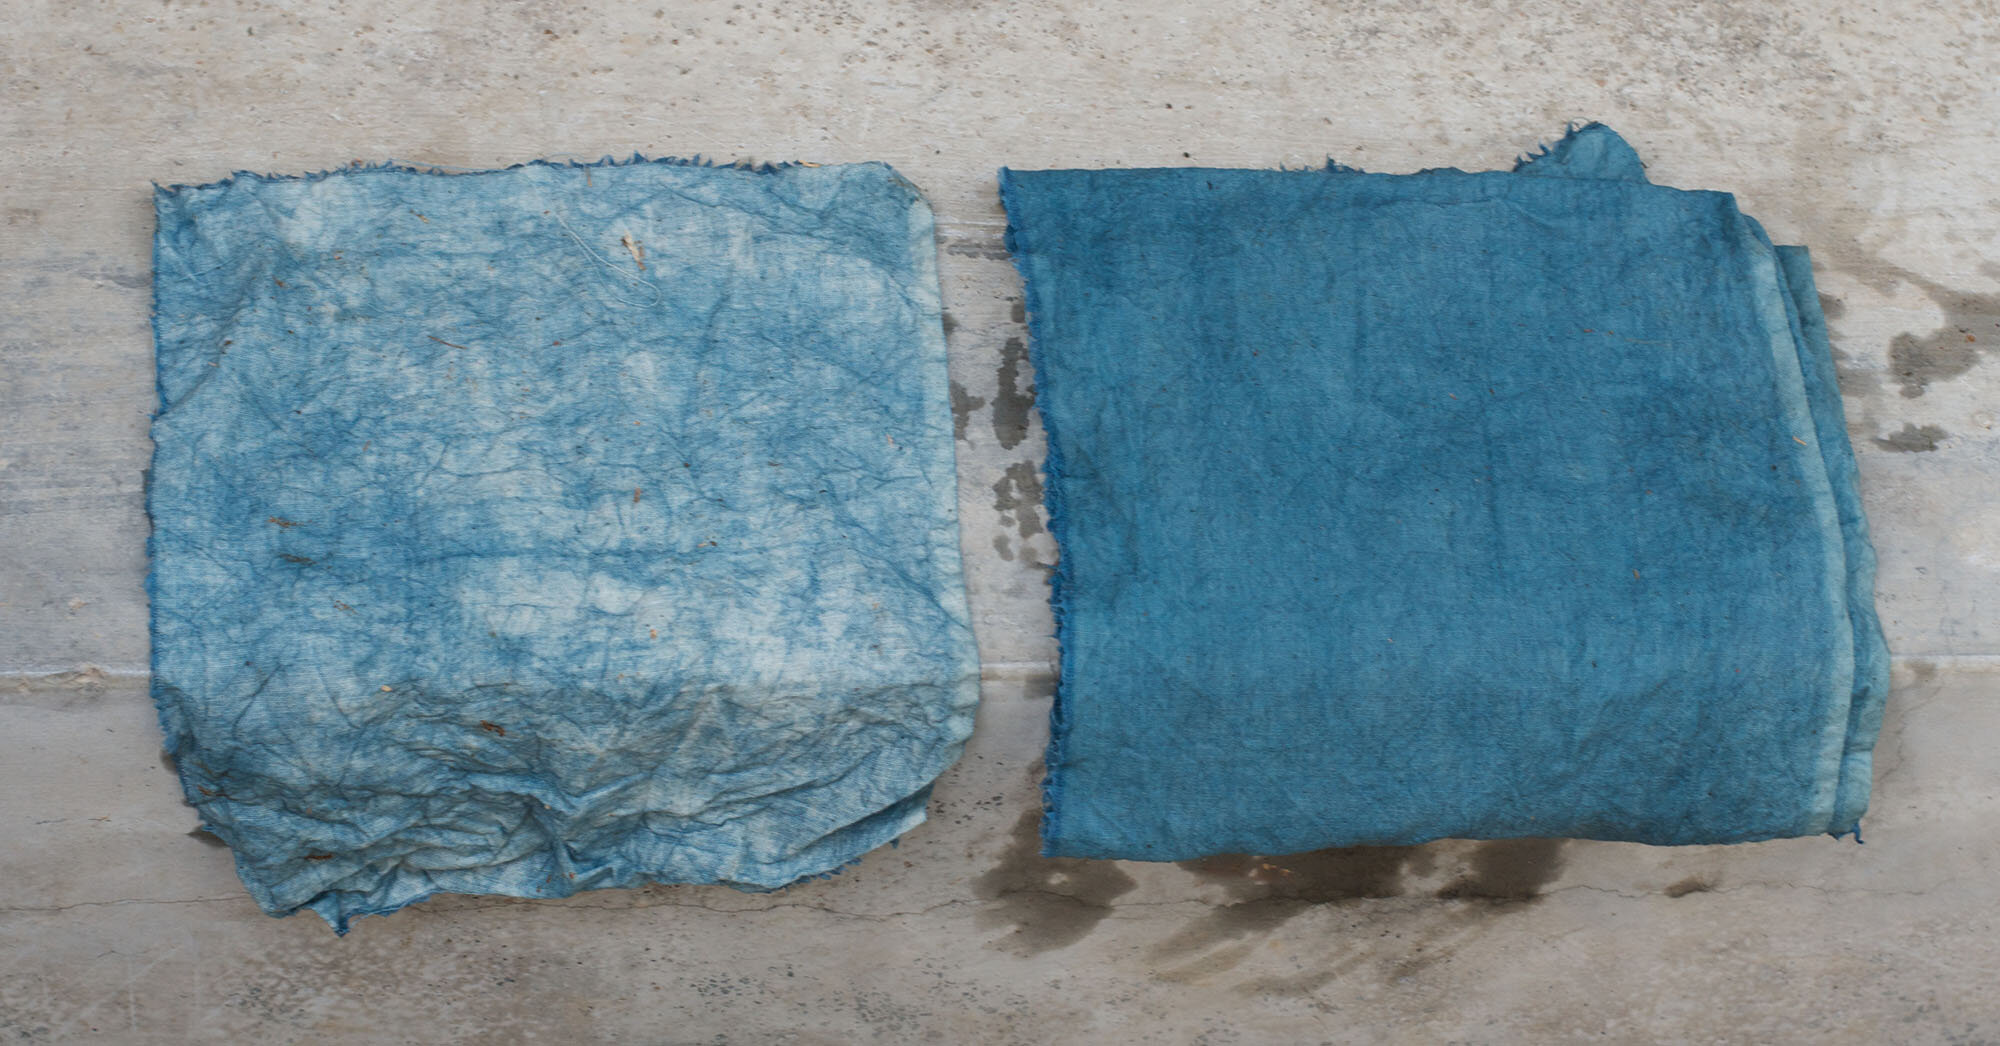
Proper scouring is absolutely essential to good dyeing. Improperly scoured items do not dye level, the dye does not penetrate well and the dyed item will have poor rub fastness. The difference between scoured and not scoured can be dramatic.
A single length of cloth torn in two — soured on the right, not scoured on the left.
Scouring Cellulose
Cotton, linen, hemp, etc.
1. Fill a large pot so that cloth or yarns are covered and not crowded.
2. For each 450g (1 pound) of goods add 10ml (2 teaspoons) synthrapol and 20 g (4 teaspoons) soda ash.
3. Simmer for approximately 1 hour. Cotton is full of wax, pectic substances, and oil, all of which must be removed. The resulting wash water may be yellow brown. Bleached white cotton yarns and fabrics may not need as long.
4. Allow fibre to cool down slowly and then rinse in warm water.
Fabrics marked PFD (Prepared for Dyeing) may only need a light scour or none at all (always test before omitting). To lightly scour fabrics (not yarns) you may use a top-loading washing machine. Use the above recipe and hot water.
Scouring Protein
Silk, wool, hair etc.
1. Fill a large pot so that cloth or yarns are covered and not crowded.
2. For each 450g (1 pound) of goods add 5 ml (1 teaspoon) orvus Paste soap.
3. Heat gently to 60º C (140º F) for approximately 1 hour. Turn gently but do not agitate
4. Allow fibre to cool down slowly and then rinse in warm water.
Fabrics marked PFD (Prepared for Dyeing) may only need a light scour or none at all (always test before omitting). To lightly scour fabrics (not yarns) you may use a top-loading washing machine. Use the above recipe and warm water. To avoid felting do not agitate.
2) BUILD YOUR VAT
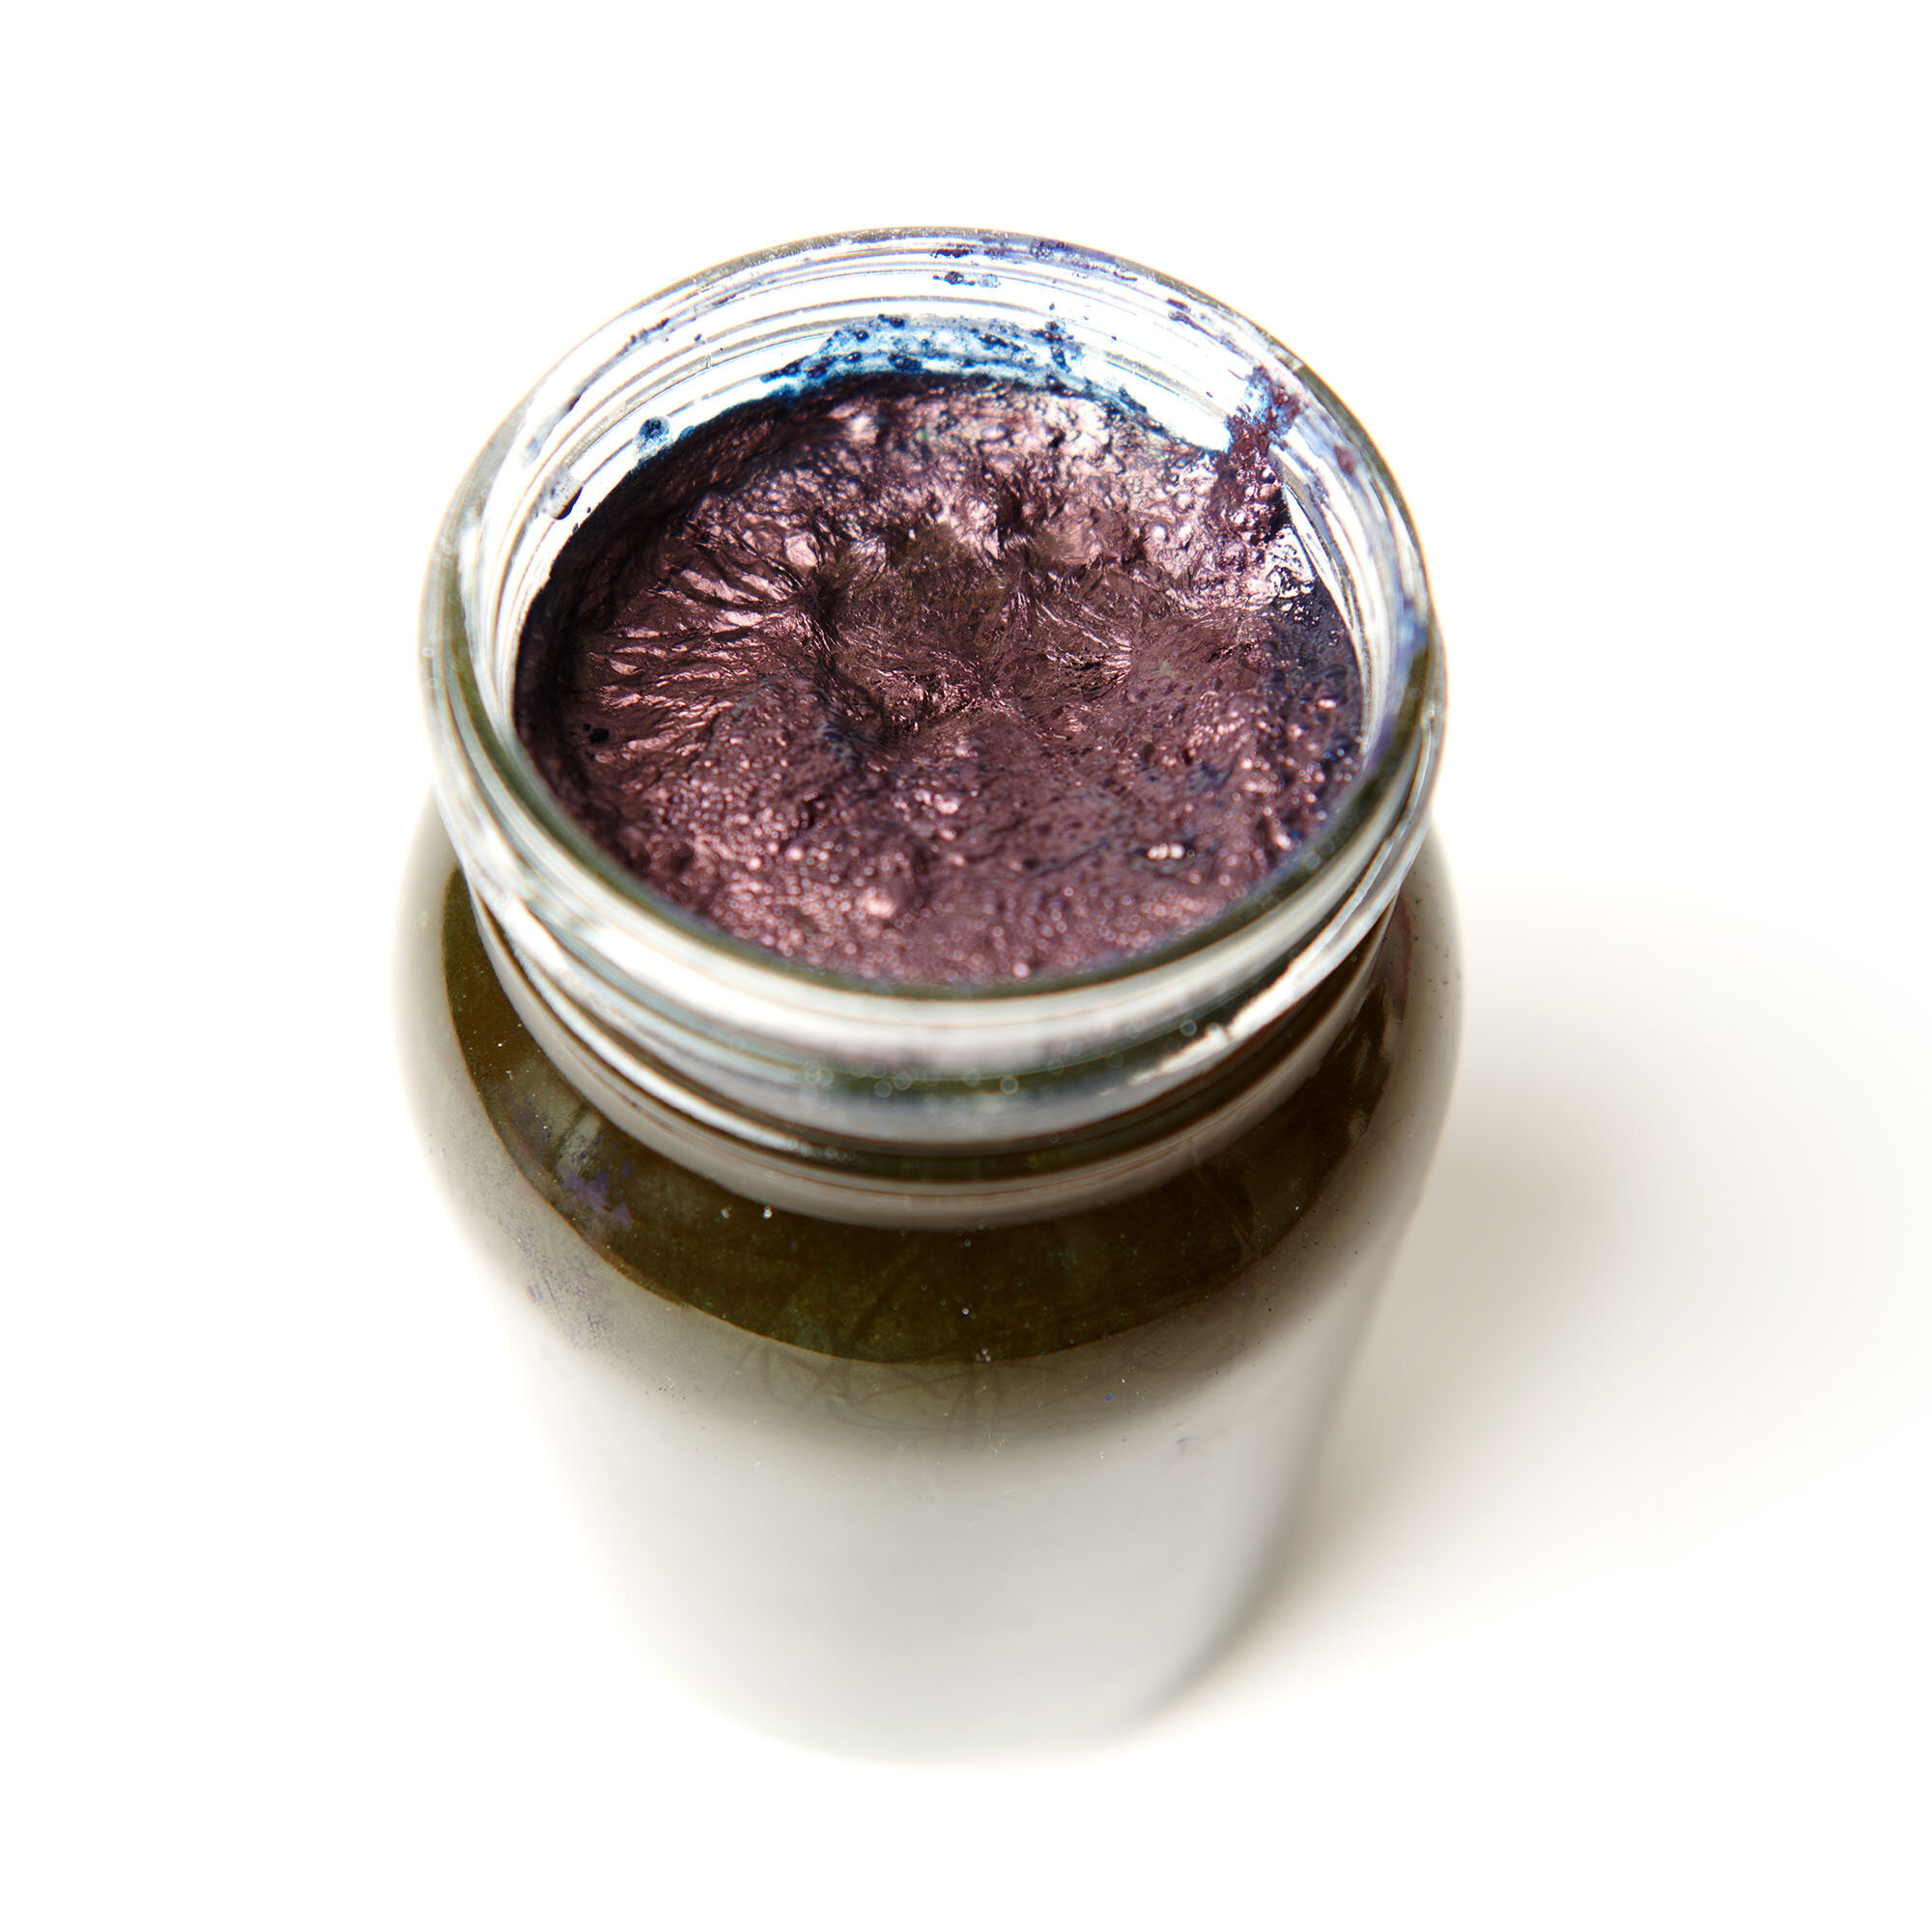
The indigo flower sitting on the surface.
We have included detailed instructions for each type of vat with each recipe. Here is some useful information for all vats.
Heat may be used to start a vat, or later to revive it, but indigo vats do not require maintained heat. This gives you more flexibility in terms of the container you select for your vat. If using a plastic container you can supply heat with an immersion heater. If you are using gas or electric heat you will, of course, need to use a stainless steel pot.
Check the recipe for the size of vat. Fill the pot with warm water (hot tap water is perfect). Fill slowly and avoid adding air to the water. Add the ingredients as specified in the recipe. Once your vat is made, stir the vat gently. Don’t whip it - you do not want air in the liquid. Wait for a few minutes then stir again. Repeat this three or four times. The vat will form a bronzy surface. Wait for ten to twenty minutes after stirring to let the sediment fall to the bottom of the vat before dyeing.
The famous “indigo flower” will appear in the vortex. Before dyeing move the flower to one side. You can also remove it completely, save it, and return it to the vat when you are finished dyeing. The flower is indigo pigment and so is good to add back to the vat.
The vat is now ready to be used for dyeing.
TIP - The secret of a Starter Solution
Sometimes it is easier to get your vat working by beginning in a small container and then transferring it to a full-size vat. A one litre (one quart) mason jar is the perfect size to make a “starter solution.” In a concentrated space the indigo tends to reduce more quickly and thoroughly. Sometimes a starter solution can also be used to kick-start or revive a dormant vat. If a starter solution is recommended we have mentioned it in the recipe.
If using a starter solution for the organic vats, add the liquid used as a reducing agent to the mason jar while hot. Add all of the indigo called for in the recipe and mix well. Then add half the base called for in the recipe. The mason jar is your starter solution. It should be yellowy-green inside and have a coppery-blue skim on top.
The remaining half of the base will be added to the warm water in the vat.
Gently submerge the mason jar under the water in the vat so that you can transfer the contents of the jar without creating bubbles or adding air. Rinse the jar so that all its contents are in the vat.
TIP - Hydrating Indigo
Maiwa’s powdered indigo is ground very fine and does not require hydrating as a separate step but if you are working with a more coarse indigo, it will be helpful to hydrate it first. Sometimes alcohol is used to do this, but we have found a quick and efficient way to hydrate indigo is to use marbles. Simply fill a strong plastic container 2/3 full of marbles (or smooth, round stones). Add the indigo powder and cover the marbles with warm water. Shake vigorously for one minute. The indigo is now hydrated. Pour the hydrated indigo into your vat or starter solution, using the lid to keep the marbles in the jar. Swirl a little bit of water in the jar to wash the rest of the indigo out.
3) DIP THE CLOTH OR YARN
Generally the item to be dyed is wetted before dyeing, however some resist techniques require the item to be added dry. To dye cloth or yarns, submerge the item completely in the vat. Hold it under the surface but don’t let it touch the bottom of the vat. Gently squeeze the item to work the liquid into all the fibres. Time your dip if you are attempting to achieve a specific shade of blue. Be gentle putting items into the vat. When taking items out, squeeze them under the surface and remove slowly. Always avoid making bubbles which add oxygen to the vat.
Immerse the yarn or cloth for 10-30 minutes (20-60 minutes for wool) depending on the type of vat. The organic vats require longer dips, shorter dips are needed for the workhorse vat.
Rub-fast and wash-fast colours are built up by doing several long dips in a medium strength vat, rather than quick dips in a strong vat. A long dip permits the indigo to penetrate the fibres so that as much indigo as possible is inside the fibres, not just on the surface.
Tip - Dyeing with a Basket
When using an indigo vat, it is good practice to keep yarns and cloth from touching any sediment in the bottom of the vat. This is particularly important with the ferrous vat as the iron may cause dots or stains. A metal or bamboo basket works well for this. Stir the vat, wait for the sediment to settle, then submerge a basket into the vat. Place fabric or yarn inside the submerged basket.
Eight shades of indigo on wool. Dyed using an organic banana vat.
Overdyeing with Indigo
If planning to overdye with indigo, we generally do indigo last as indigo can be stripped out by other processes. Some natural dyes are acidic (i.e. cochineal) and can interact with the vat to lower the pH. Also, some natural dyes can be altered by the indigo vat.
If using the workhorse vat we recommend doing the indigo first as the reducing agent (particularly in a new vat) may discharge some colours.
4) OXIDIZE THE CLOTH OR YARN
Indigo will oxidize in the air or under water. As cloth or yarns are removed from the vat you will see how the yellowy green magically turns to blue. Some fibres will benefit from being oxidized under water. The piece is agitated in a bucket of cool water for at least ten minutes. The water oxidizes the item more slowly, eliminates darker areas caused by the dye pooling and washes off any stray indigo pigment. Regardless of oxidizing in air or water, hang out of the light and permit the item to fully oxidize.
Darker colours can be obtained through repeated dips. For darkest colour, let items dry completely (out of the light) between dips.
5) FINAL WASH OF THE CLOTH OR YARN
A final rinse is done with a solution of weak vinegar. Use 15 ml (1 tablespoon) of vinegar per litre (quart) of water. The vinegar will neutralize any remaining calx and counter the effect of the alkaline dye bath.
Once the item is completely dry, we like to leave it to rest in the dark for two weeks. Then, do a final wash with a neutral soap and warm water.
For both yarns and cloth, a good test to see if you have washed the item thoroughly is to rub the dry item lightly with a white cloth. The white cloth should remain white. Indigo will naturally rub off with time (as it does on blue jeans) however a well-dyed item should not rub off prematurely.
VAT MAINTENANCE
Keep your indigo vat covered when not in use. It does not need to be air-tight, but it will be happier with a lid.
In a well maintained vat, 15 grams (2 tablespoons) of indigo will dye approximately 450 g (1 pound) of fibre a dark blue. It will dye 900 g (2 pounds) of fibre a medium blue.
As you dye cloth or yarn you will necessarily use up the indigo in the vat. The reducing agent and base will also be used up. Dyeing cloth or yarns will introduce oxygen into the vat and change the vat’s chemistry. In short, using the indigo vat will mean that you have to make adjustments to maintain it.
Good observation is the key to vat maintenance. Start with your dyed item. If it is lighter than you think it should be, it is time to check the vat. Stir the vat to ensure it is well mixed, give it 10 - 20 minutes to settle. This could be all it needs. If not, next check the pH.
pH
The proper pH of an indigo vat is 9-10 for protein fibres and 11-12 for cellulose. You may test the pH of the vat with a pH test strip. If it is too low, carefully add some more base. If it is too high, you can just wait (a few hours or a day) for the pH to come down. If you want to work more quickly, add some more reducing agent or dilute the vat with cold water and wait a little, the pH will decrease.
The indigo flower at the centre of the vat.
ReDucing agent
Use a metal spoon to look at the liquid just under the surface. If it is yellowy-green with blue specs (or if the liquid has a blue tinge), then you may need more reducing agent or a little heat. These specks are indigo pigment created by oxygen in the vat. Heat or reducing agent (or both) will remove the oxygen and you can begin dyeing again.
Feed your vat
After a long day of dyeing, a vat likes to go to bed with a full stomach. When using the organic vats, you will find that adding some of the mash used to build the vat works well. Add half a cup of mash (not the liquid) stir, and cover for the night.
INDIGO
If the indigo flower has gone from a dark indigo blue to light cobalt blue, it may be time to add more indigo. If the pH is correct and the vat is a beautiful yellow-green, but your dyeing is too light — it is time to add more indigo. A common mistake of beginning dyers is to try to solve all vat problems by adding more indigo. Try to calculate how much fibre you have dyed, and compared that to how much indigo has gone into the vat. Adding more indigo should be your last option.
Reviving Vats
Indigo vats may be maintained for months or even years. Some of Maiwa’s vats are over five-years old. A vat is more easily maintained if it is checked on a regular basis. A vat may be revived until the amount of sediment becomes problematic. There is an art to reviving an indigo vat: check the pH, adjust, check the colour of the liquid below the surface, consider the addition of more reducing agent or indigo. A vat may be revived by the addition of a gentle heat or the addition of a mini-starter. Indigo vats all have distinct personalities. Some are happy to be revived, others, not so much.
Vat DISPOSAL
With the exception of the ferrous vat, the organic vats and the workhorse vat may be used as compost by following this procedure. 1) Oxidize the vat. Whip air into the vat as if you were making whip cream. This will convert the calx (calcium hydroxide) into chalk (calcium carbonate). If the pH is still high, either leave the vat uncovered for a week or two to neutralize itself, or add vinegar to bring down the ph to around 7. Let the vat settle for a day. Carefully pour off the liquid (this may go down domestic drains or be used on gardens). The sludge in the bottom of the vat may be disposed of as compost or as solid waste in domestic garbage.
The ferrous vat lasts such a long time that you should not need to throw it out, but if you do, follow the procedure above. The sludge from the ferrous vat cannot go down the drain. Take the sludge to a waste disposal centre.
ABOUT WOAD
Woad extract may be substituted for indigo in these recipes. Woad generally has a lower content of indigotin and gives weaker, more pastel-esque shades.


