COCHINEAL SPRINKLE SHAWL
LEVEL: BEGINNER
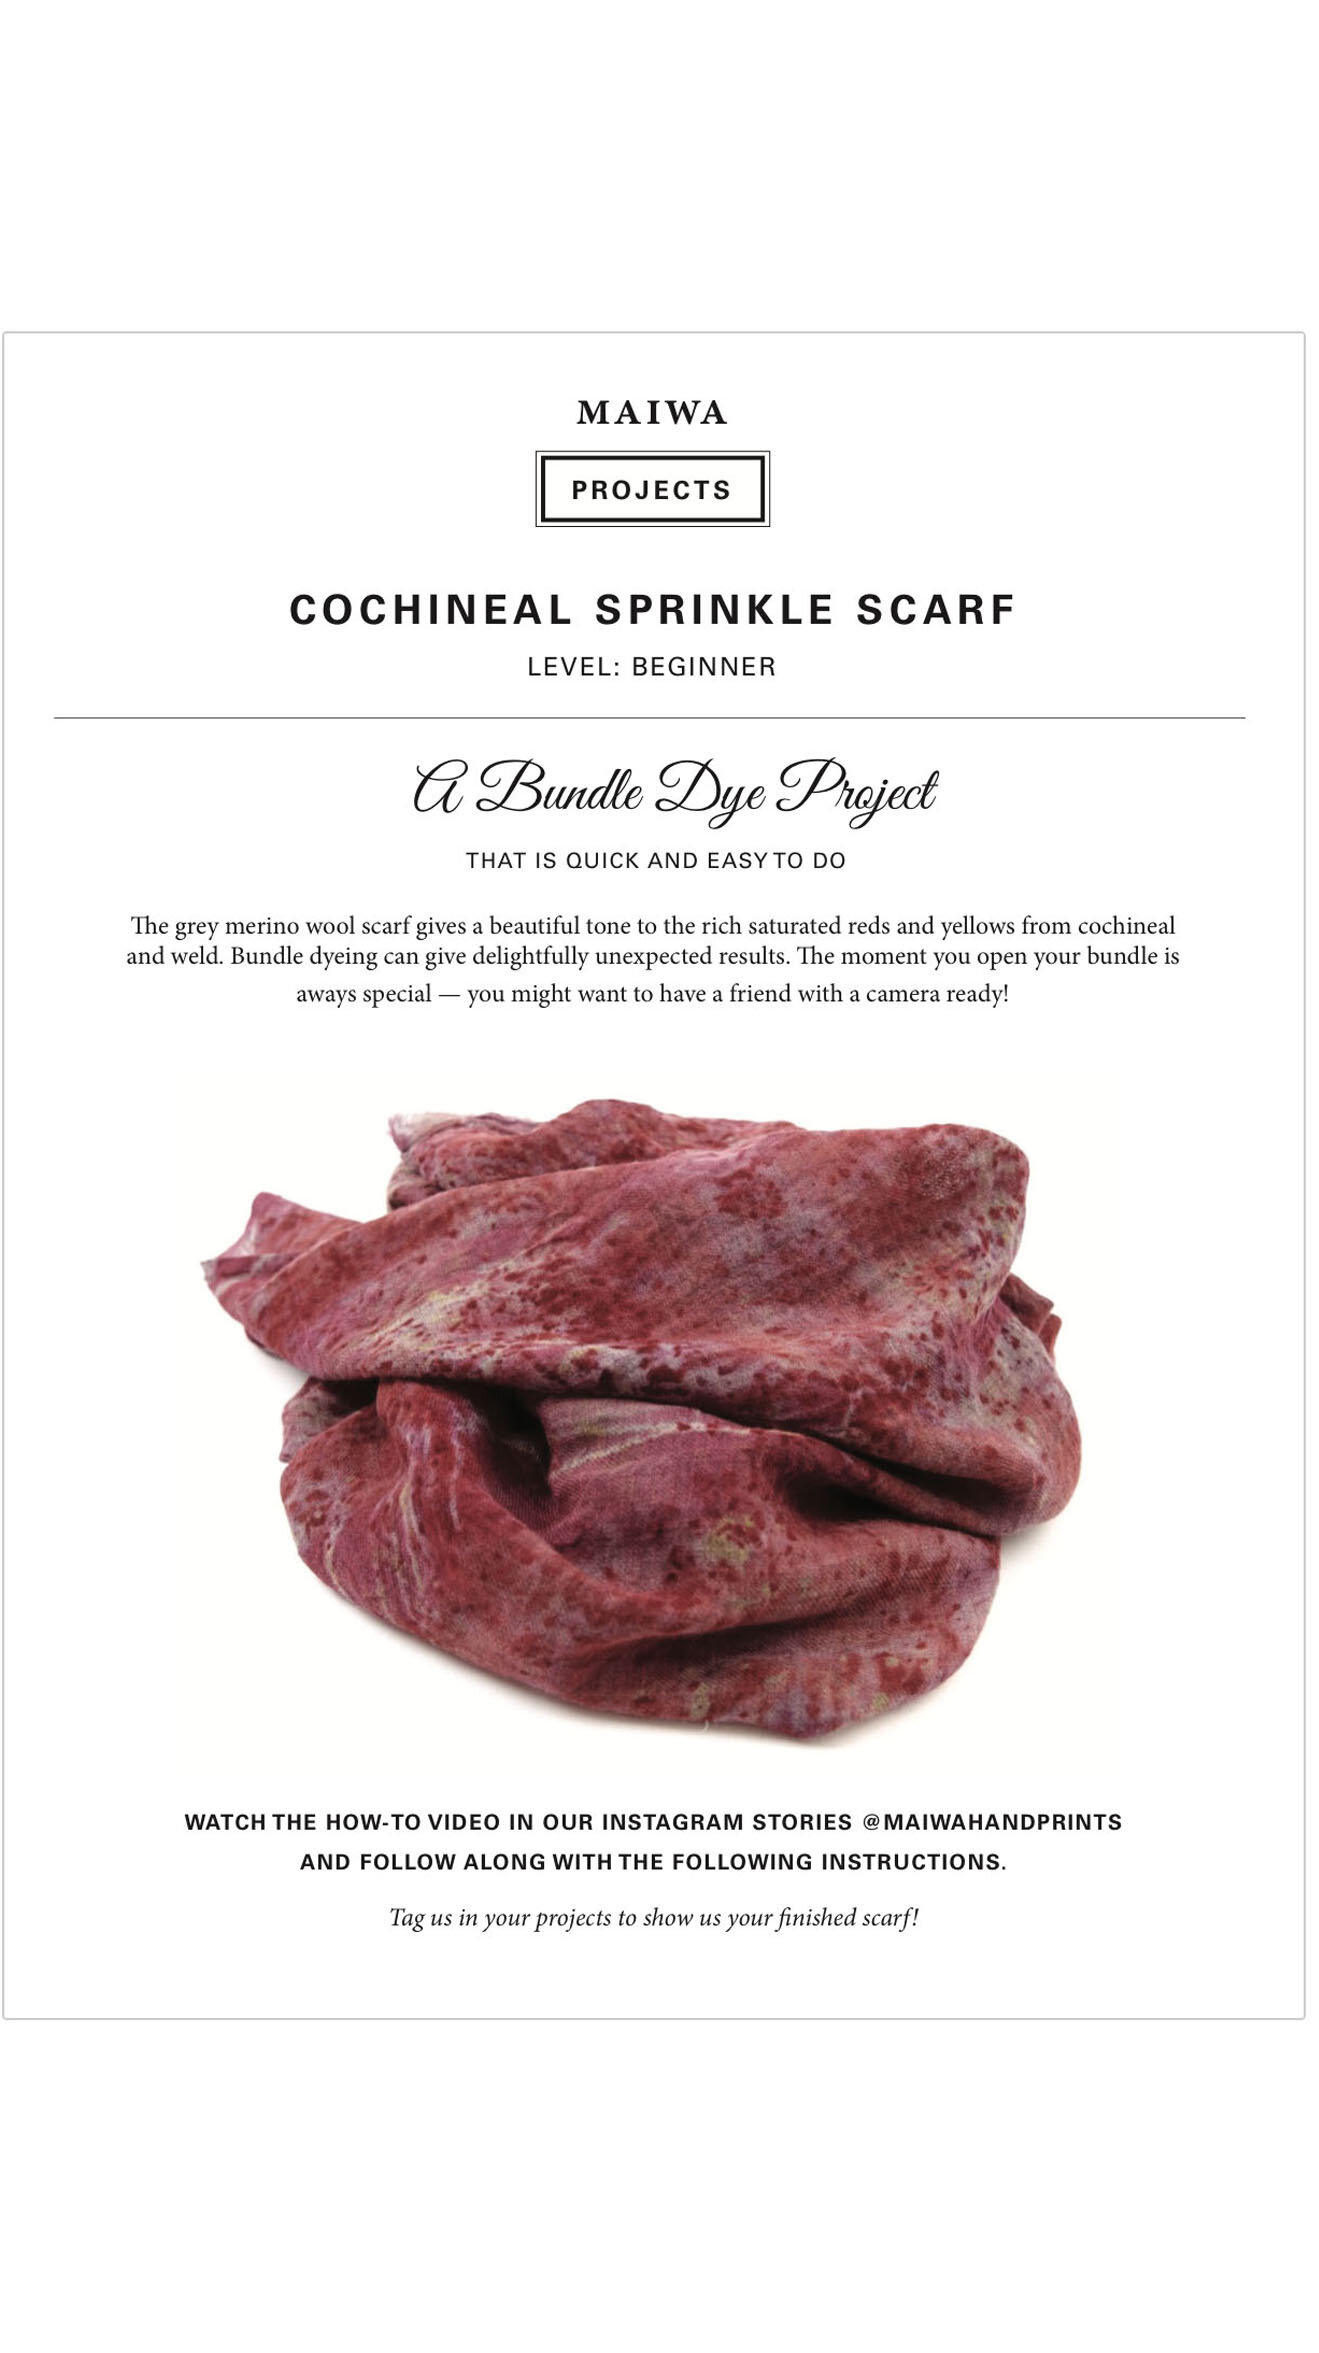
This is a fun project that is quick and easy to do. The grey merino wool scarf gives a beautiful tone to the rich saturated reds and yellows from cochineal and weld. Bundle dyeing can give delightfully unexpected results. The moment you open your bundle is aways special — you might want to have a friend with a camera ready!
WATCH THE HOW TO VIDEO
— Smart Phone —
(IN OUR INSTAGRAM STORIES)
FOLLOW ALONG WITH OUR INSTRUCTIONS BELOW.
TAG US IN YOUR PROJECTS: @maiwahandprints TO SHOW US YOUR FINISHED SCARF!
TERMS USED IN THIS PROJECT:
WOF = Refers to the “Weight Of Fibre”. WOF gives a convenient way to state how much dye is needed for a given shade. The measure is a percentage of the dry weight of goods, so it remains constant — regardless if you are dyeing a few ounces or a few kilograms.
SCOUR = Both yarns and fabrics need to be scoured before dyeing to remove oils and impurities. Scoured items dye more evenly, the dye penetrates better, and dyed colours are more lightfast and wash-fast. The process is different for cellulose fibres and for protein fibres.
MORDANT = Colourfast dyeing usually requires a mordant. Mordants are metallic salts that facilitate the bonding of the dyestuff to the fibre. Cellulose fibres also require a tannin in order to bond well and so the mordanting step for cellulose will include both a mordant and a tannin.
SAFETY:
KEEP POTS AND UTENSILS USED FOR DYEING SEPARATE FROM ITEMS USED FOR COOKING. STORE DYEING INGREDIENTS AWAY FROM FOODS. CLOSE JARS TIGHTLY AND KEEP AWAY FROM CHILDREN AND PETS.
Complete instructions on the use of natural dyes:
SUPPLIES AND EQUIPMENT USED:
Supplies for this project are in a special PROJECTS section of our website.
Here are links to individual supplies.
Our Heather Grey Merino Wool Scarf that was used in this demonstration is currently out of stock, but our Handwoven Wool Pashmina Scarf is a great alternative.
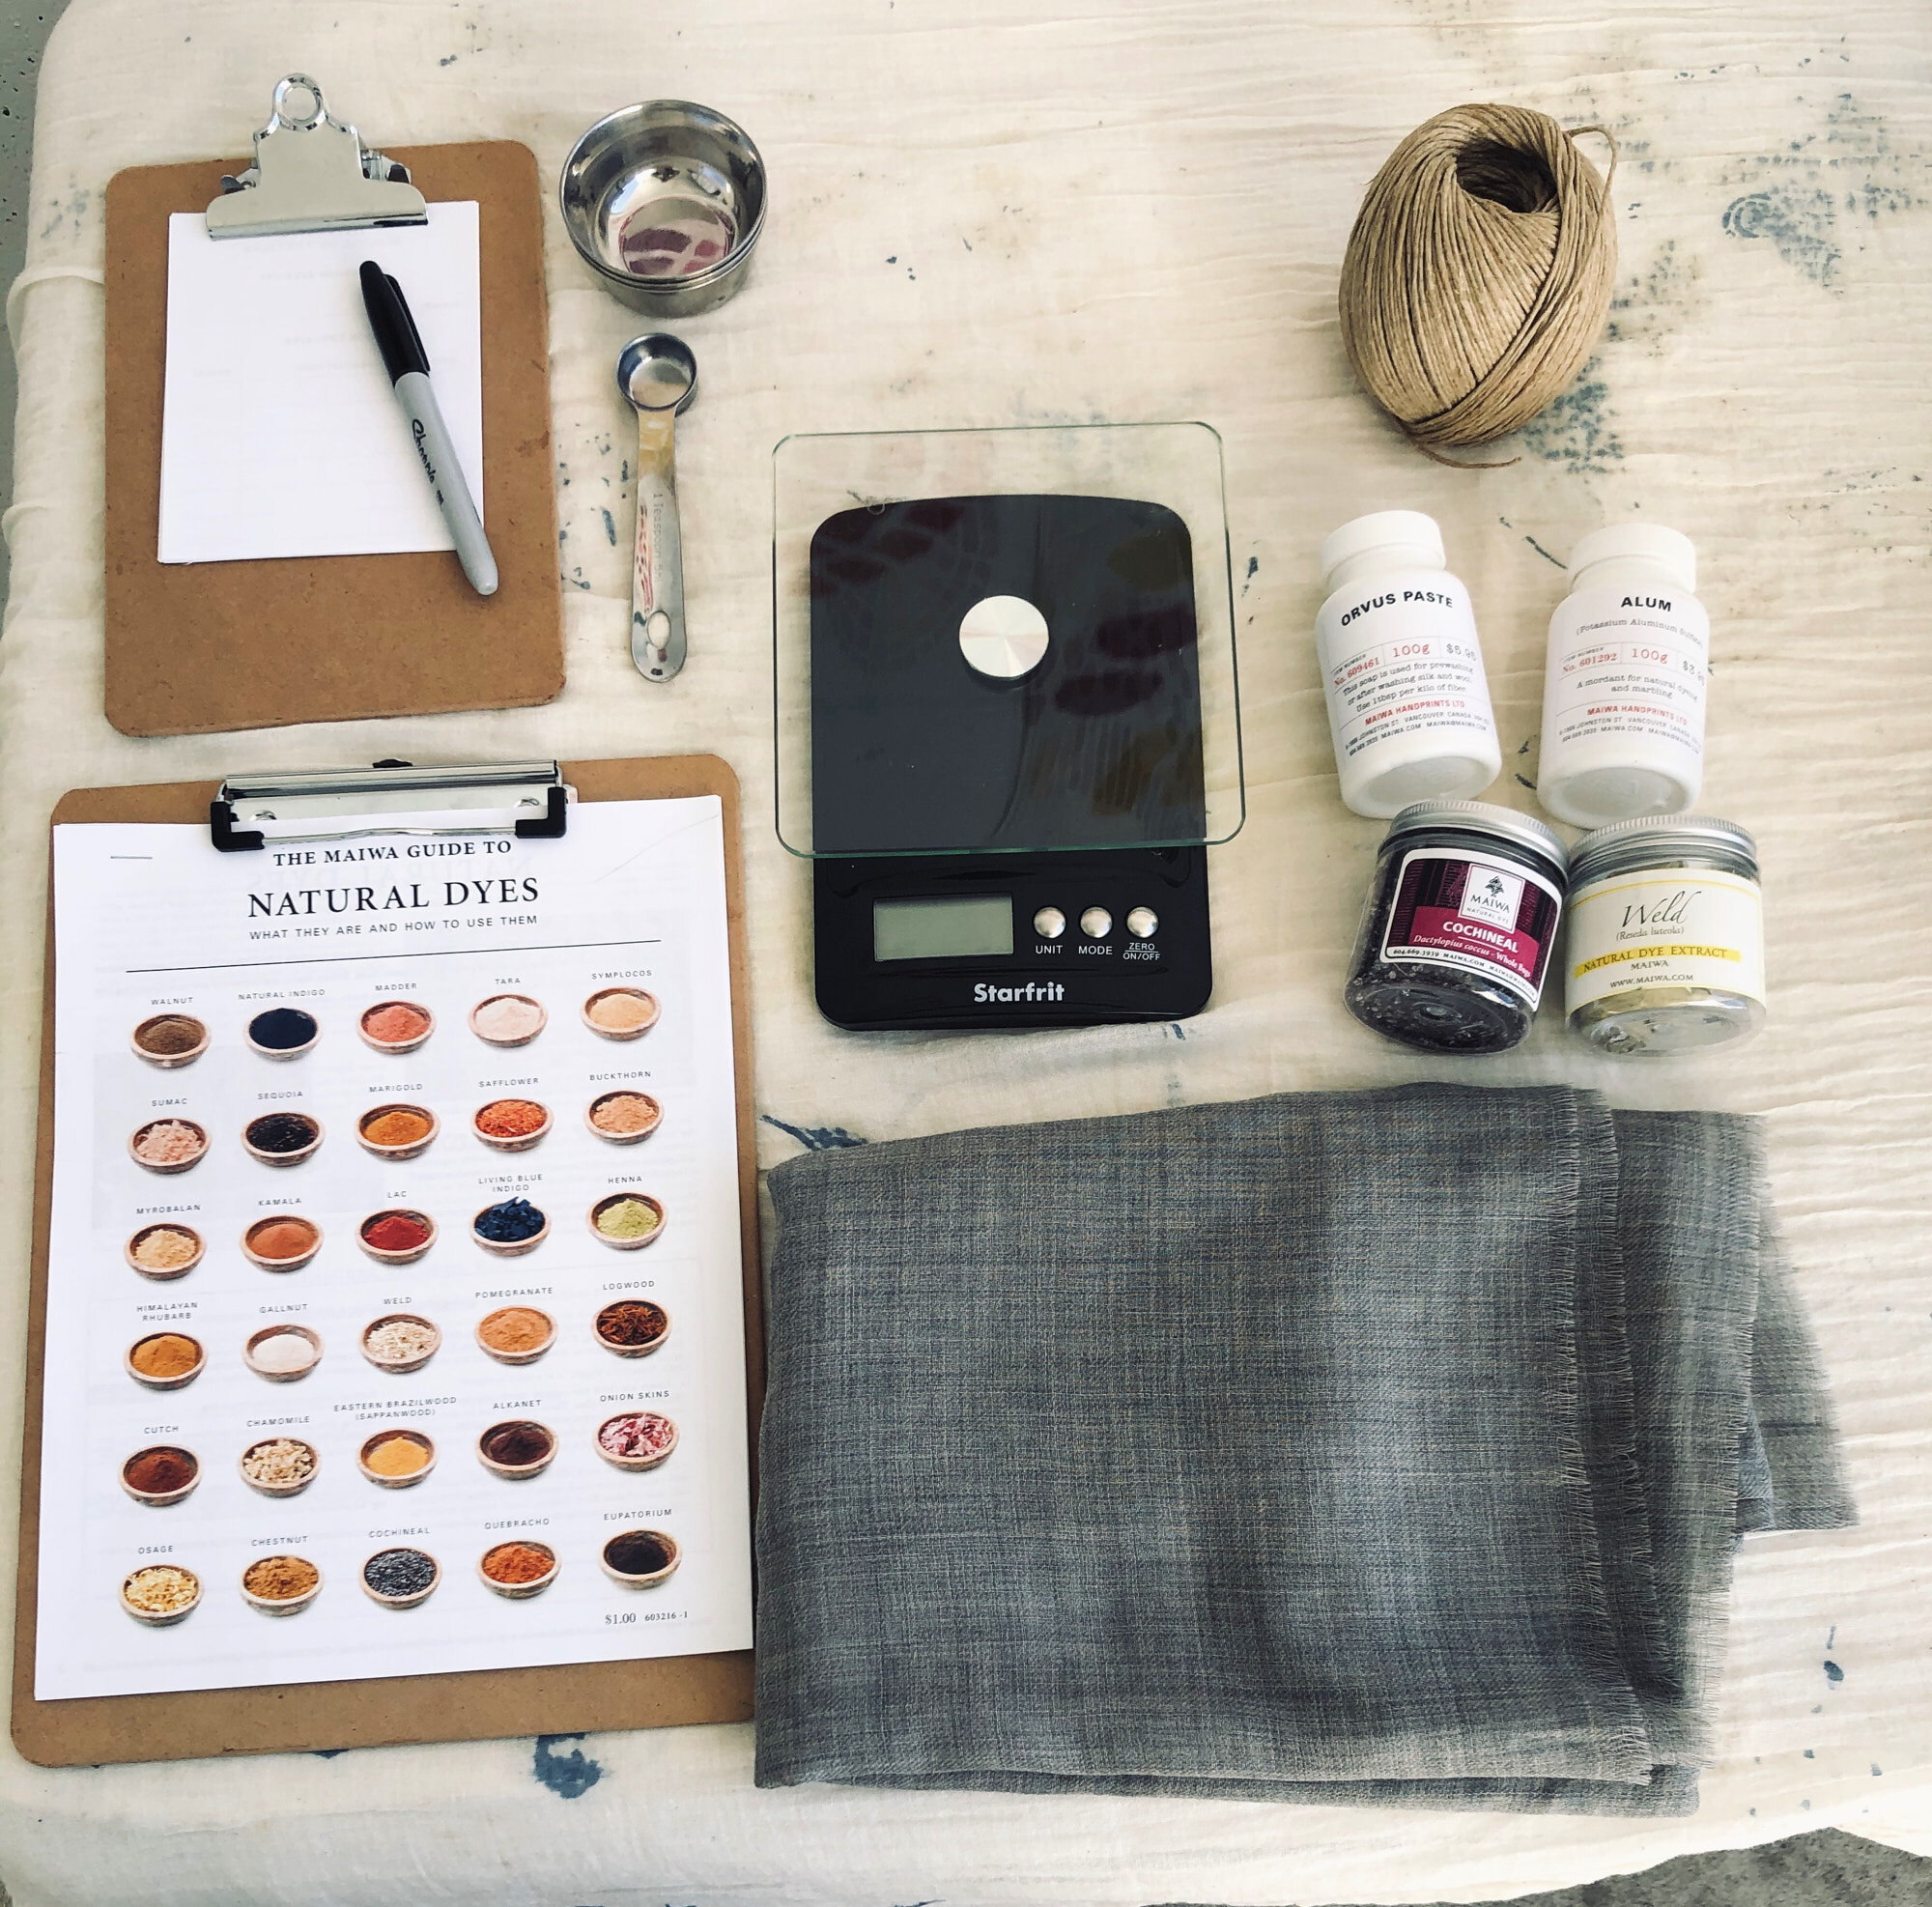
Dyes - we used cochineal bugs and weld extract.
Orvus paste (scouring agent)
Alum (Potassium Aluminum Sulphate - a mordant)
Stainless steel pot & spoon, gloves, string, scale, note paper, mortar and pestle (optional - to grind the cochineal).
STEP 1: WOF AND CALCULATIONS
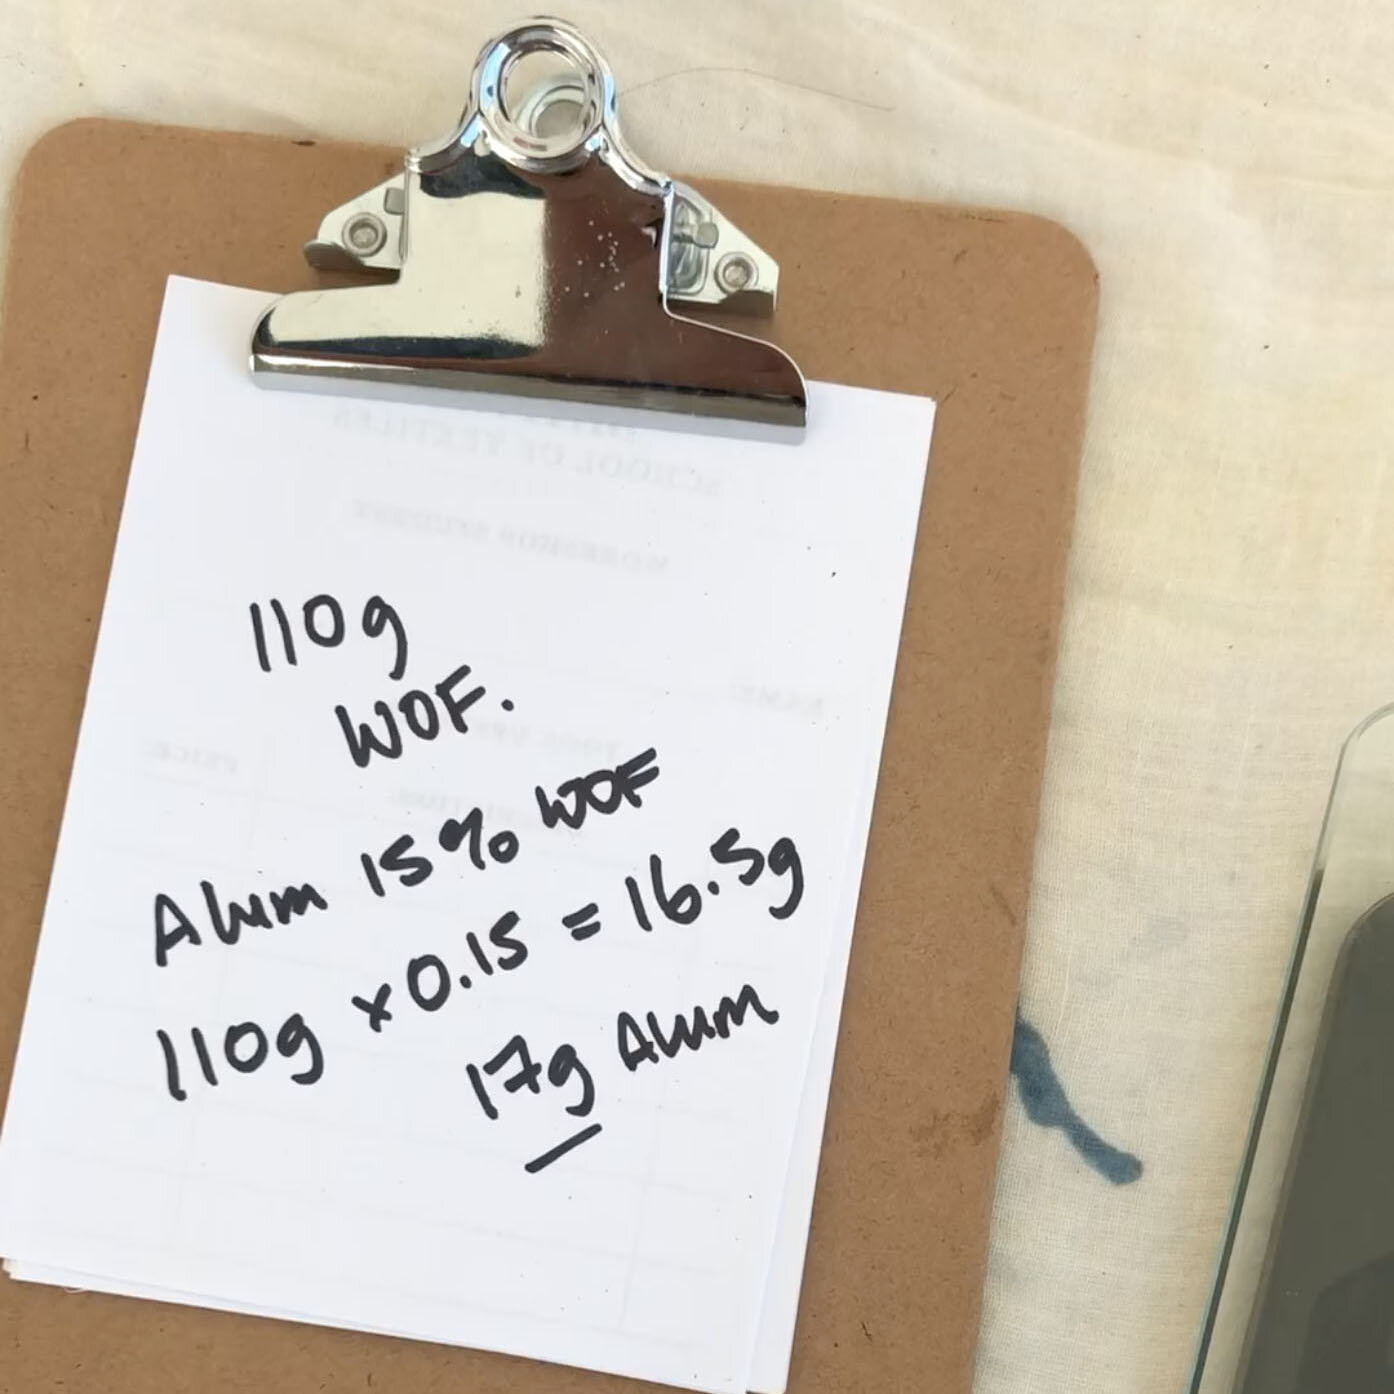
WOF - means weight of fibre. We are going to mordant with alum at 15% WOF
Weigh the scarf dry and record the weight. Our scarf weighed 107g so we rounded it to 110g.
Place a container on the scale to measure the Alum. Don’t forget to “tare” or “zero” the scale to remove the weight of the container.
We want to mordant Alum at 15% WOF. Here’s our calculation:
15% of the weight of our scarf = the weigh of alum we will use.
.15 x 110g = 16.5g (rounded to 17g) So, 17g of Alum will be used to mordant our scarf
Do this calculation now, while the fibre is dry. We will need the answer later in step three.
STEP 2: SCOUR WITH ORVUS PASTE
ORVUS PASTE is a scouring agent used for protein fibres. Use 15 ml (1 Tablespoon) for every 1kg of fibre.
This scarf is only 110g (about 1/10 of a kilo)so we will use 2.5 ml (1/2 teaspoon) of Orvus Paste.
Add the Orvus Paste to warm water and massage the wool scarf intermittently for 30 minutes, squeeze out the water when finished and rinse.
STEP 3: MORDANT WITH ALUM
Add 17g of Alum (from the calculation in step one) to a pot of hot water. Put in enough water for the scarf to move freely and start heating to dissolve the alum.
Add the scoured scarf to the pot once the alum is fully dissolved.
Heat the pot until it starts to steam, but keep it below a simmer. Keep this temperature for 30 minutes. Stir every so often.
After 30 minutes turn off the heat and let your item cool. Once it is cool to the touch, wring it out and spread it flat on your work surface (no need to rinse).
STEP 4: ADD THE DYE
Prepare your dye. We used about 10g of cochineal and crushed it in the mortar and pestle in order to have different size grains. We also used about 5g of weld extract.
TIP: you can use any natural dyes – either raw materials or extracts – to get different results.
With the scarf spread horizontally and flat, sprinkle a bit of ground cochineal and weld extract on the middle third of the scarf. Next, fold the right-hand third of the scarf over top of the middle third – sprinkle both dyes on-top of that folded section. Next, fold the left-hand third overtop. Repeat again, working smaller, sprinkling and folding over in thirds. Finally, roll up the bundle.
STEP 5: TIE THE BUNDLE
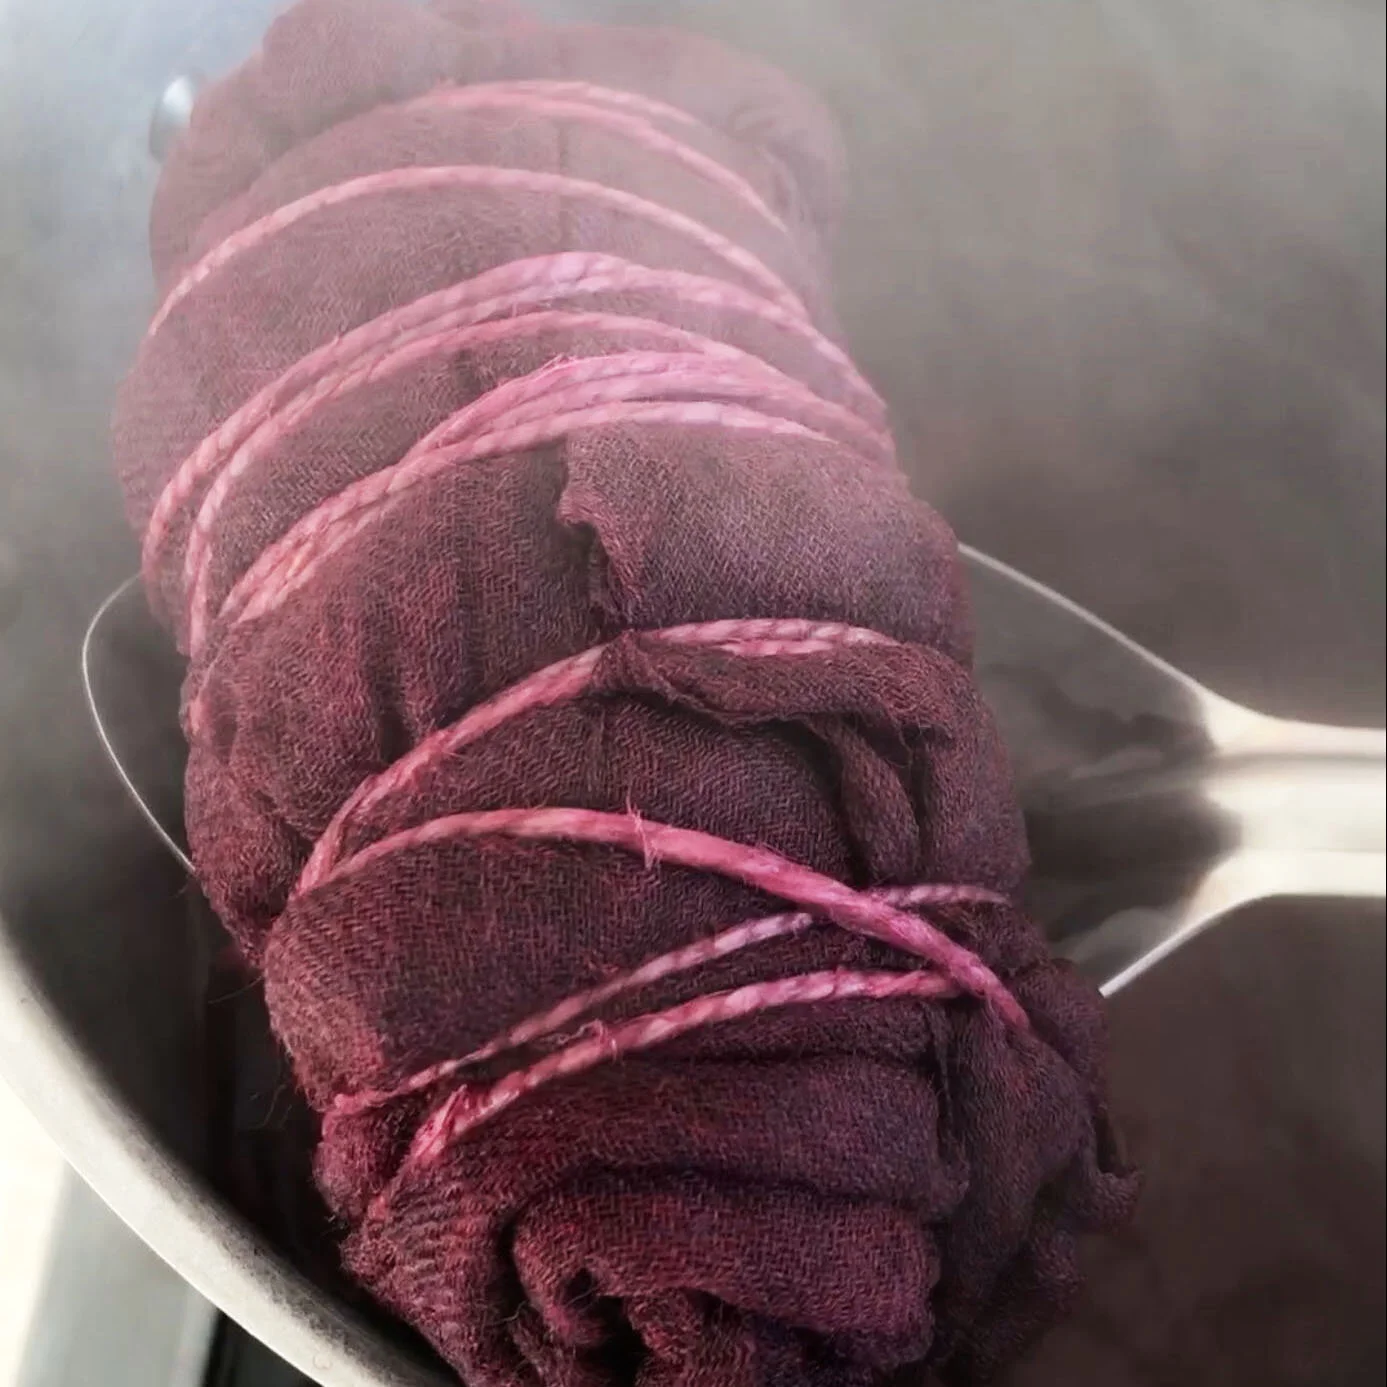
Wrap the bundle with string as tightly as you can. Tie the string so the bundle remains closed.
STEP 6: DYE THE BUNDLE
Put your bundle in the dye pot and add enough water to cover your bundle. Start heating. Once the water is giving off steam you can set your timer for 60 minutes. Keep the heat just below boiling. Stirring isn’t necessary. After 60 minutes, remove your bundle and let it cool. You may plop it in a bucket of water to help cool it down. Open it up.
Rinse thoroughly in the water. Don’t agitate too much or you might begin to felt the wool.
TIP: The rinse water can also be used as a weak dye bath for beautiful pale shades of orange/pink.
STEP 7: HANG TO DRY
That’s it!
Once the shawl has dried completely you may wash it gently with a pH neutral soap.


