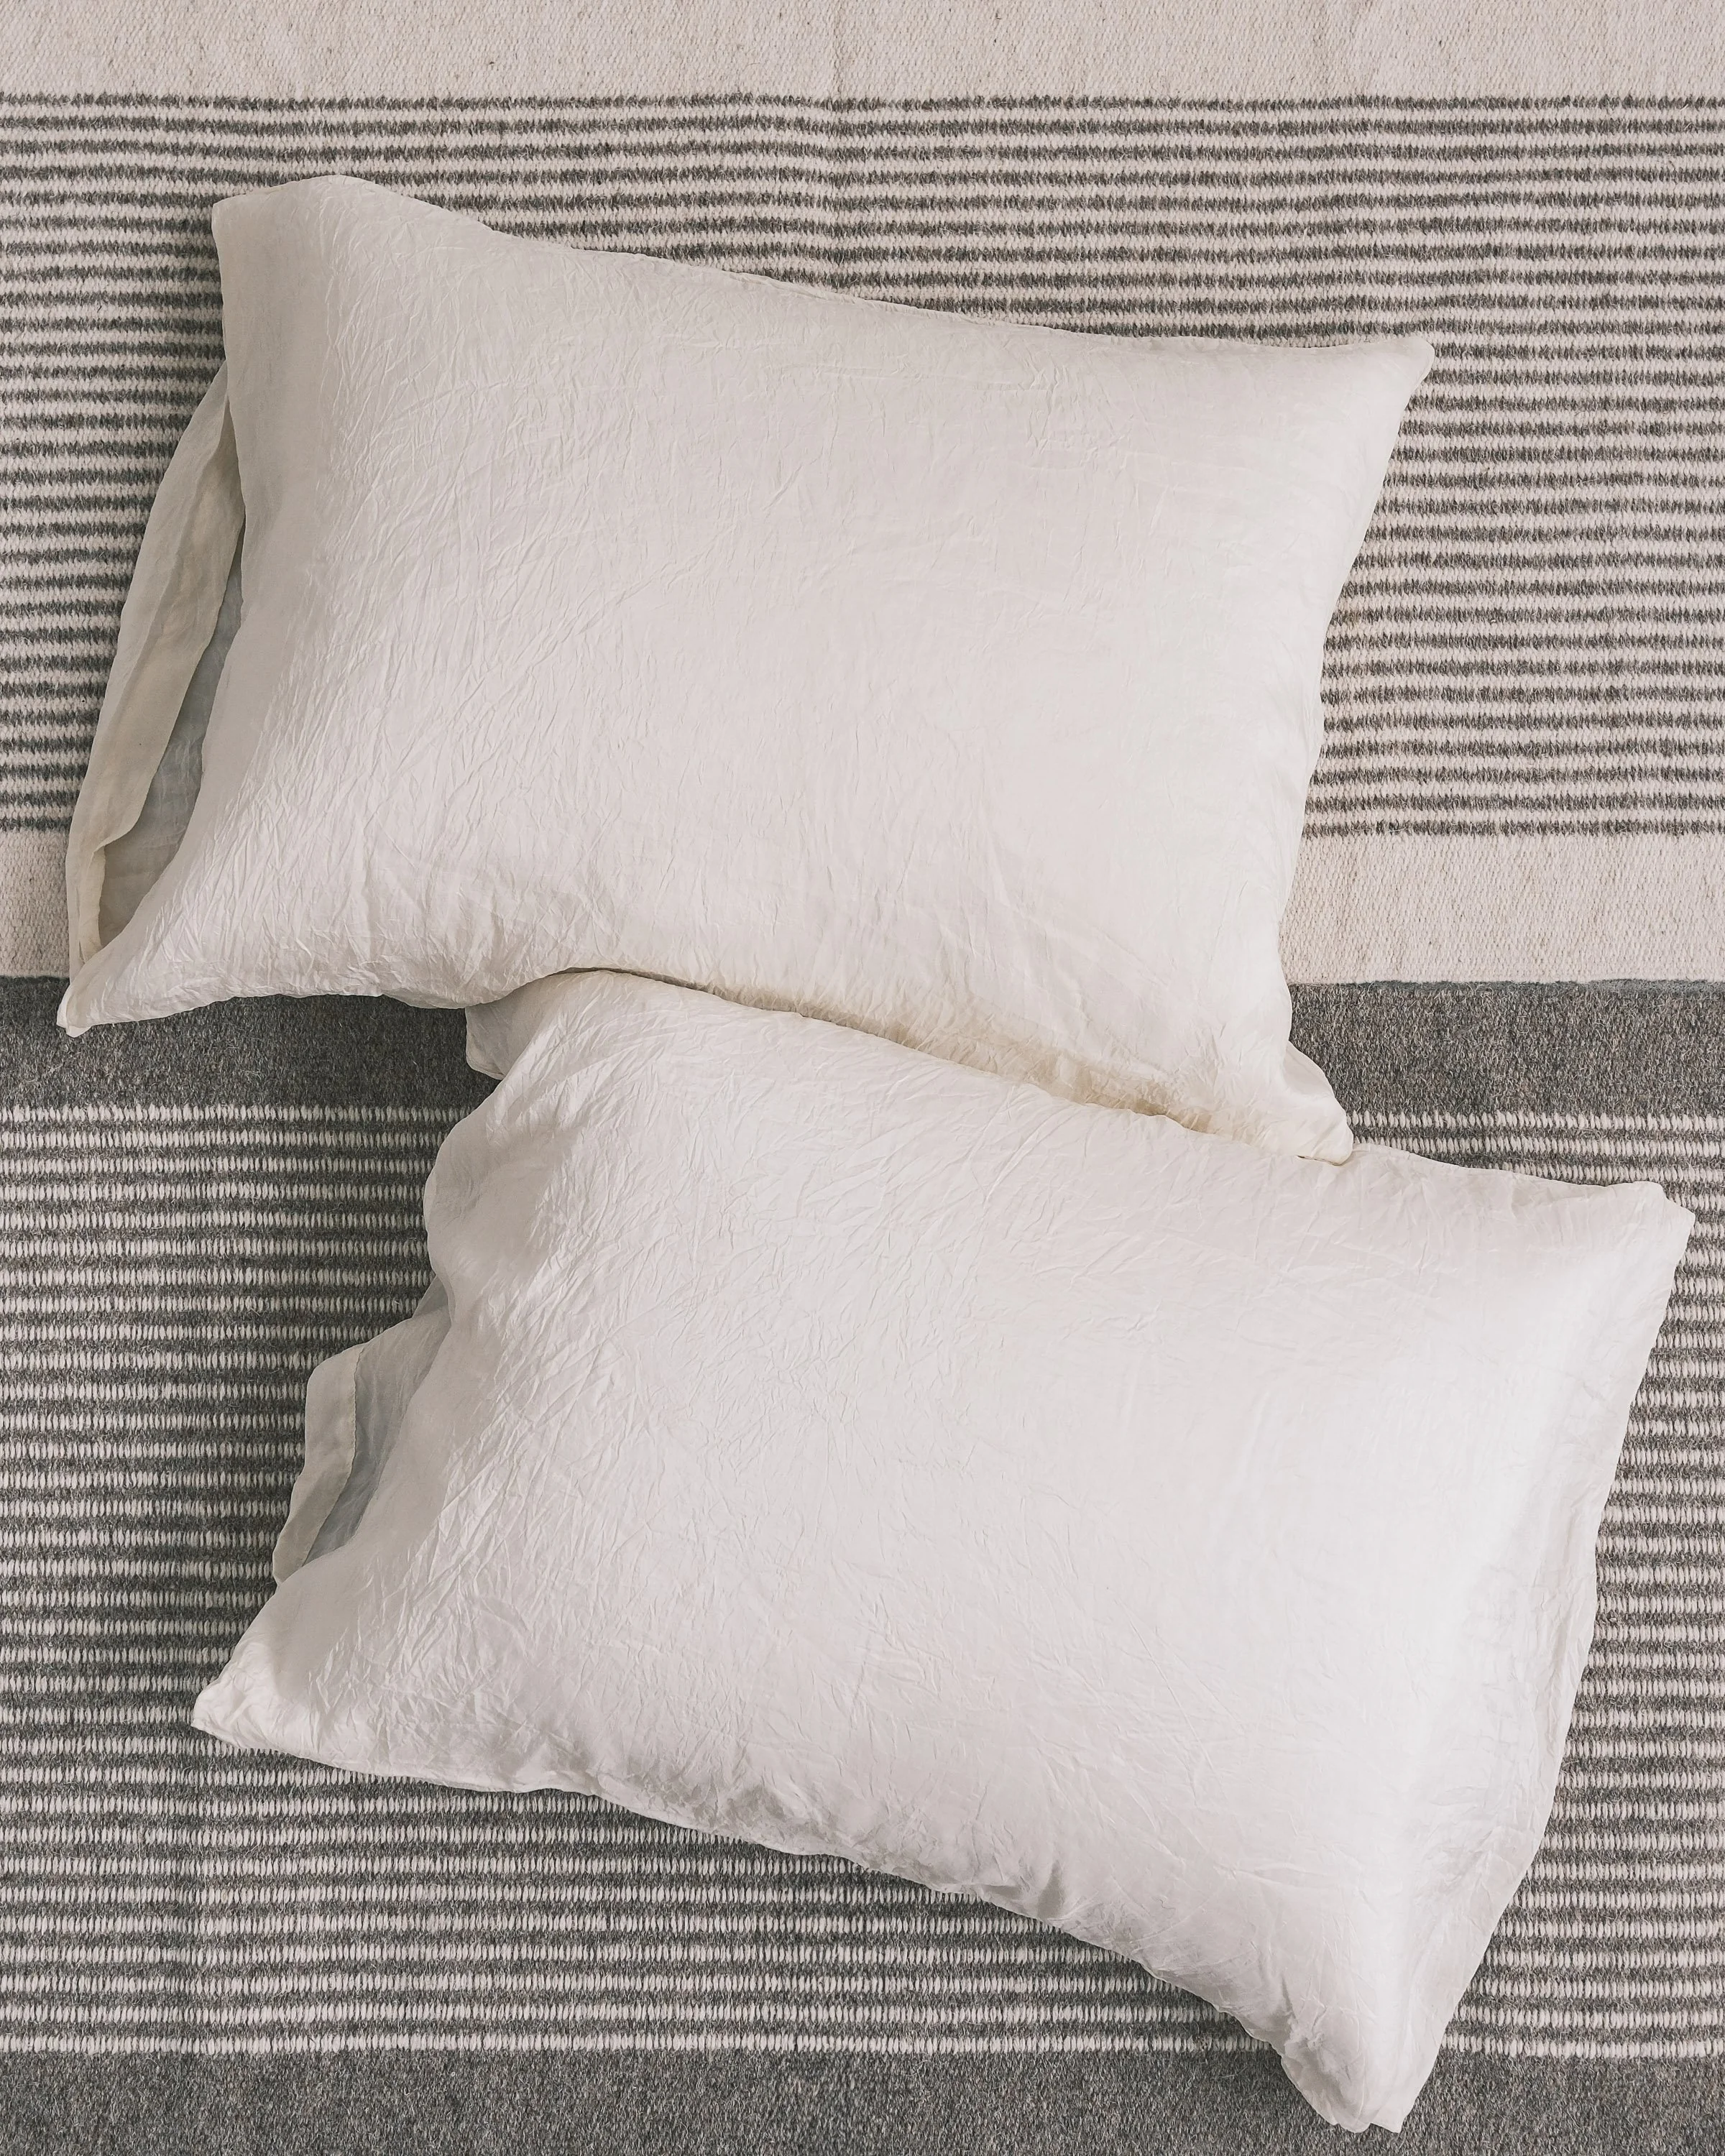
For the natural dyer, few things are as important as knowing your fibres. Join us for a free introduction to natural fibre types.

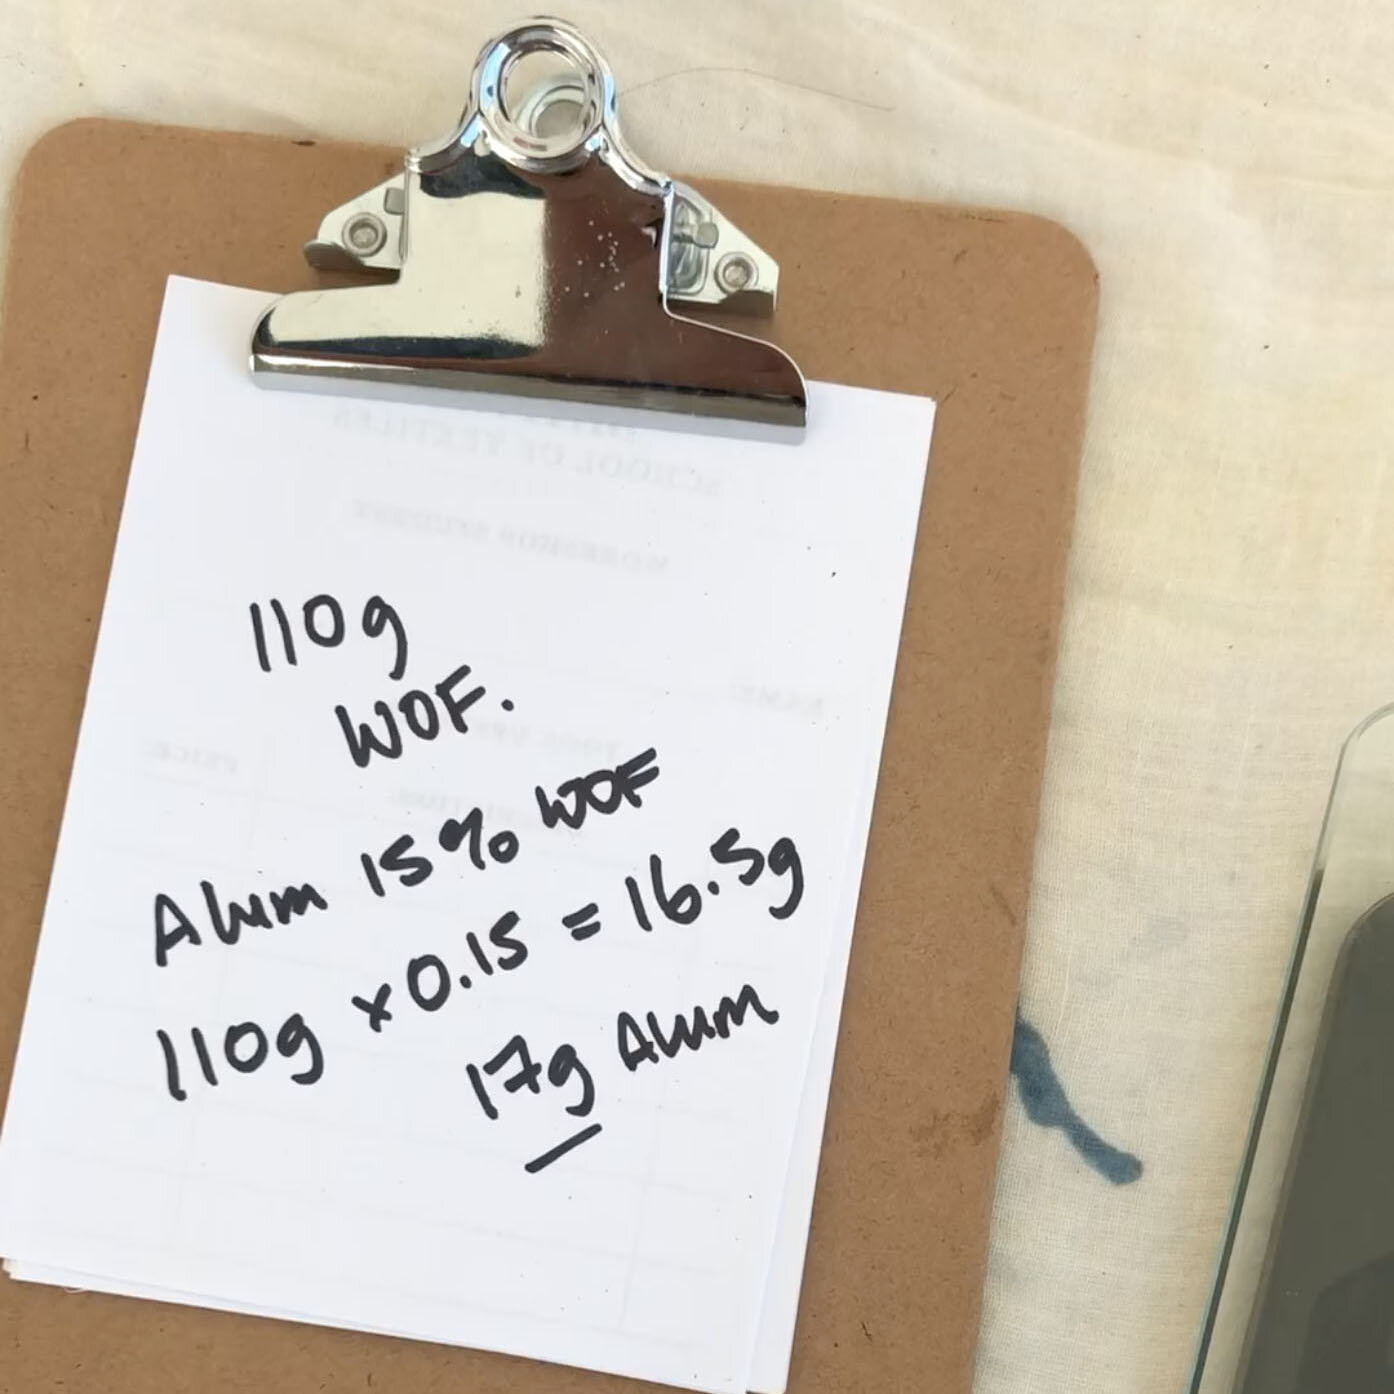
Weight of Fibre (WOF)
What it is, how to calculate it, why it is useful.

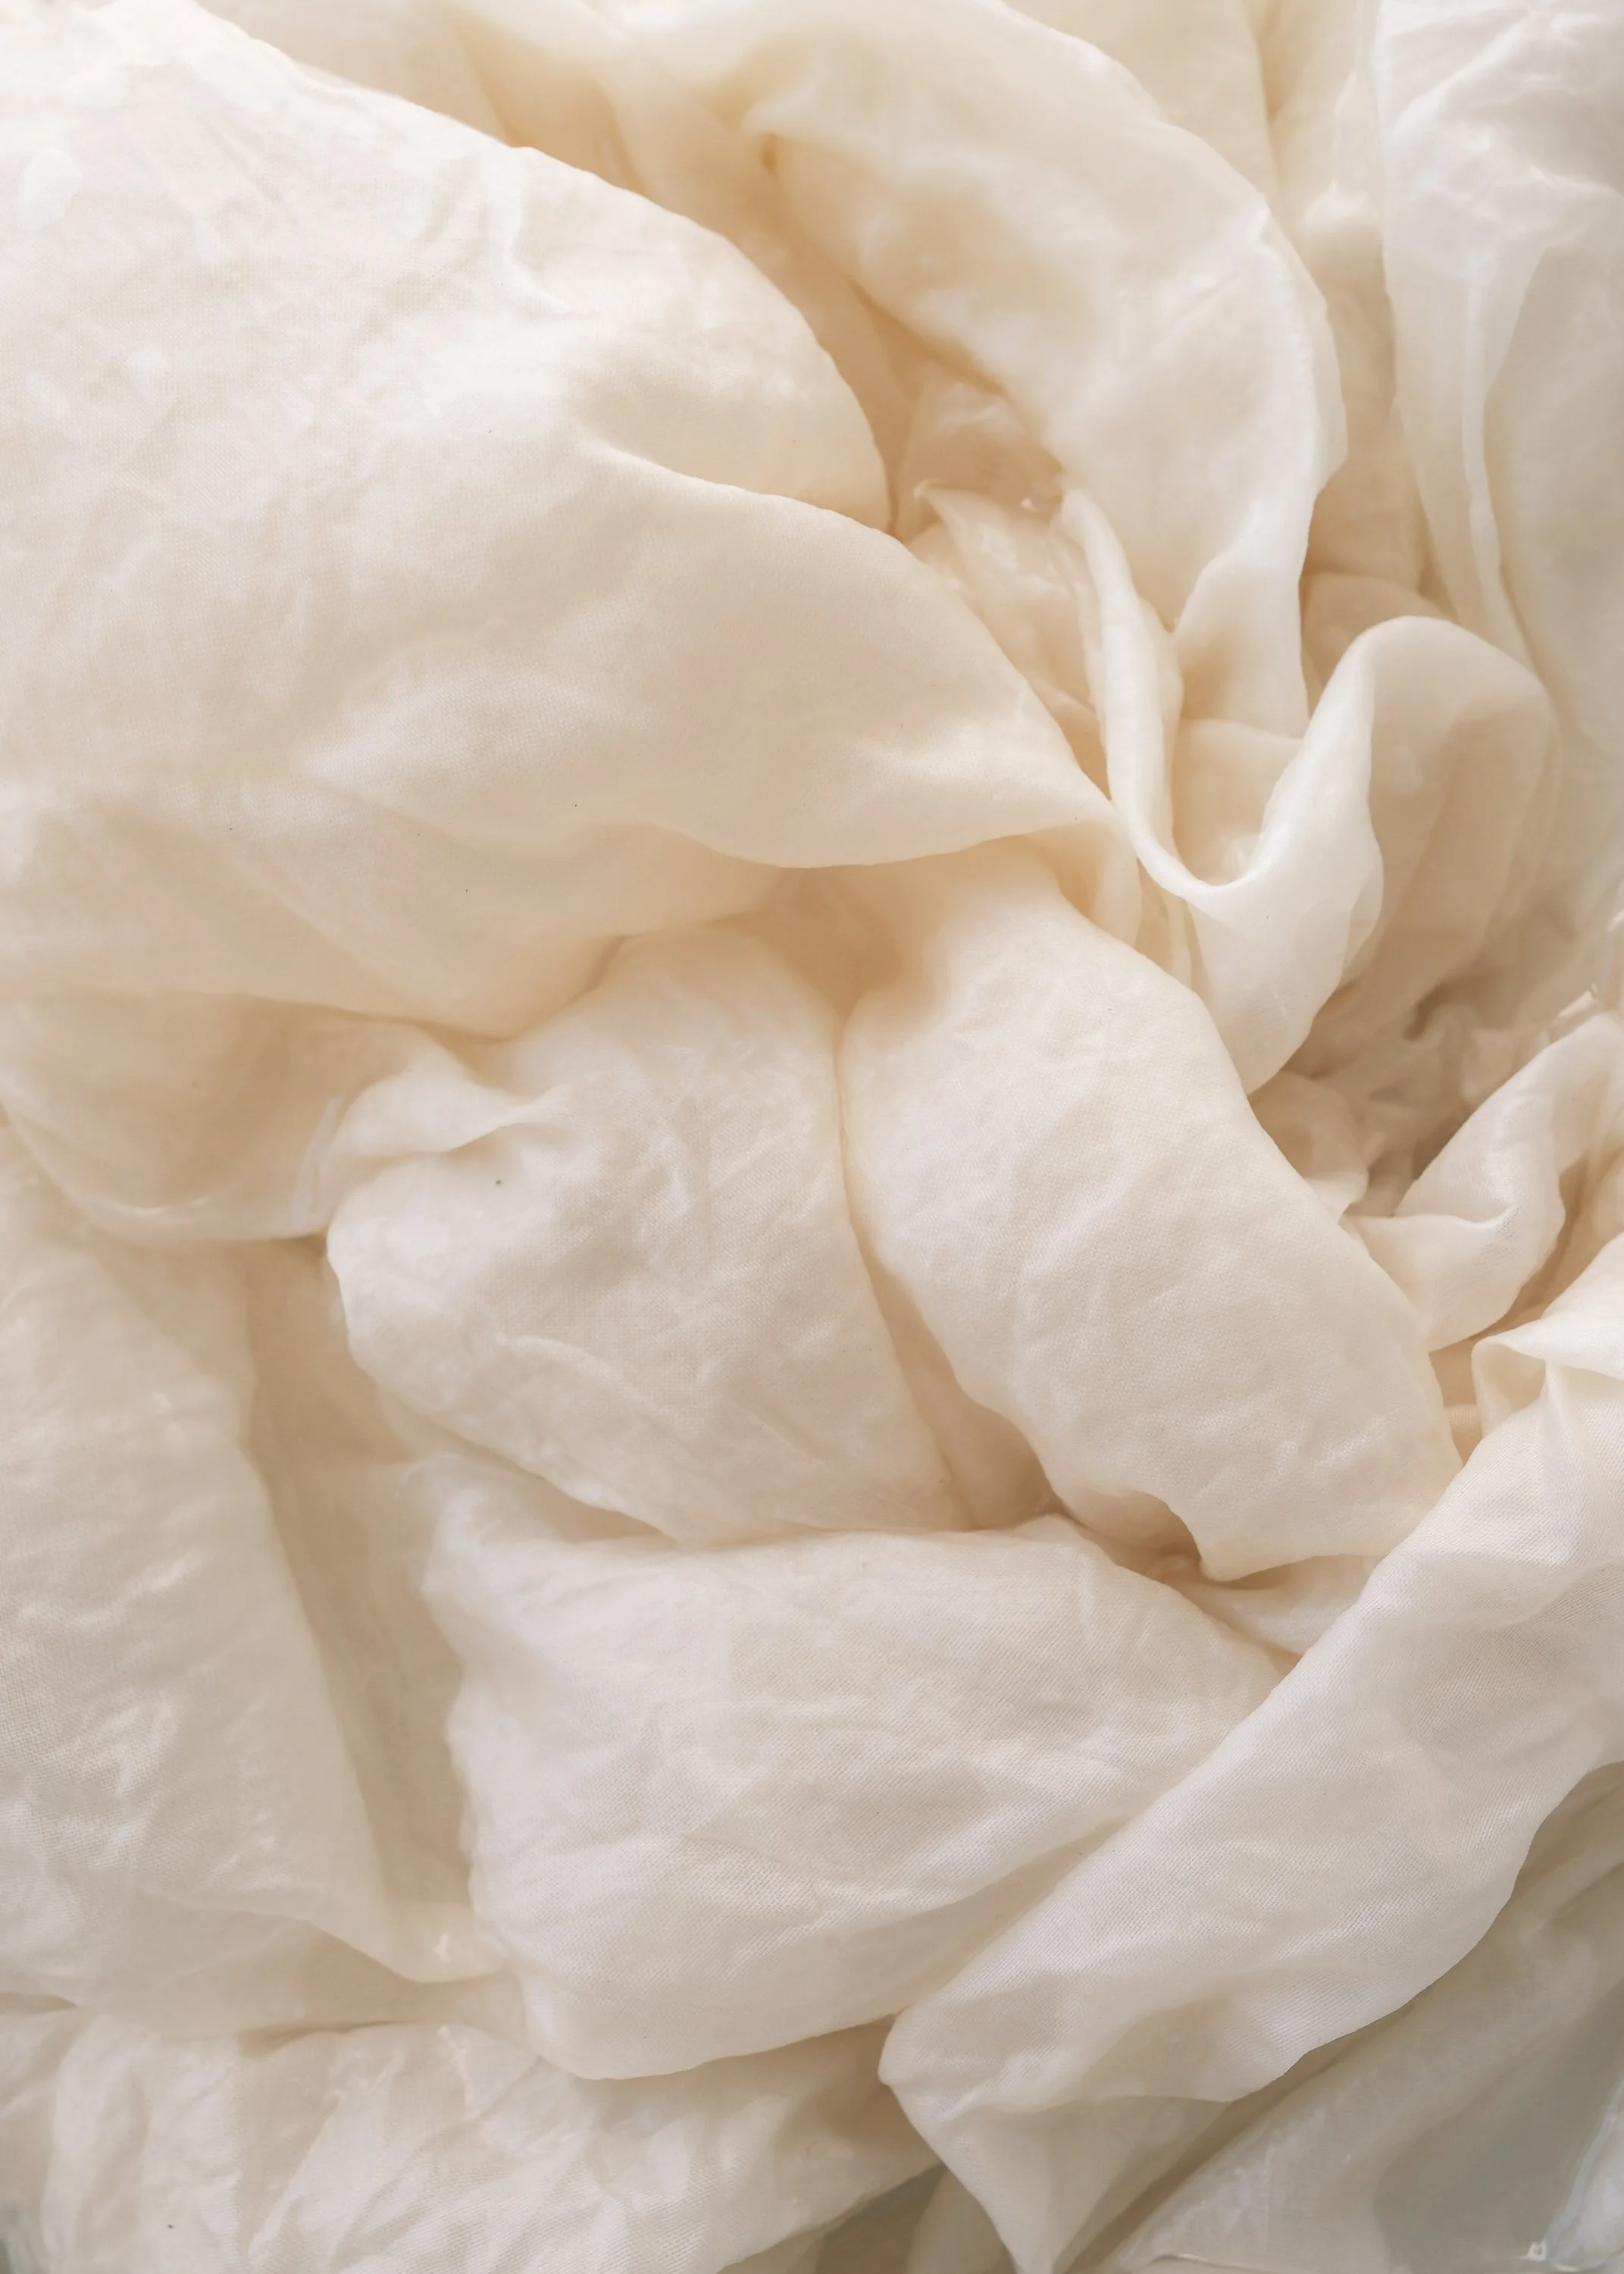
Scouring
The most important but under rated step in achieving excellent results with natural dyes.

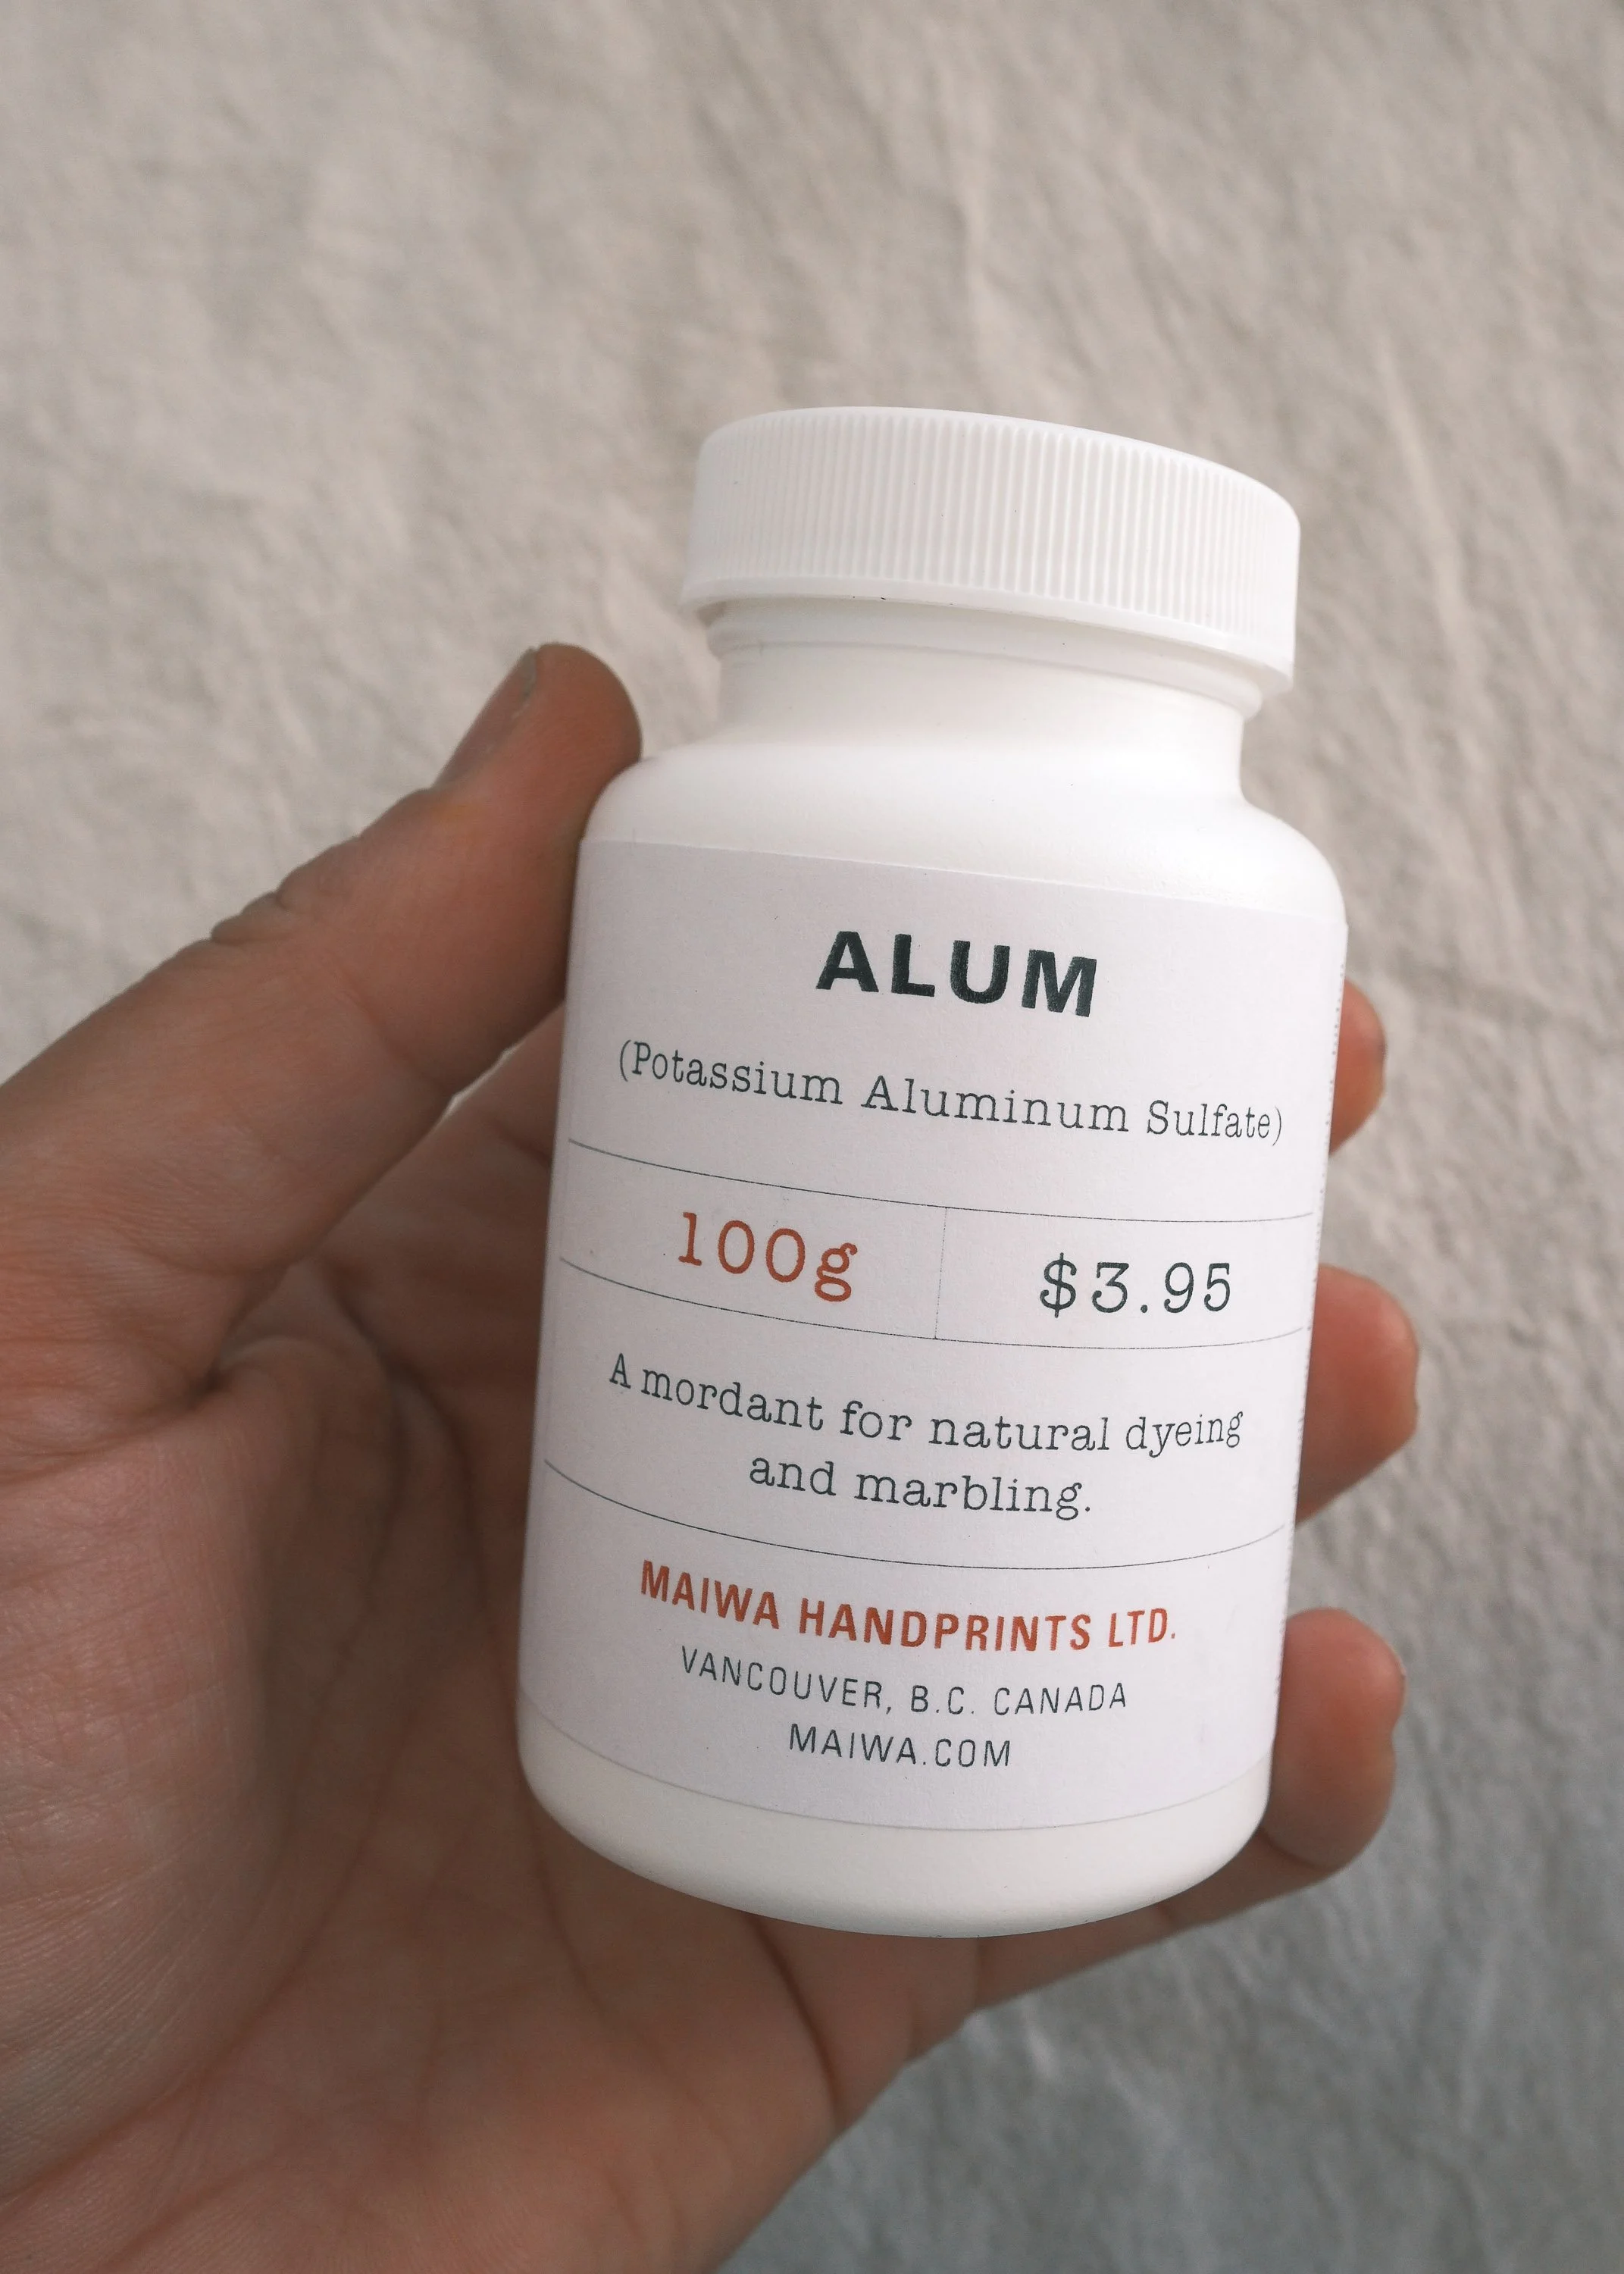
Mordants & Tannins
An introduction to mordants and tannins for natural dyers.

WATER AND pH
What dyers need to know.

SET UP YOUR STUDIO
A few tips for setting up your studio.

KEEPING A DYE JOURNAL
Nothing is as helpful as good record keeping.

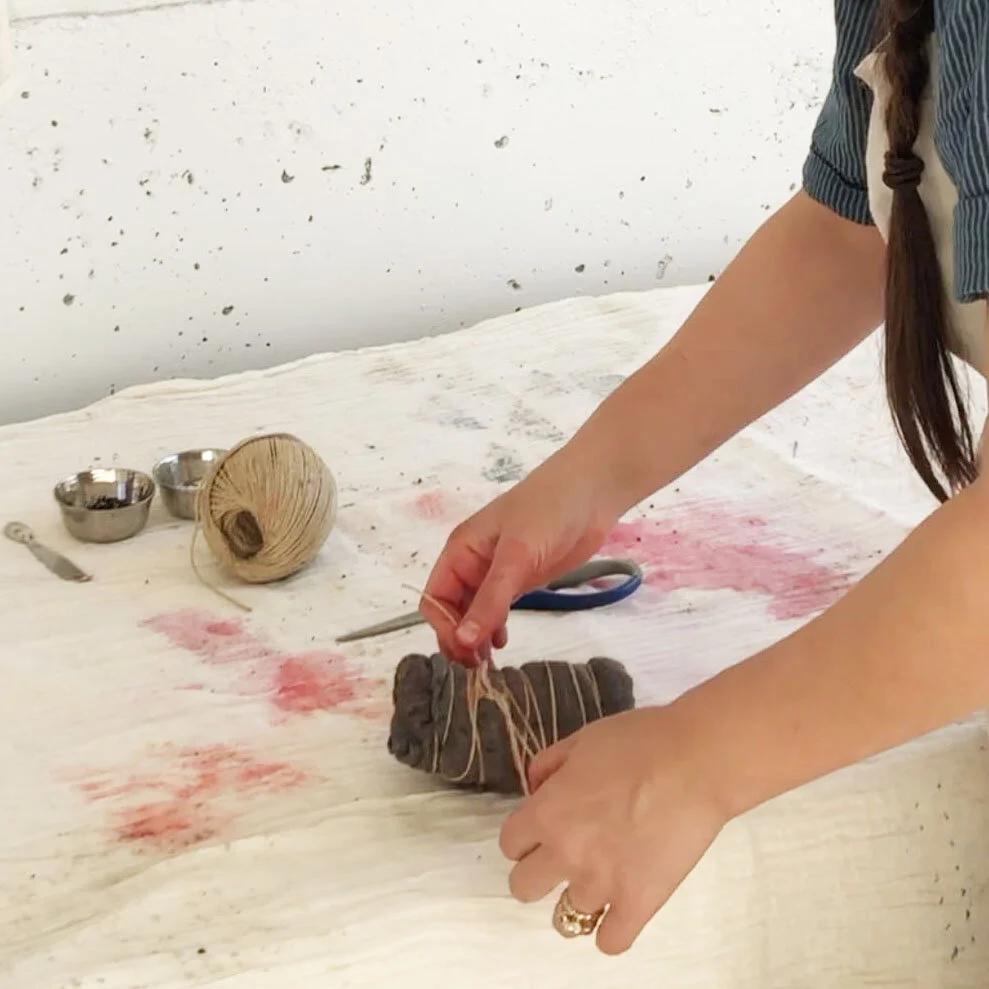
MANAGING YARNS FOR NATURAL DYES
Yarns are some of the easiest goods to dye naturally. Learn how to manage your yarns to avoid tangles and get the best result

KNOW YOUR WATER
An introduction to how various qualities of your water can influence the colours of natural dyes. We also include some simple troubleshooting for basic natural dye problems.

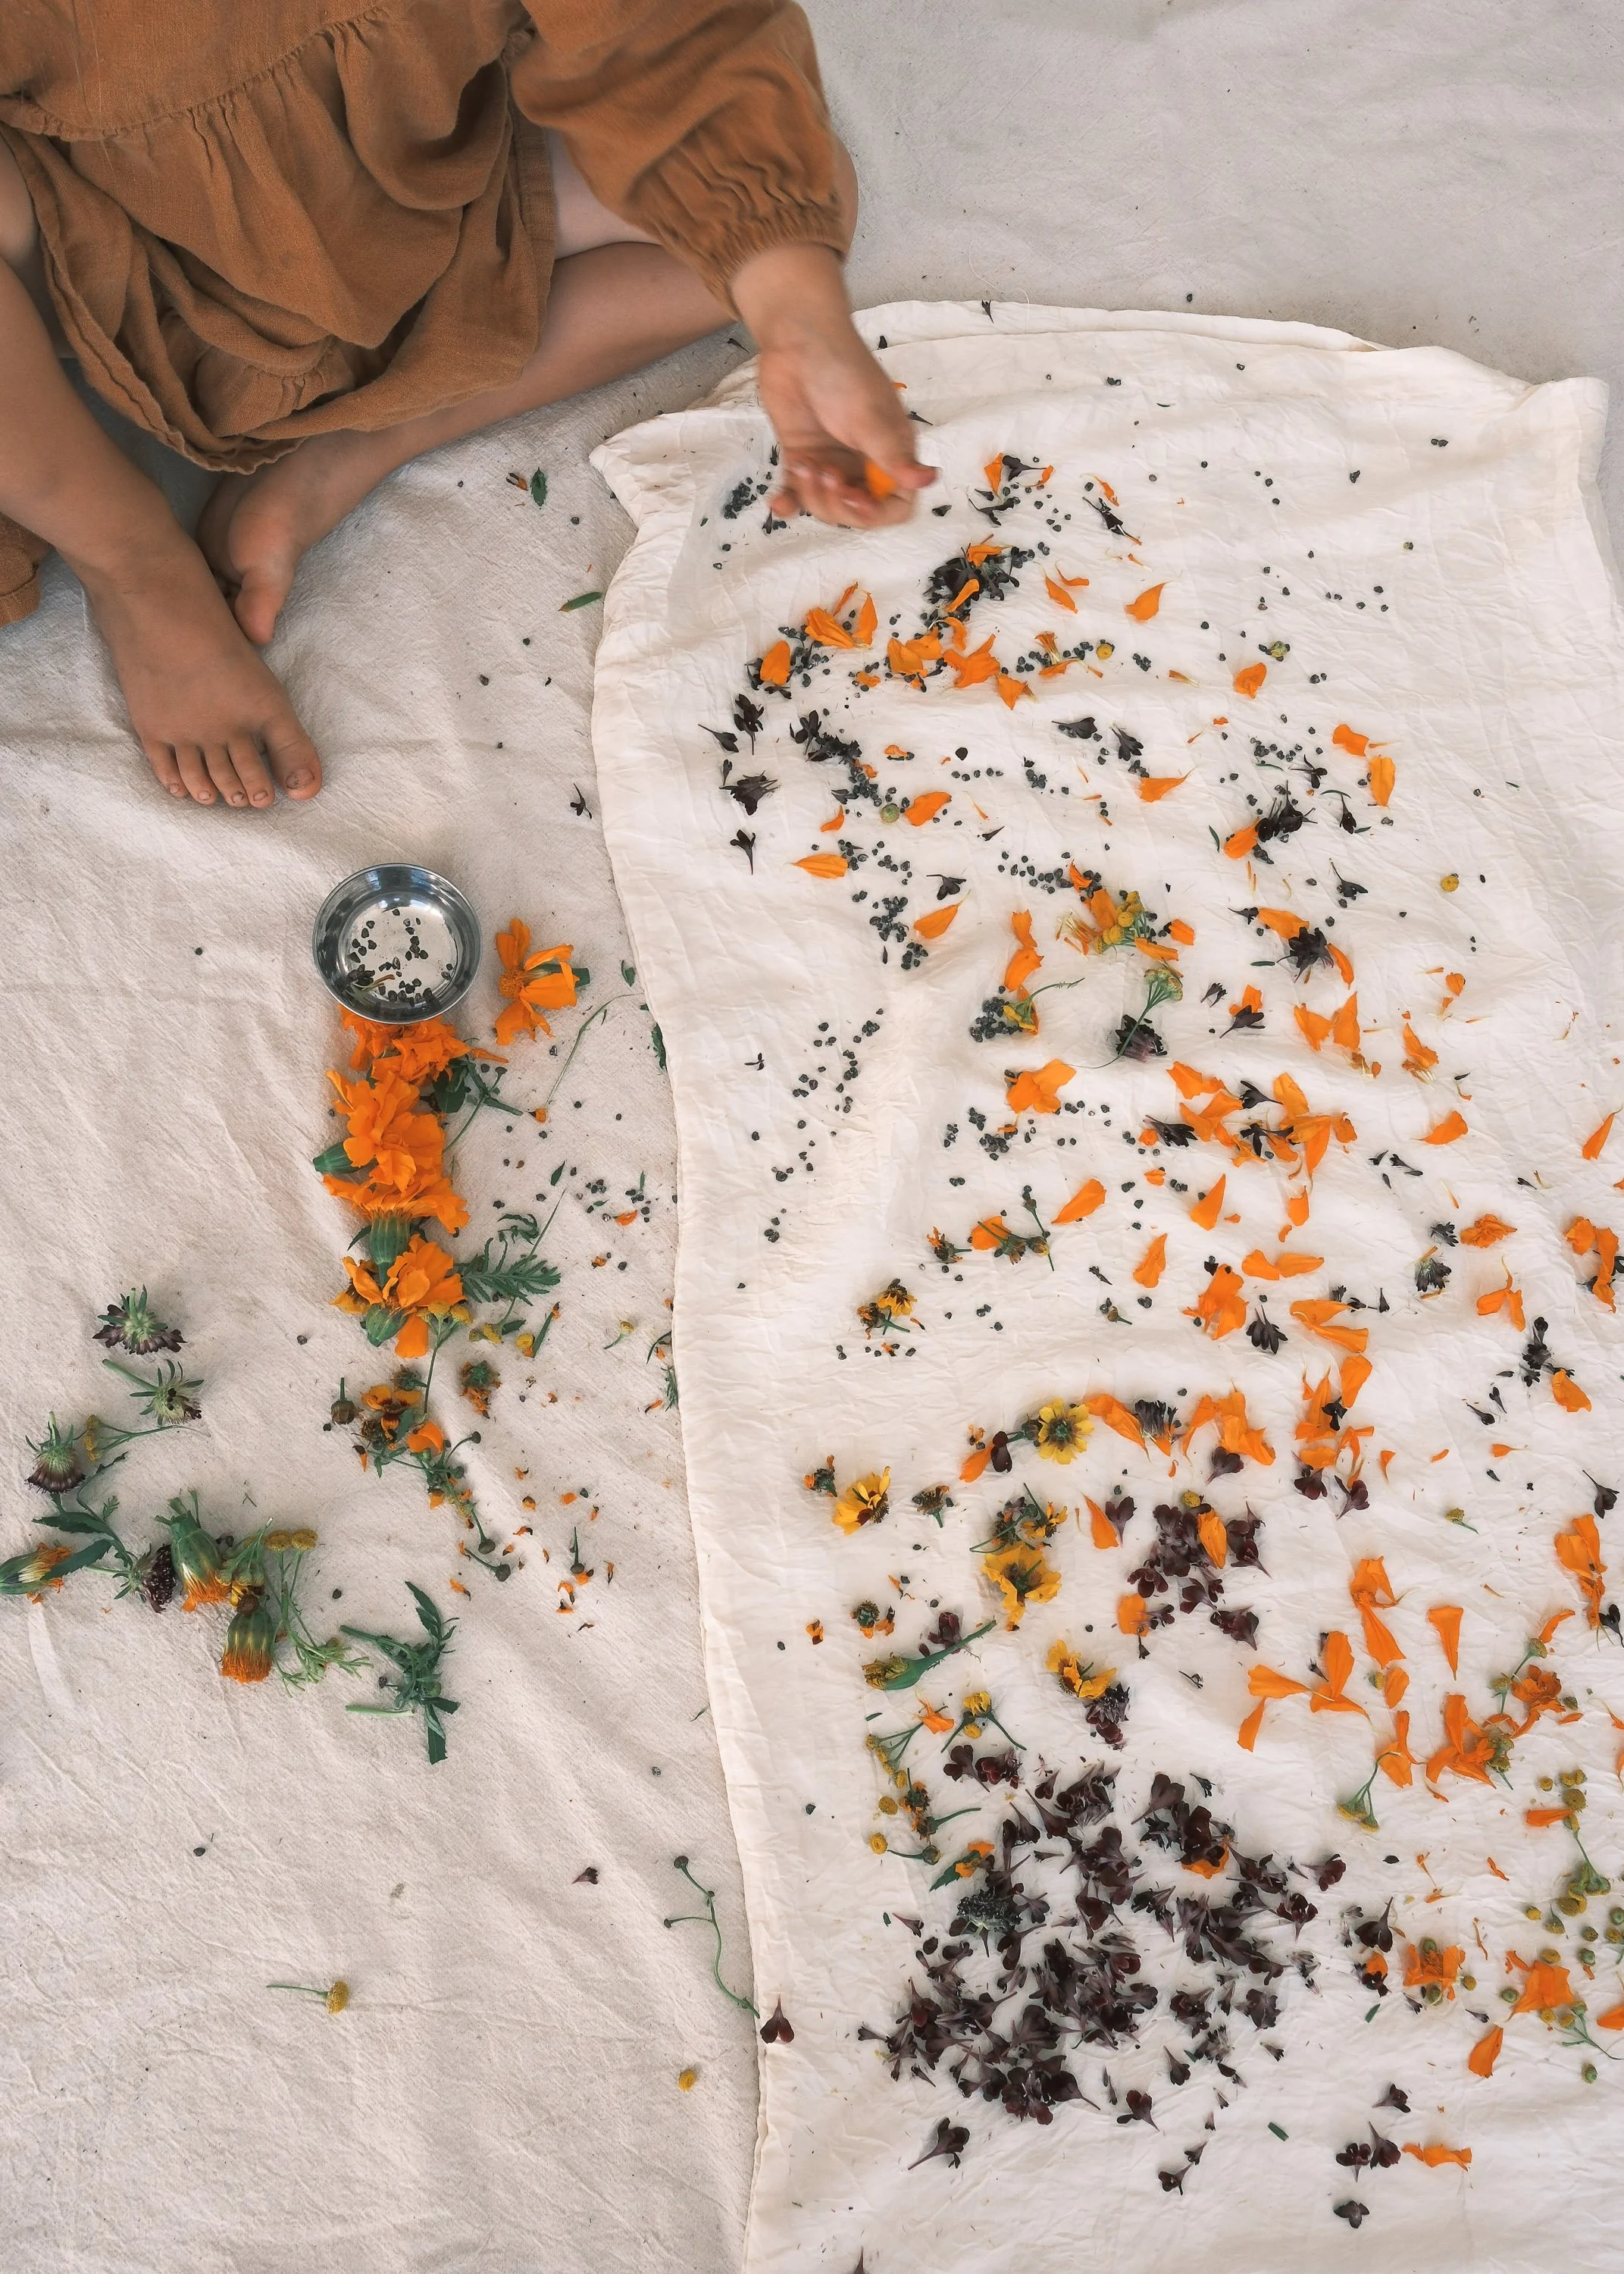
DYES & EXTRACTS, LAKES & PIGMENTS
An introduction to the difference between dyestuff, dye extract, pre-made extract, mineral pigments, lake pigments, and indigo pigment.