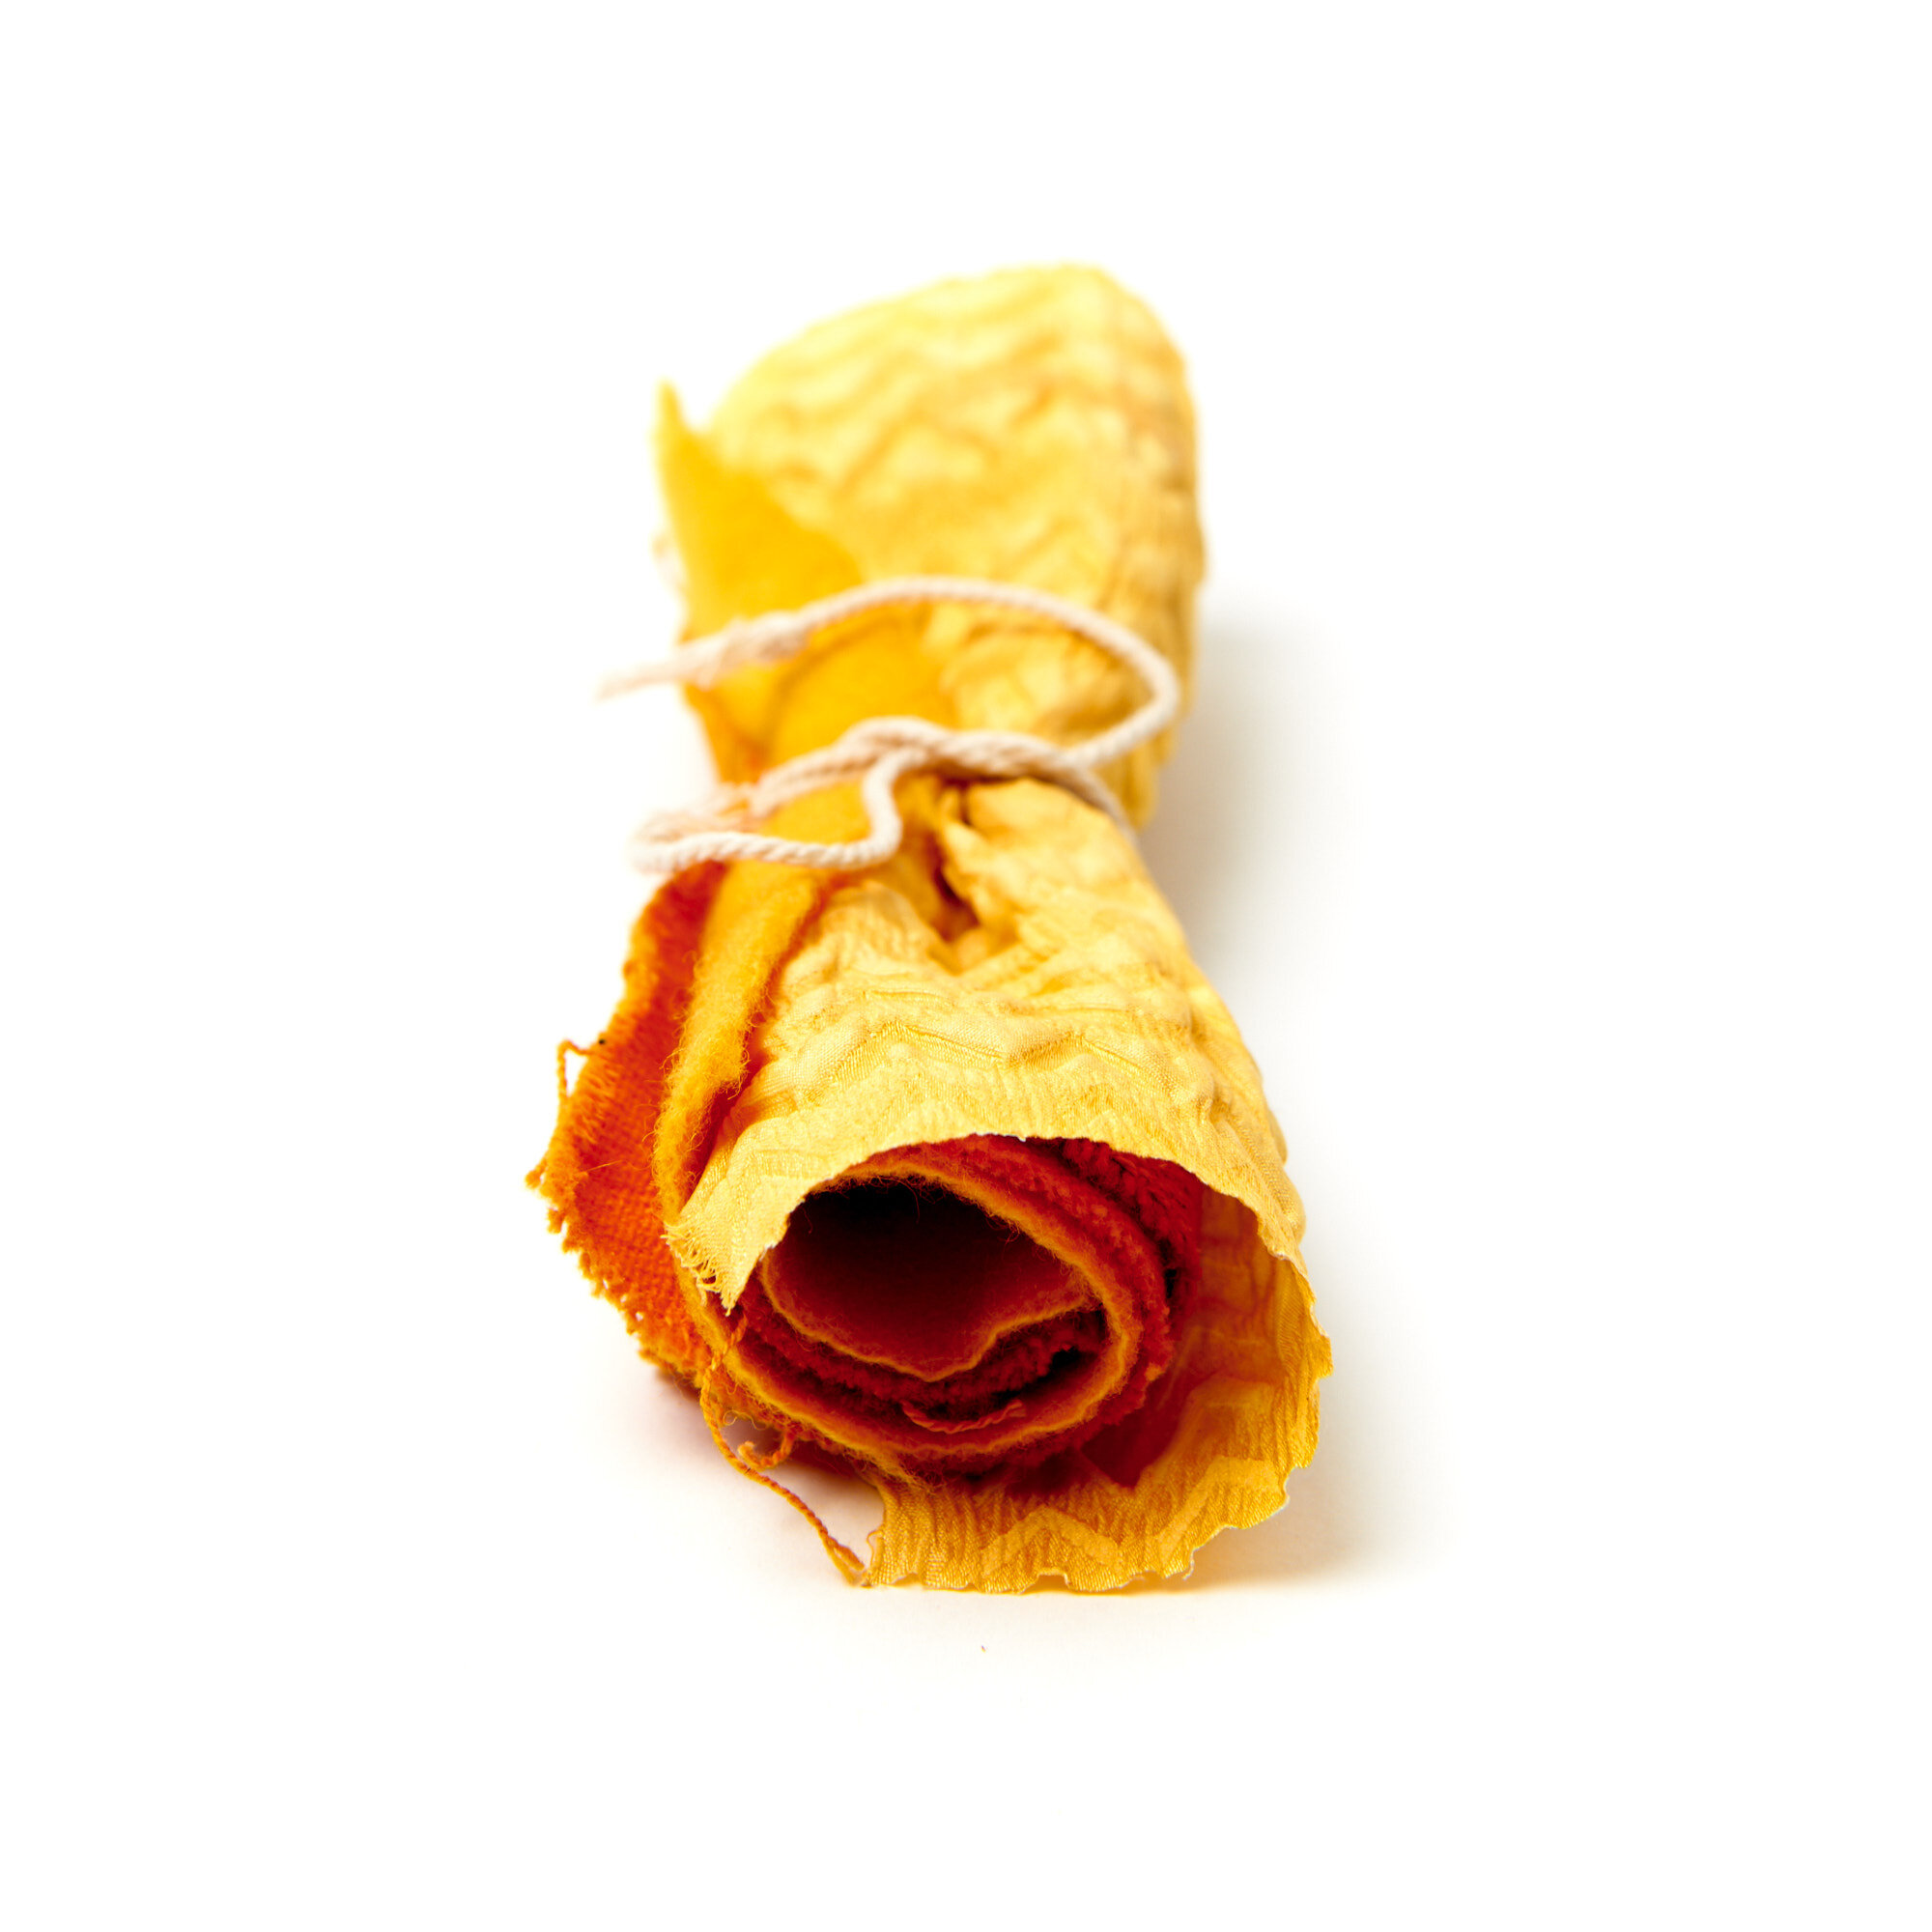
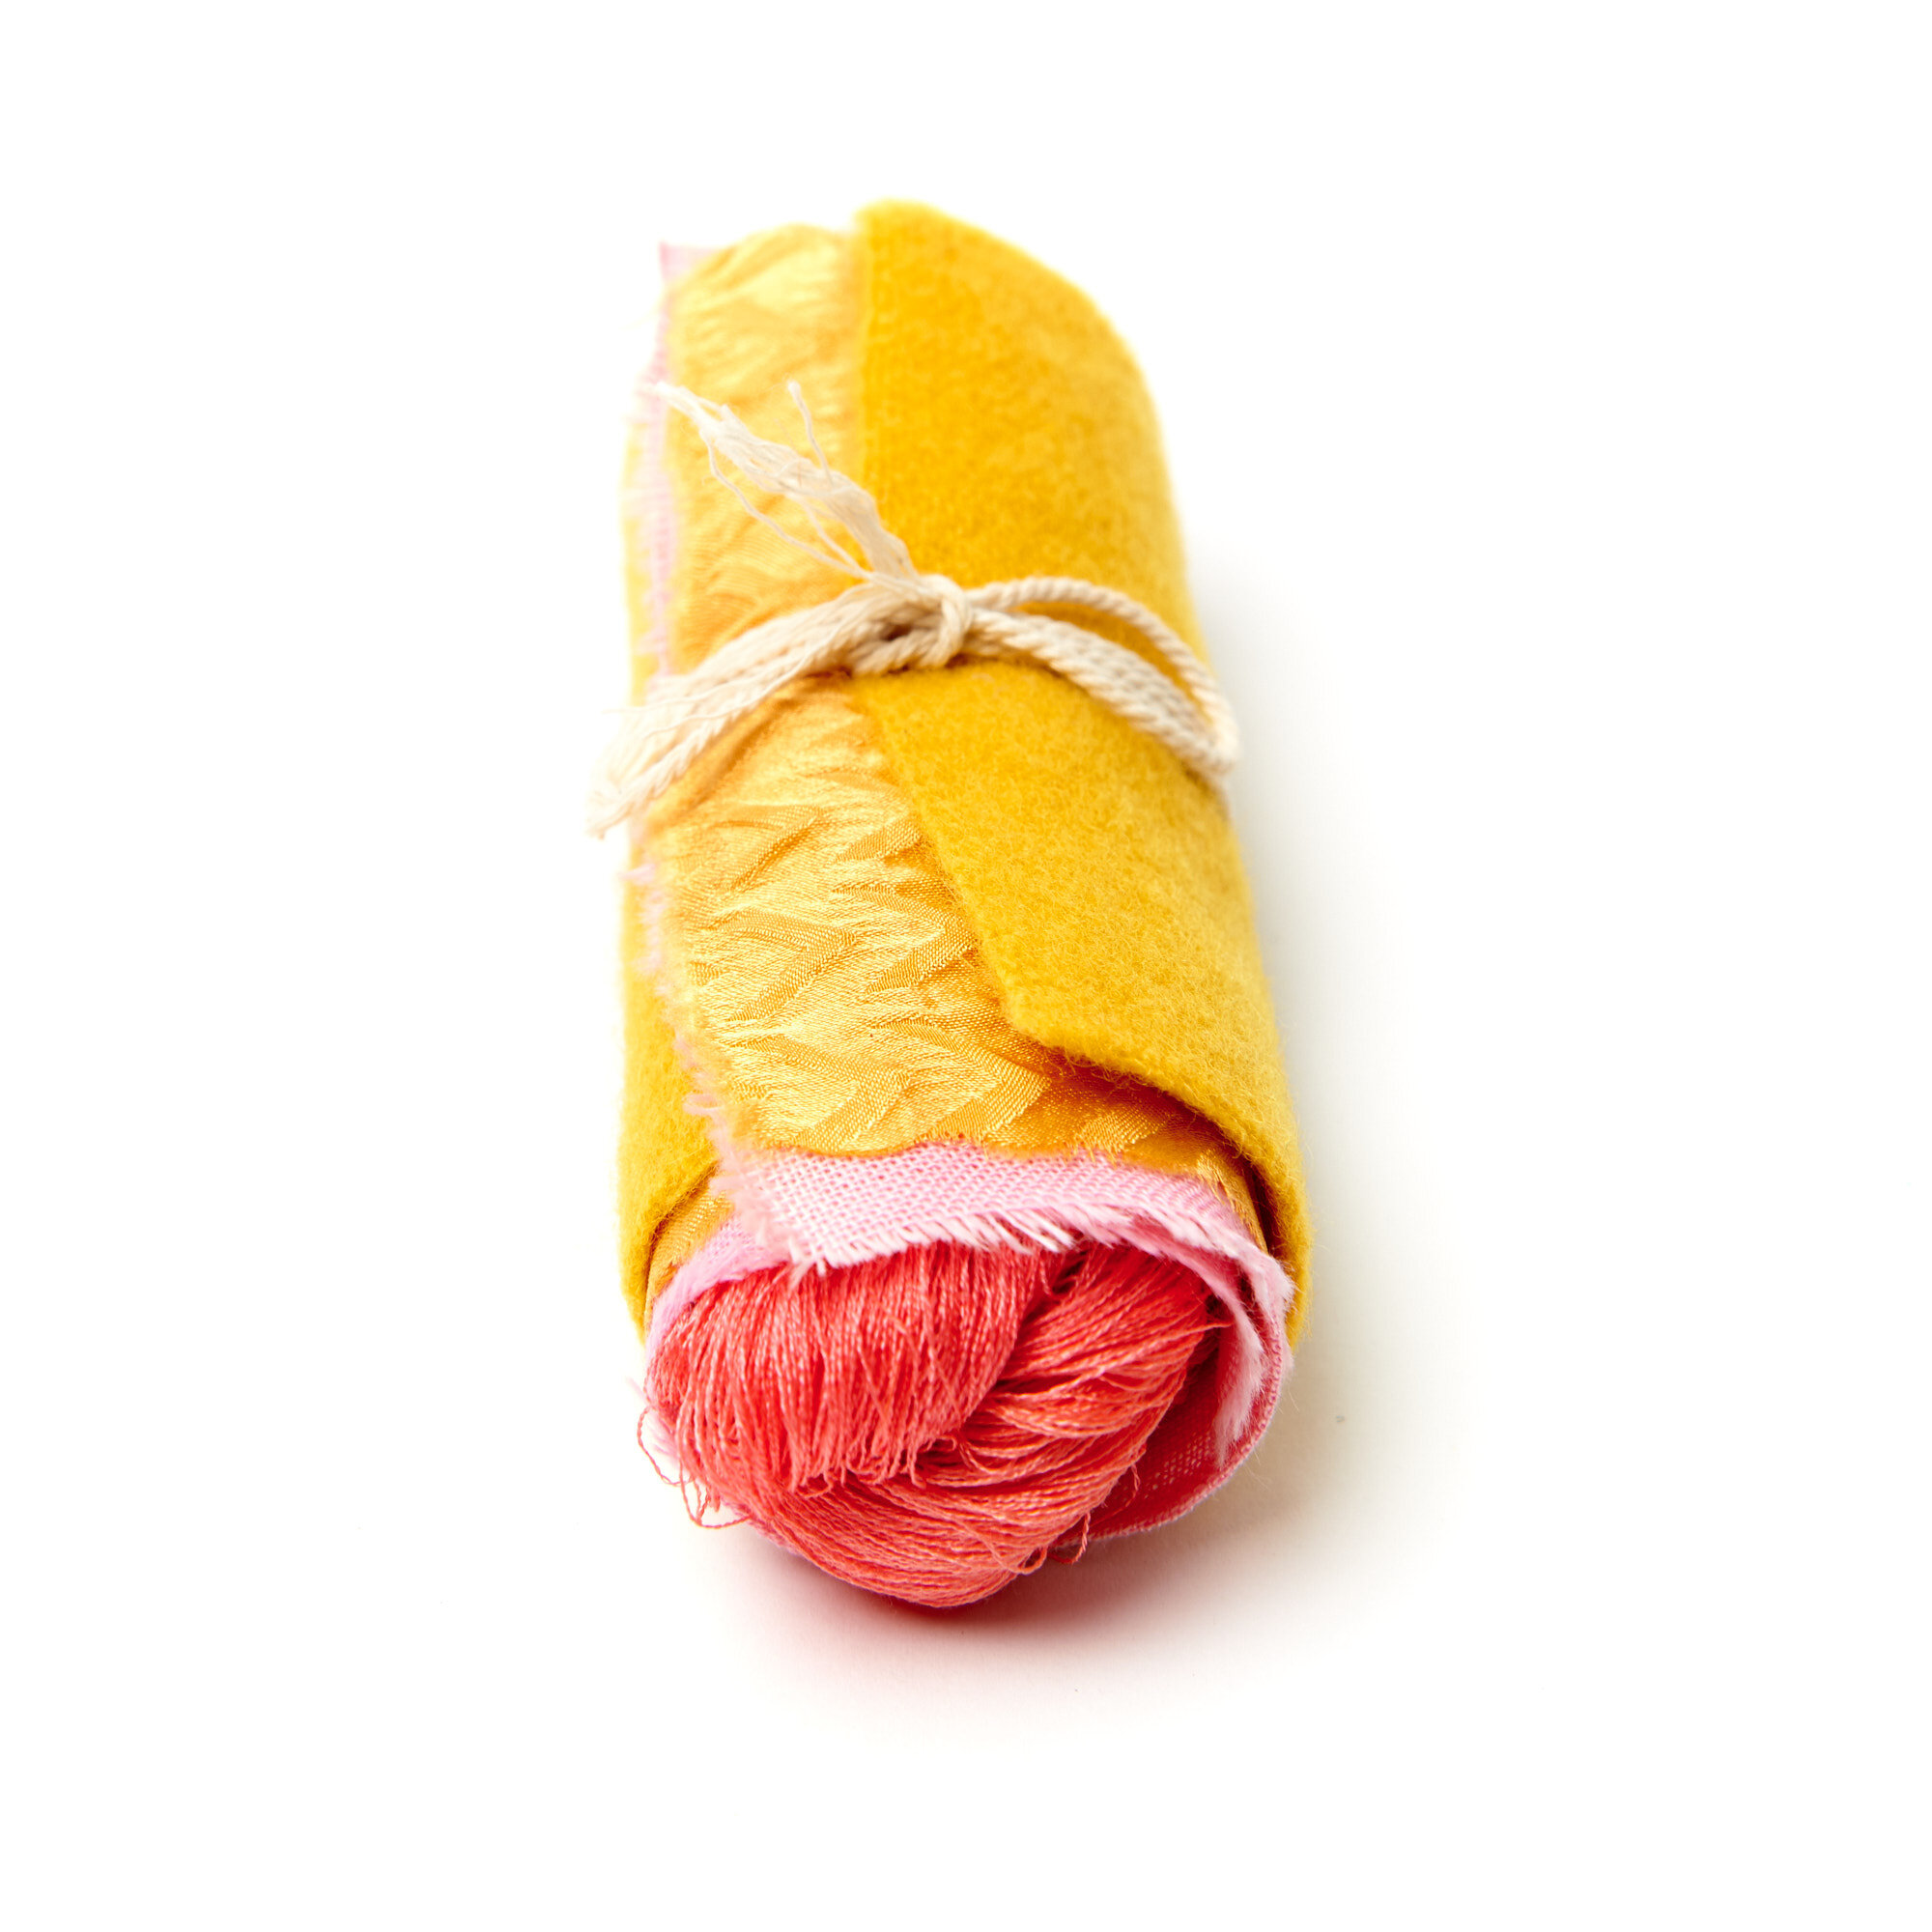
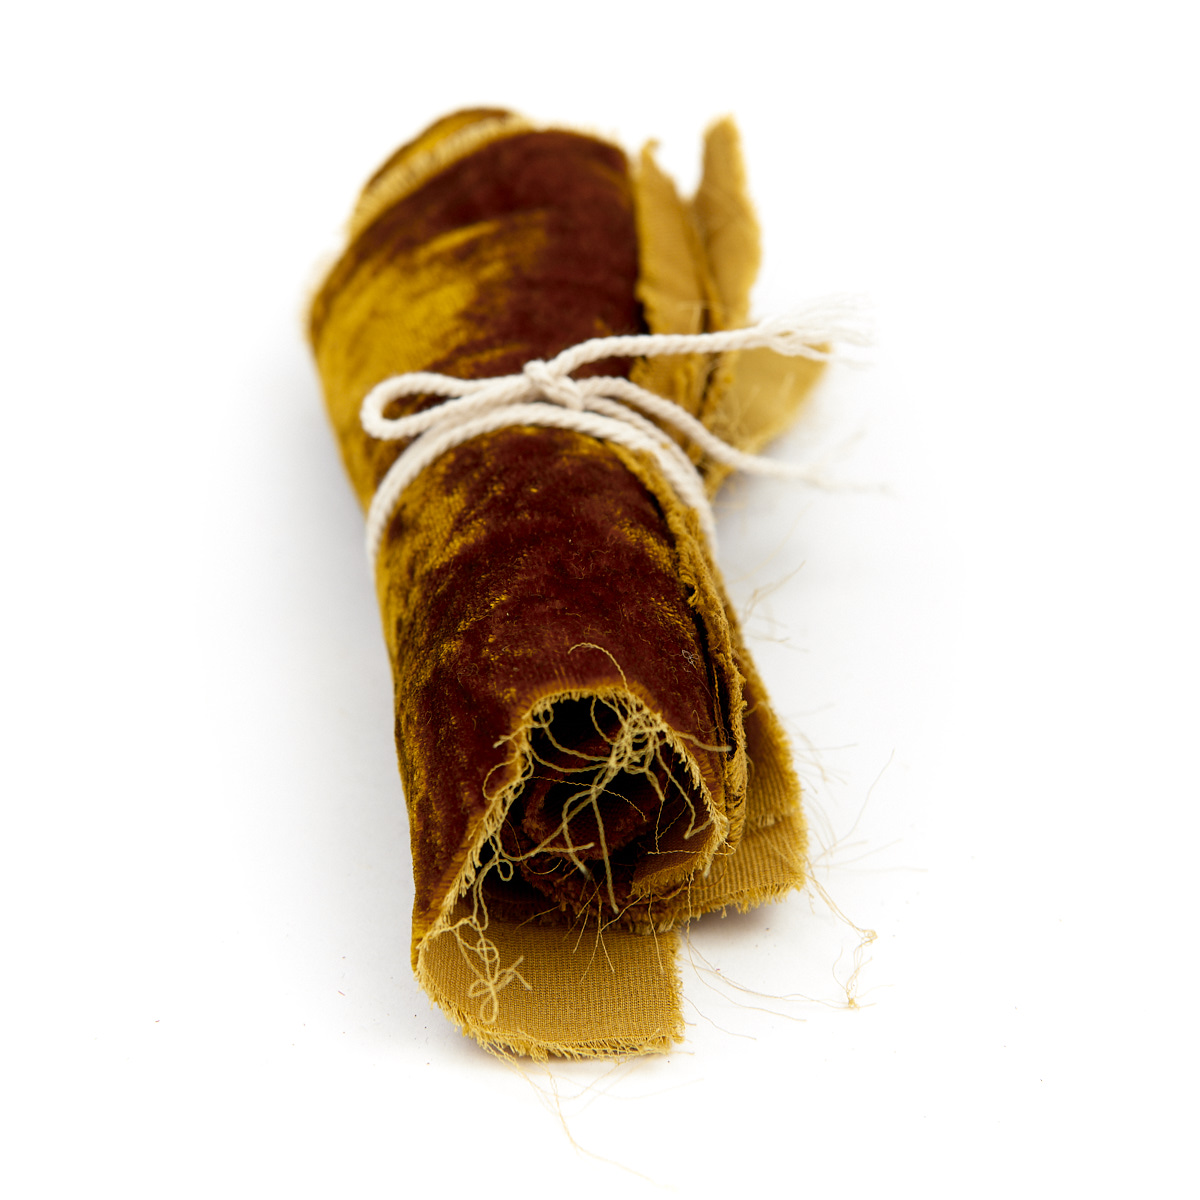
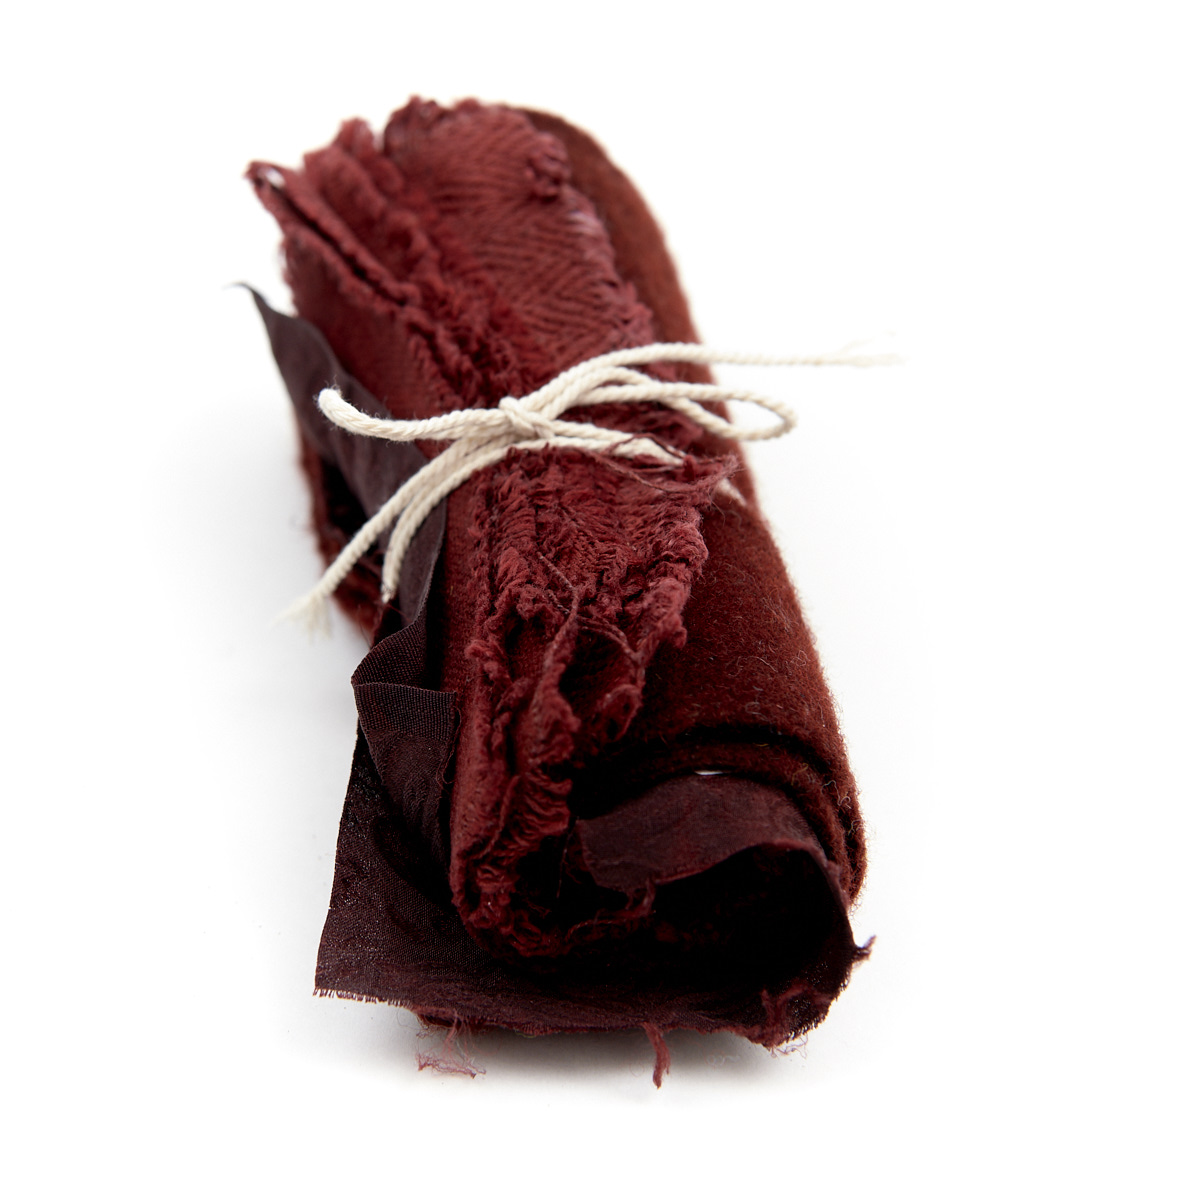
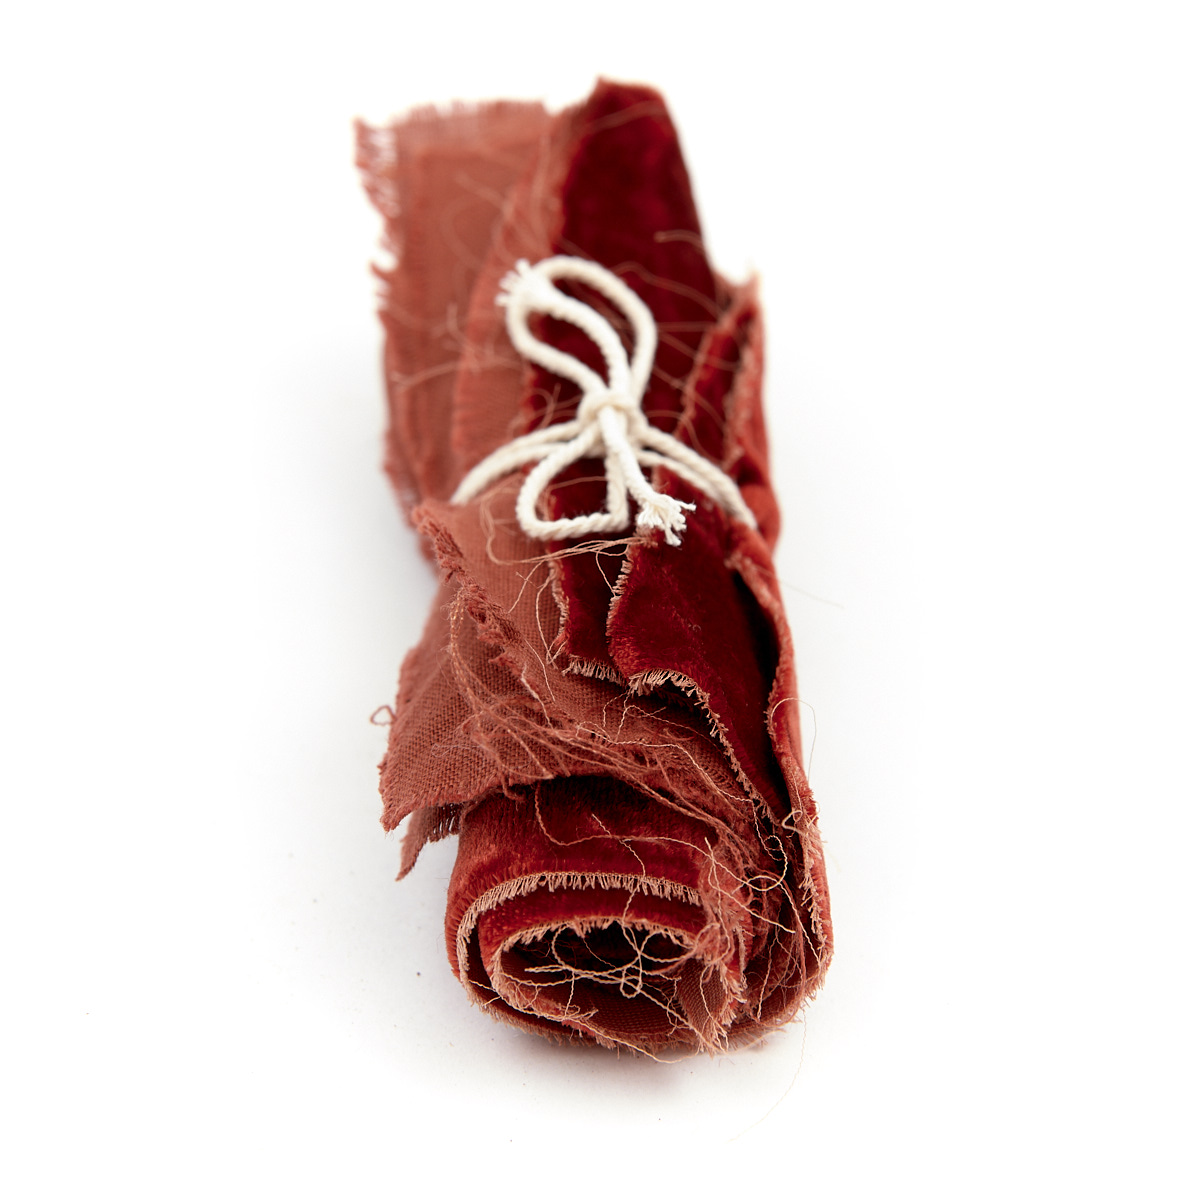
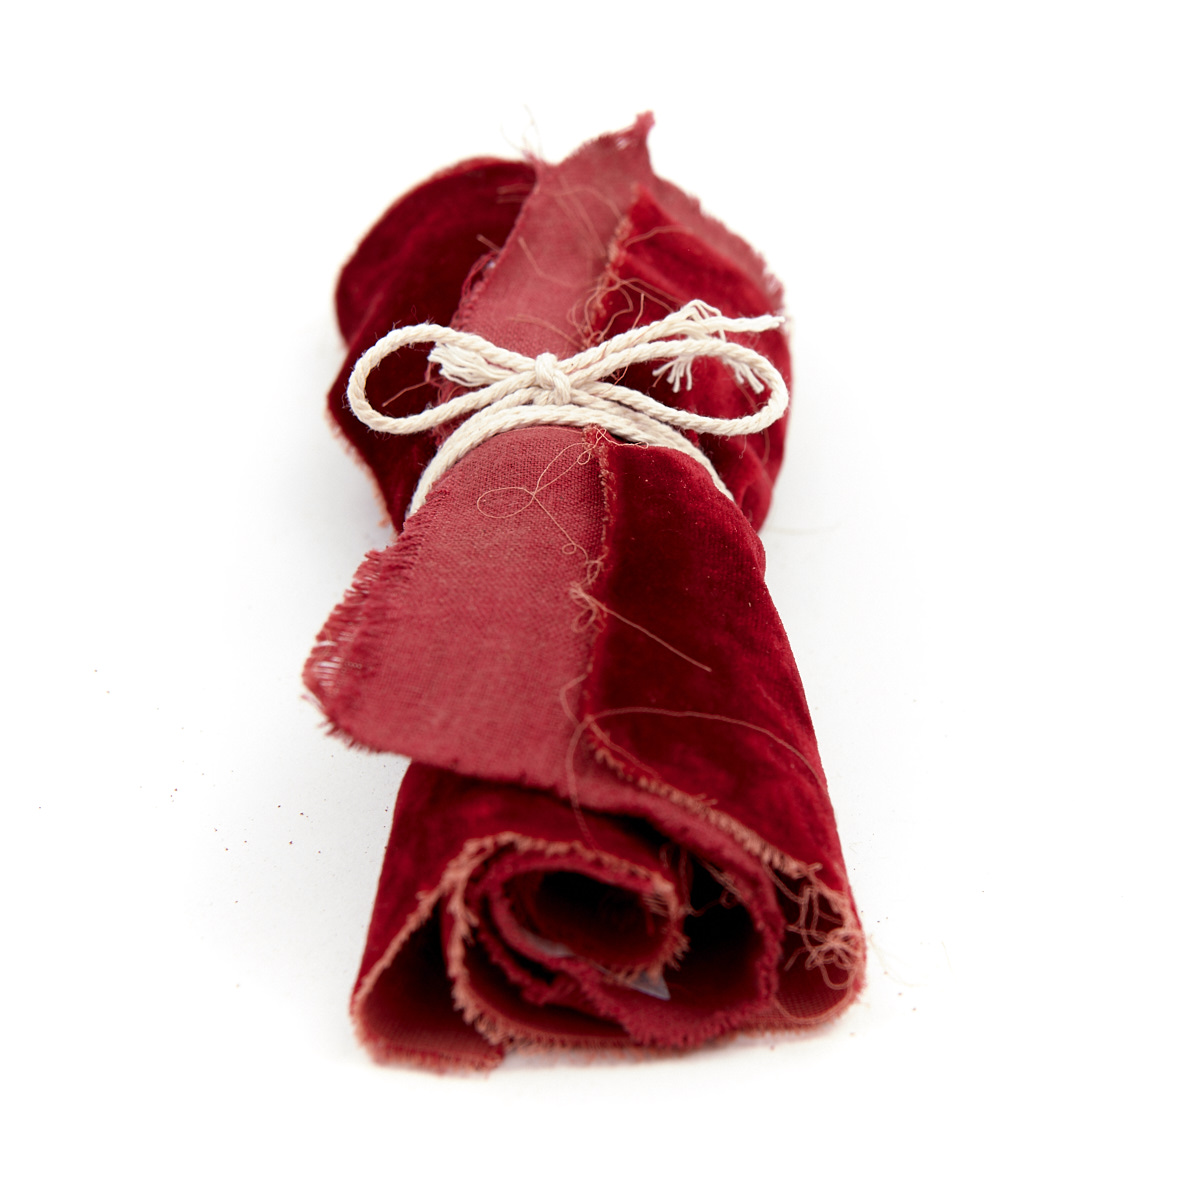
Before beginning, keep in mind that dyes are not like paints: dyes combine with fibres to give character and personality, depth and texture. They do not produce a uniform, even, shade. It is these variations that give an added dimension and excitement to natural dyes. Like fine wines that change with the years to reflect the weather of the seasons, the conditions of the soil, and the tastes of the vintner; dyes will give slightly different shade each time they are used. They will alter when you change the dyeing conditions, mordants, colour pointers (such as cream of tartar and iron) and over dye. Experiment and play with this potential (keeping notes will help).
Recipes for dyes are listed with each dyestuff.
These instructions, including recipes for each dyestuff are also available as a PDF
Standard Procedure for Dyeing (check the specific dyestuff for variations)
Measure your dyes.
Add hot tap water to your dye kettle. Add enough water so that the fibres can move freely (don’t add the things to be dyed just yet!). If you don’t add enough water you may get uneven colours, if you add too much water you will lower the concentration of your dyes.
Add your dyestuff to the dye kettle.
Wet out your yarns or cloth.
Add your scoured, mordanted, wetted yarns or cloth to your dye kettle.
Bring heat up slowly - the exact temperature will depend on the fibres you are dyeing and dye you are using. The temperature should be no higher than 85º C (185º F) for silk, 90º Cº (195º F) for wool, and 93º C (200º F) for cottons, linen and hemp fibres. Some dyes (such as madder) will release different colourants at different temperatures, check the recipe of the dyestuff you are using.
Most dyes require that the temperature be held for 1 hour. During this time the materials to be dyed should be gently turned on a regular basis.
Turn off the heat and allow the dyebath to cool slowly.
Some colours will benefit from staying in the dyebath overnight - exceptions are most yellow dyes and logwood.
Remove items from the dyebath and rinse gently in cool water. Hang to dry out of direct sunlight.
“Dye Bag” Raw Dyestuff for Yarn Dyeing
Raw dyestuff may be challenging to remove from yarns after dyeing. To avoid this problem we recommend making a dye bag for the dye material. We use white, tightly-woven, polyester fabric to make a dye bag that will contain the dyestuff, yet leave plenty of room for the dye material to swell, release colourants, and move about. Form a bag to contain the measured dyestuff and close the opening securely. The entire bag is then immersed in the dyepot with the yarns. The fabric used to make the dye bag may be reused multiple times.
About Extracts
The dye colourant always needs to be extracted from host material (roots, barks, petals, or leaves). Usually this extraction happens in the dyebath, but sometimes (as with indigo, cutch, or any of the insect dyes) it is an entirely separate process.
We sell natural dyes as both raw materials and extracts. Extracts are very concentrated and so smaller amounts are needed compared to working with the raw material.
Our general philosophy is to work with dyes in their raw form. Working with raw materials increases your feeling for the material and gives you control over both process and colour.
After Dyeing
Natural dyes will “set up” over time. Depending on the dyes used, maximum fastness is achieved by letting the cloth set for a period of one to two weeks before working with the cloth or washing it with soap. Here is what we recommend:
Directly after the dyeing process, gently wash in lukewarm water without soap. Allow to dry completely. During this wash you want to remove any dyestuff (powdered madder for example) and ensure the cloth or yarns are clean.
Then, after two weeks or more you can wash with lukewarm water and a PH neutral soap. Remember to store dyed fabrics and yarns out of direct sunlight.
Download the PDF — Table of Contents
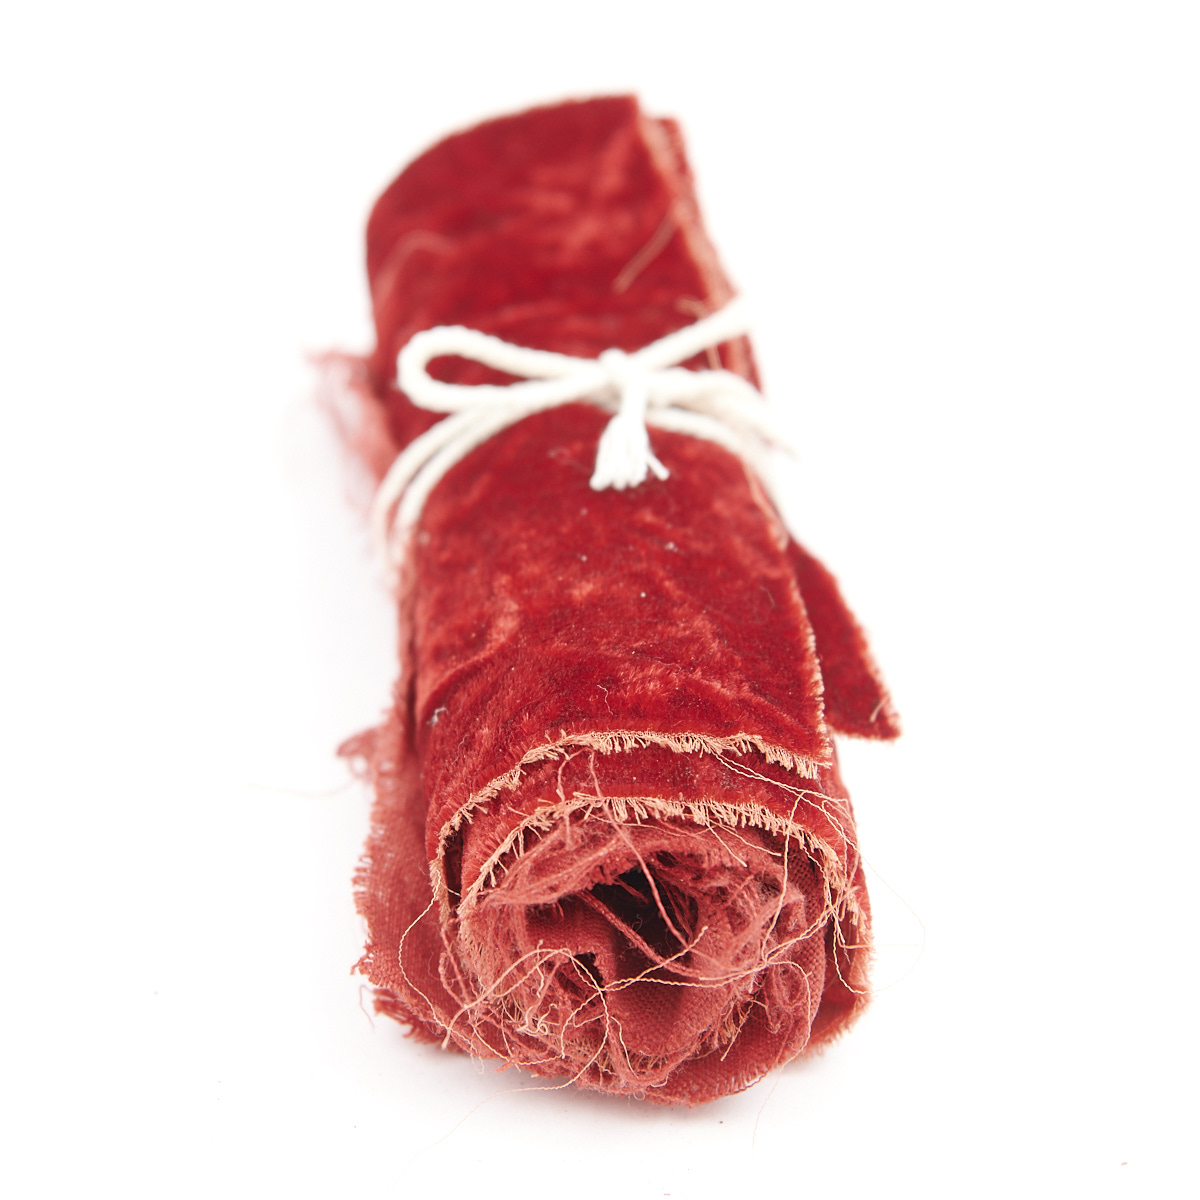
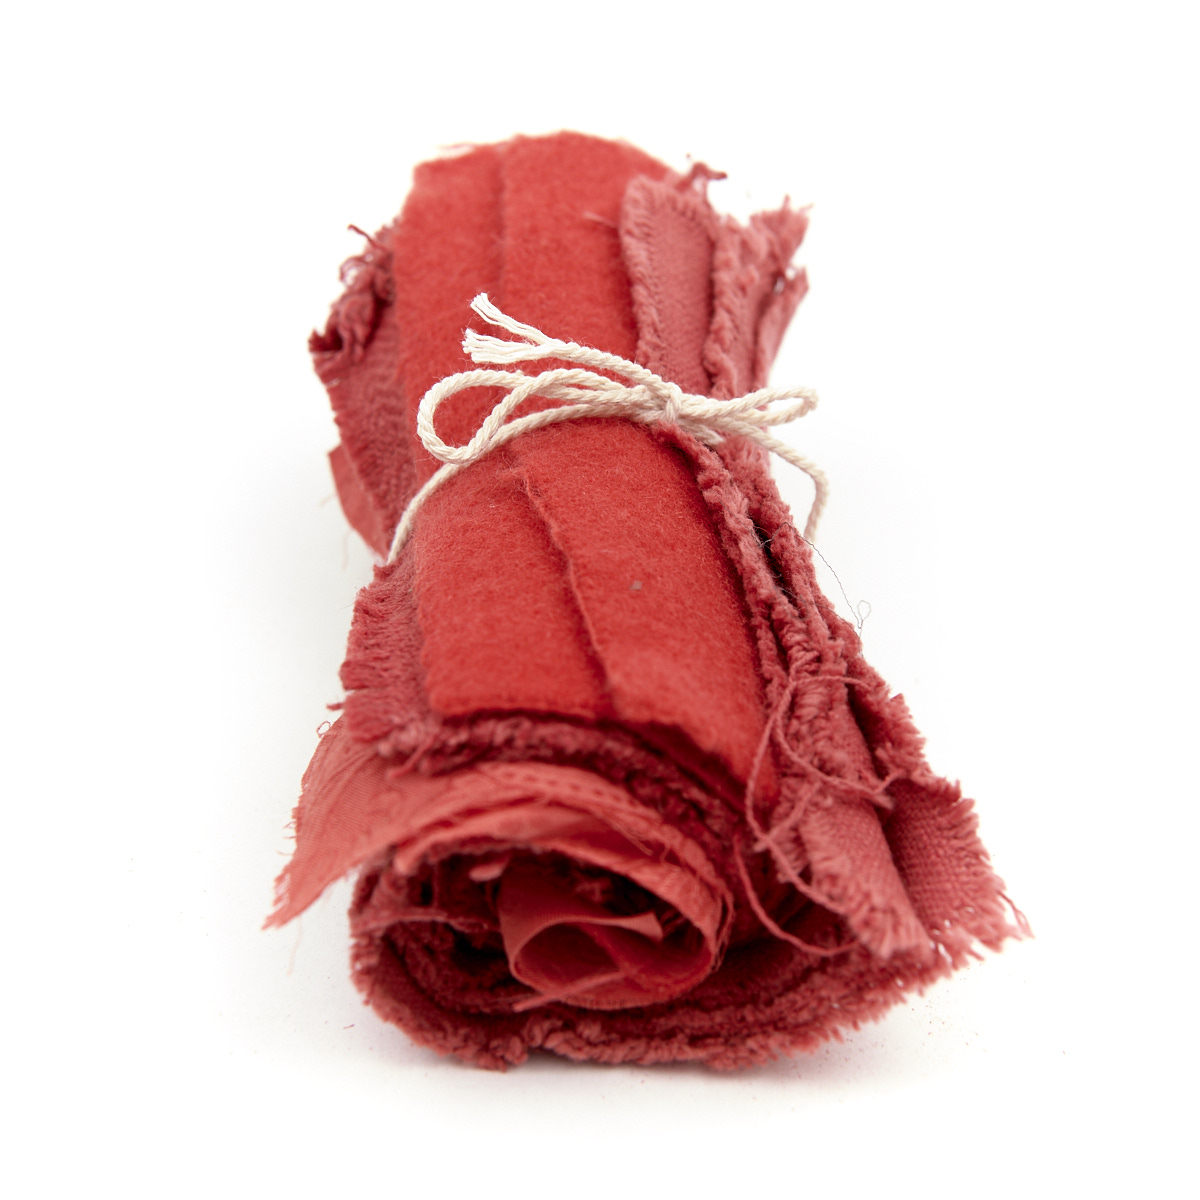
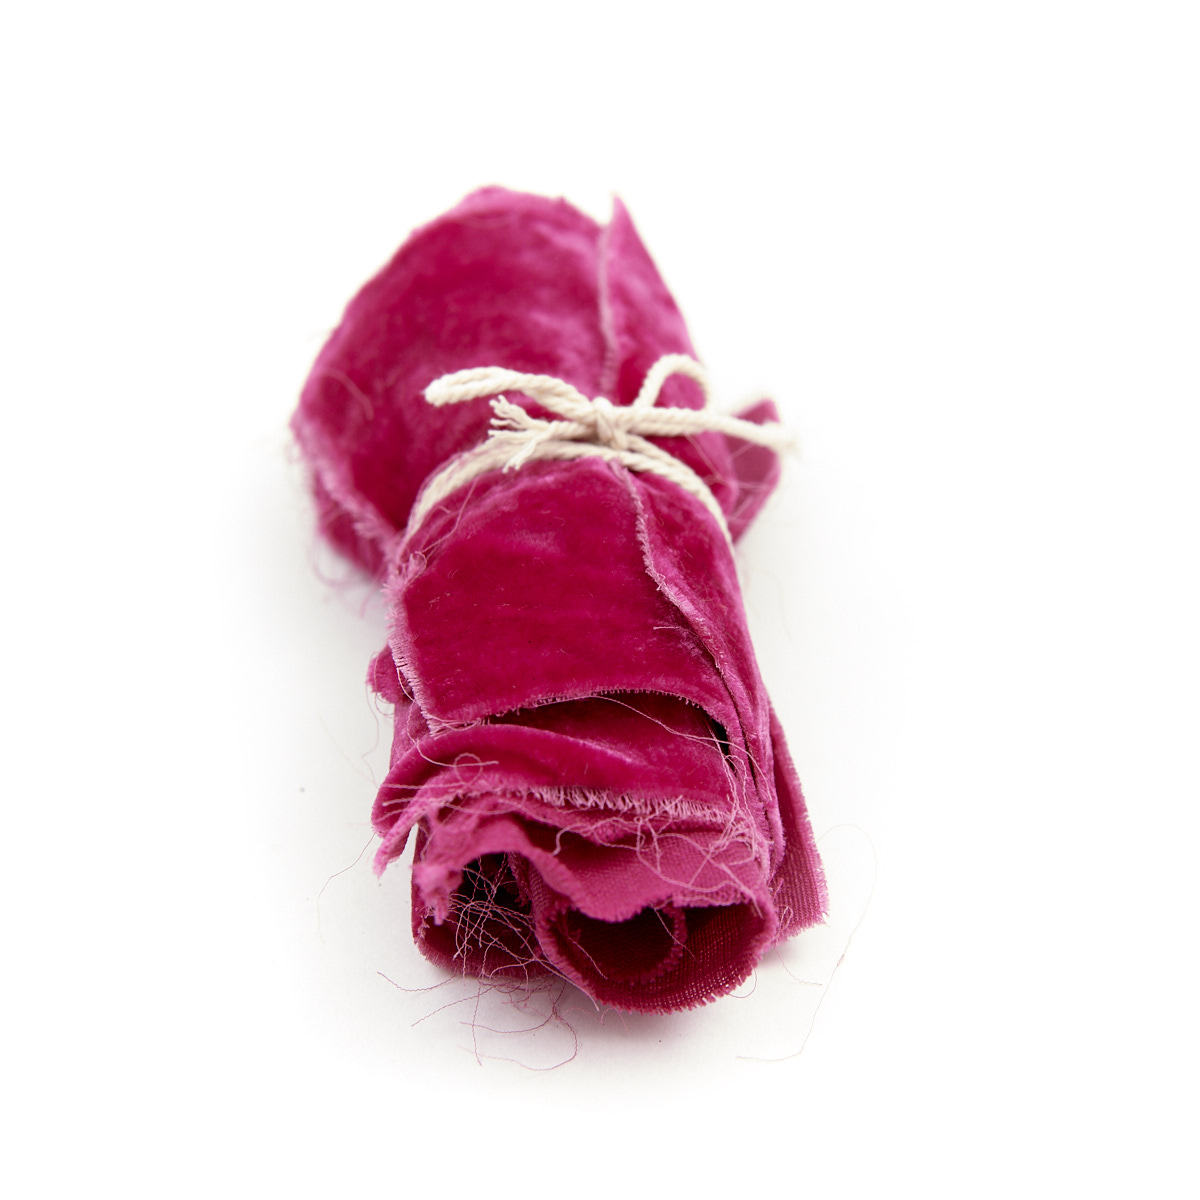
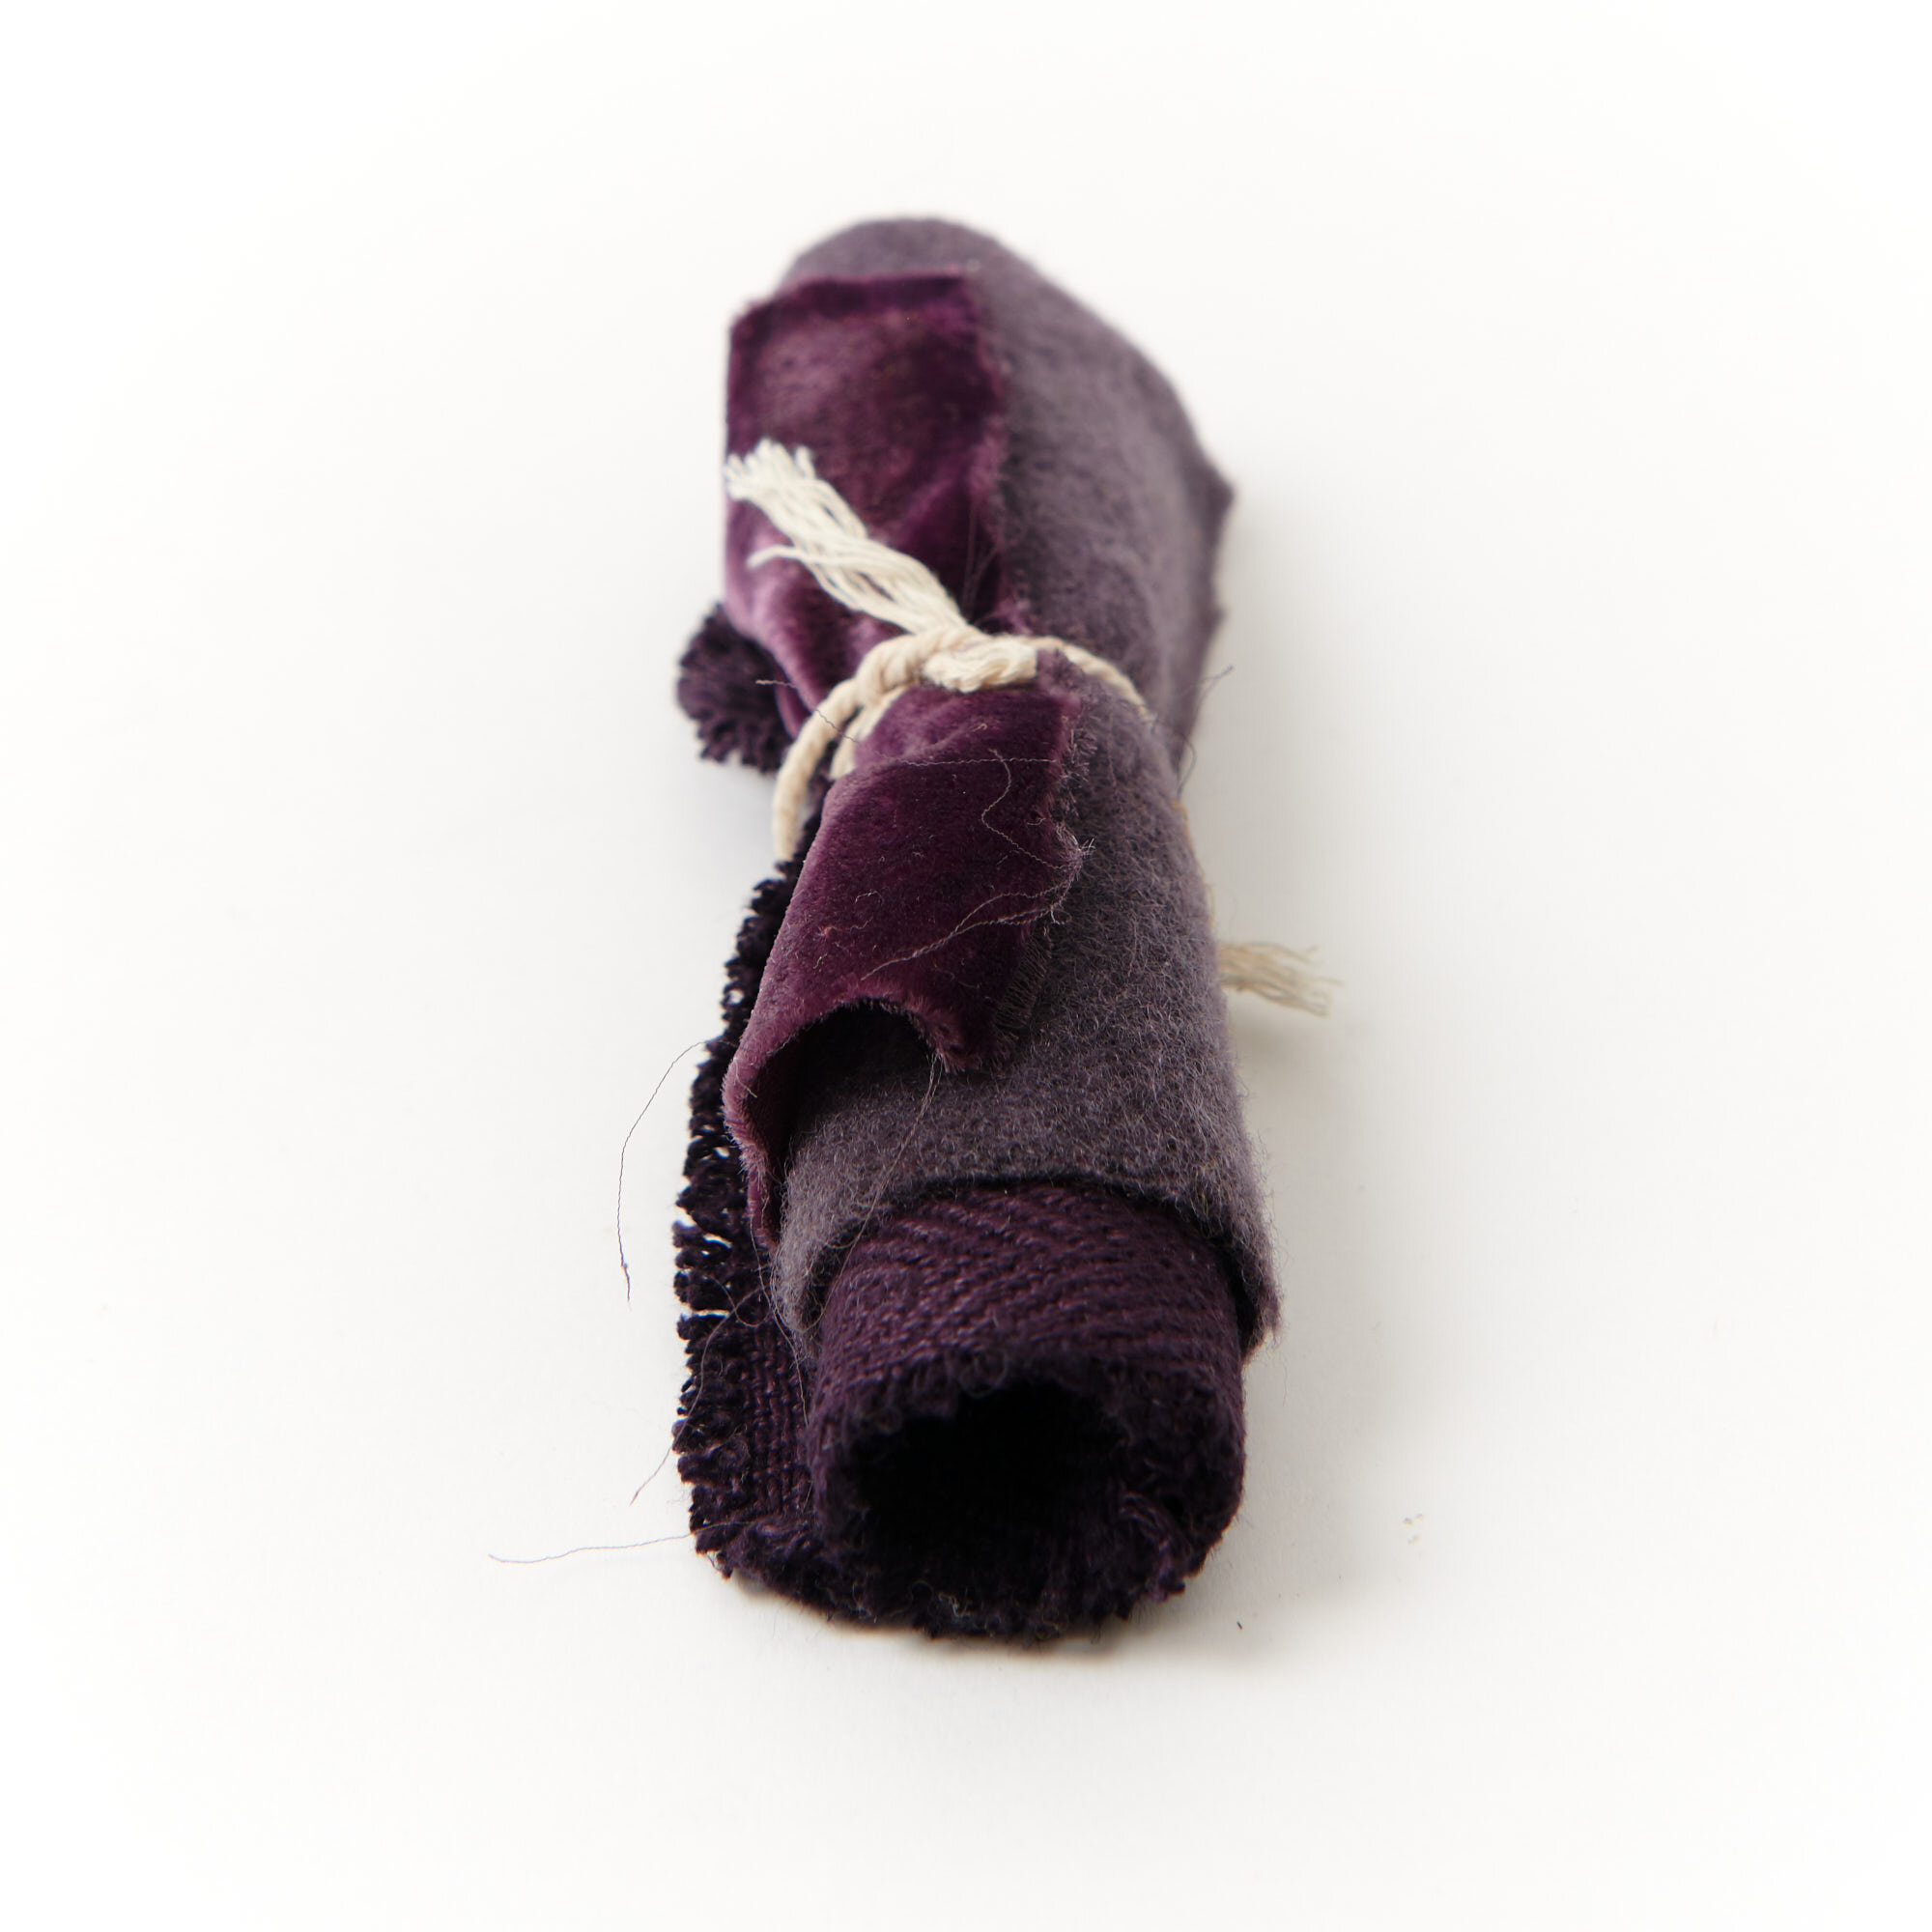
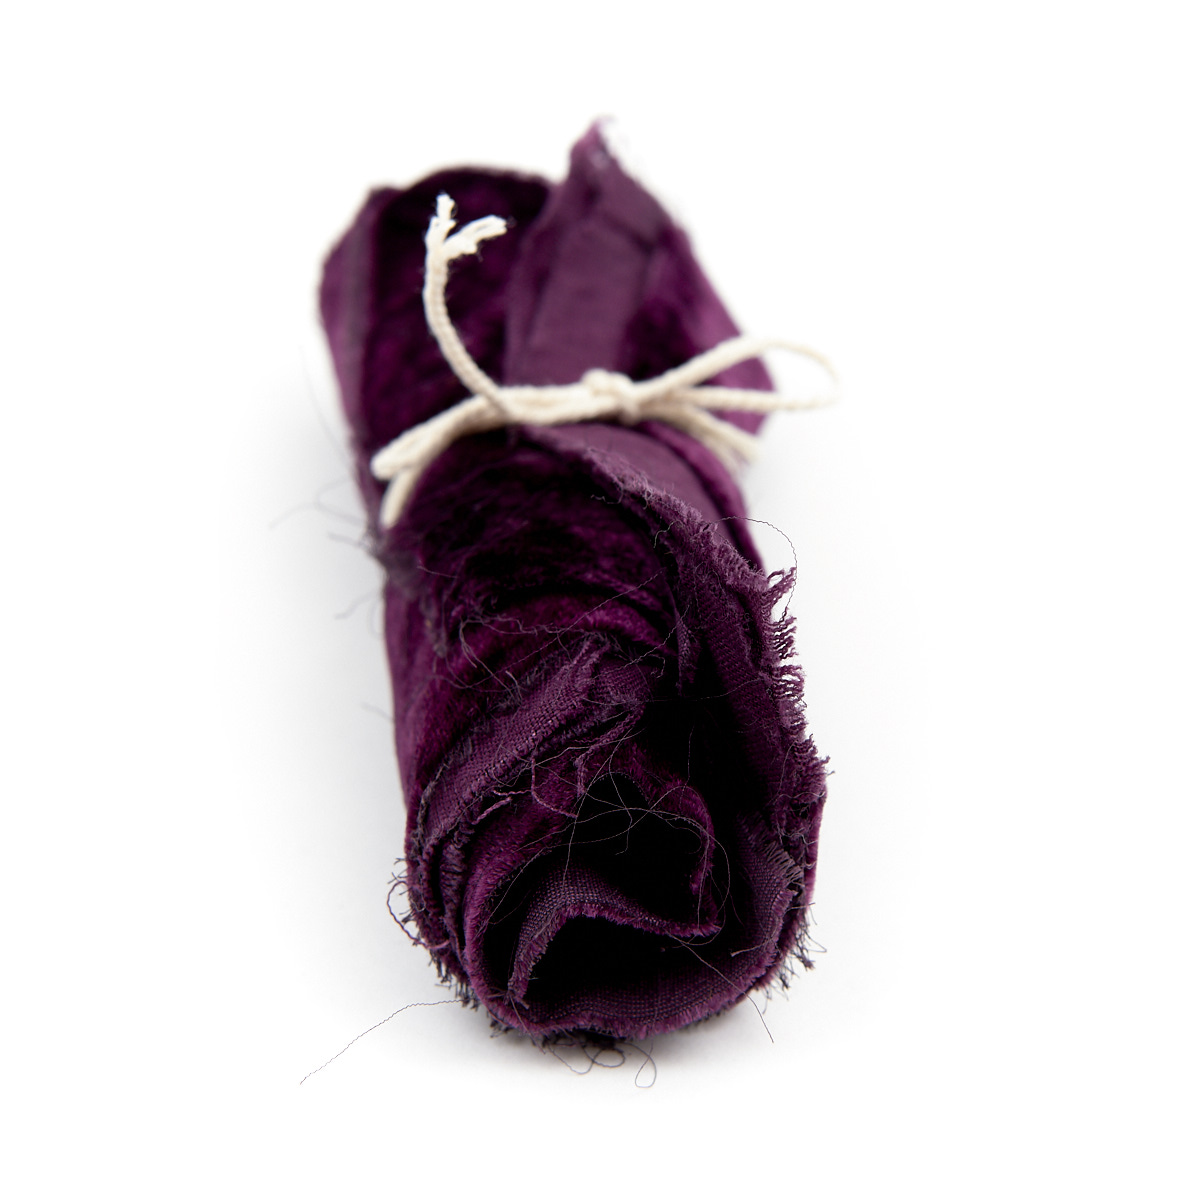
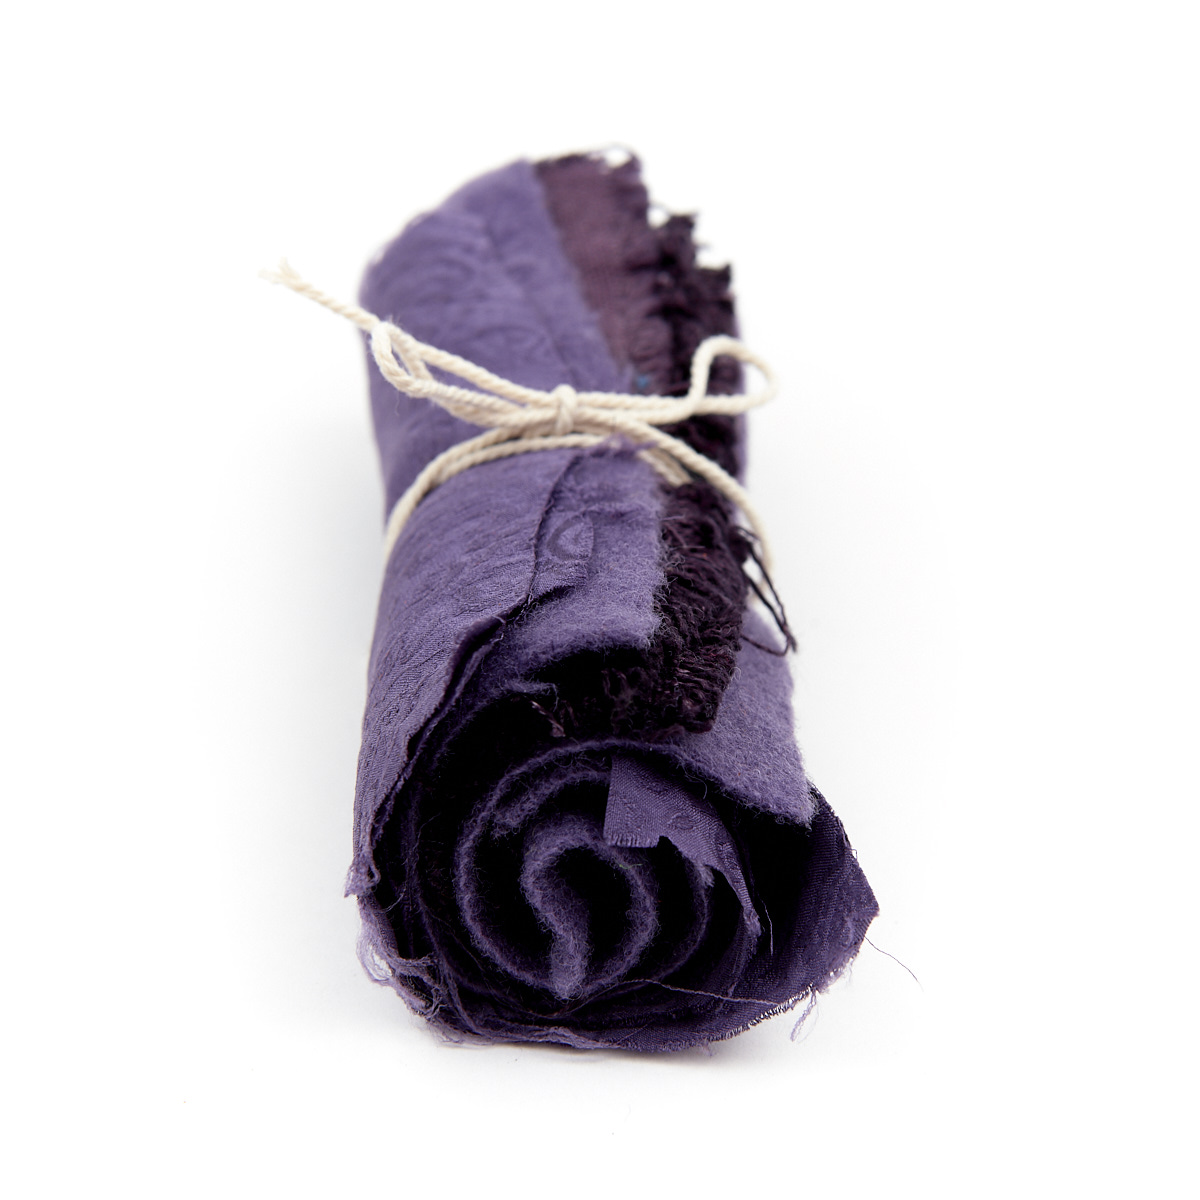
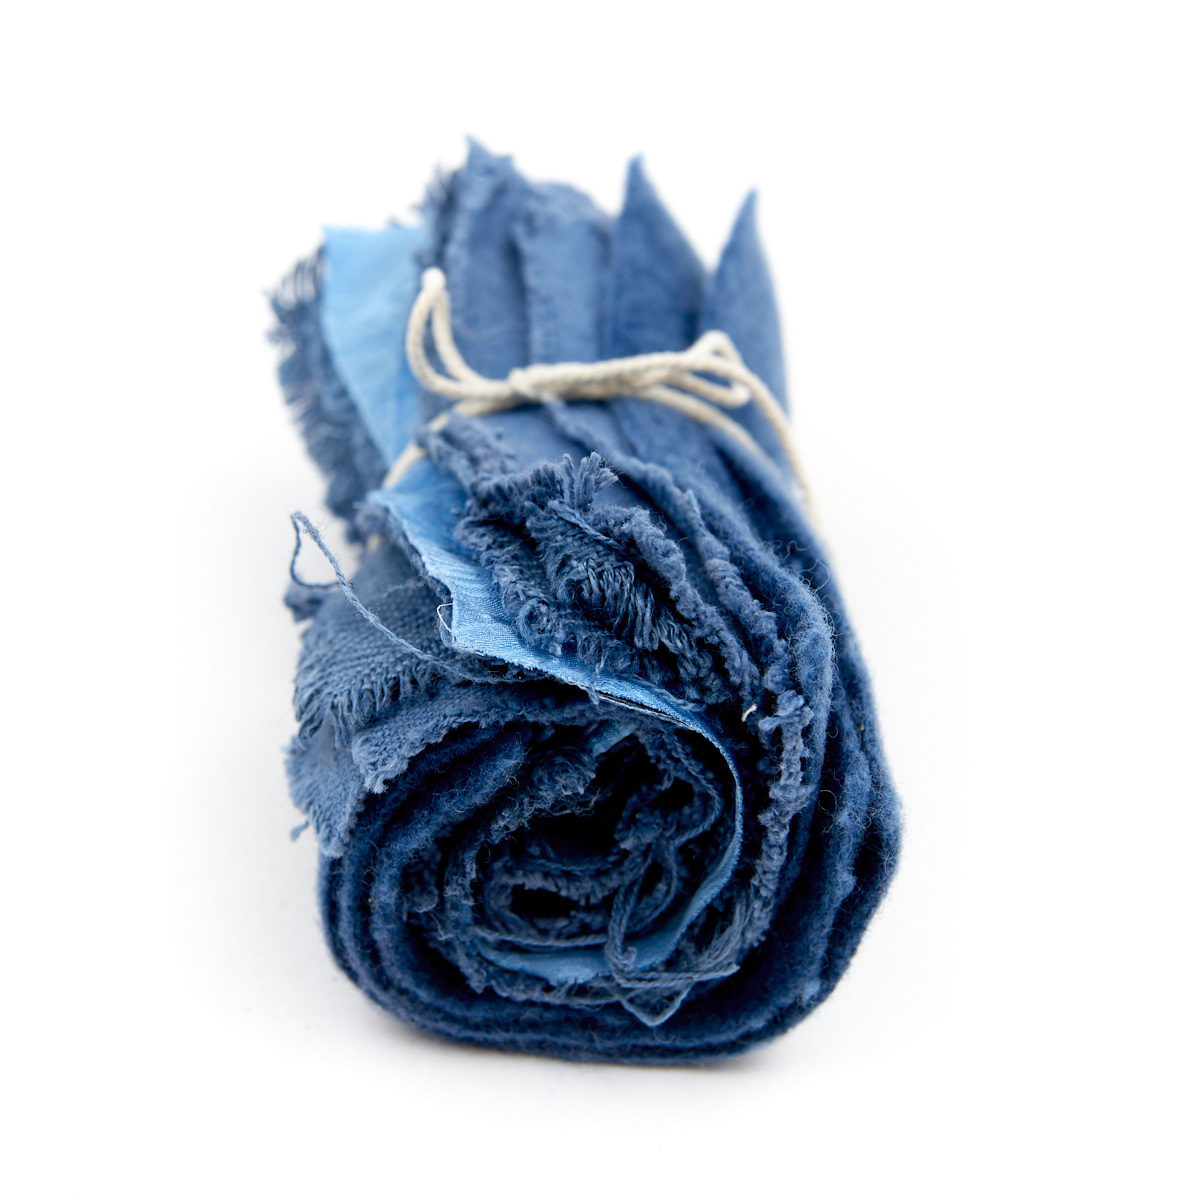
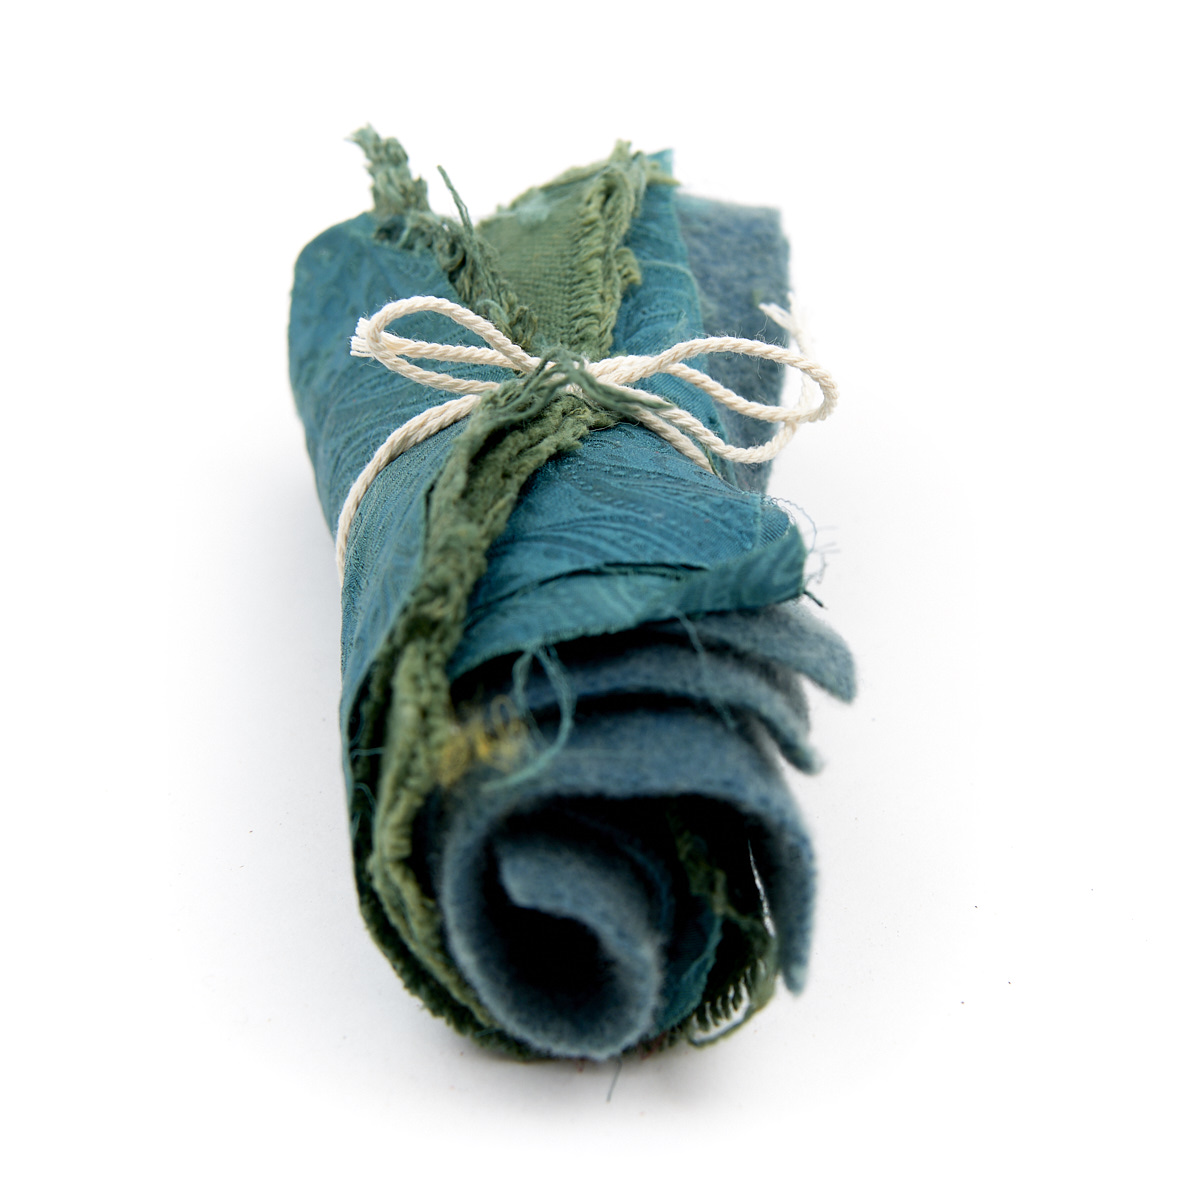
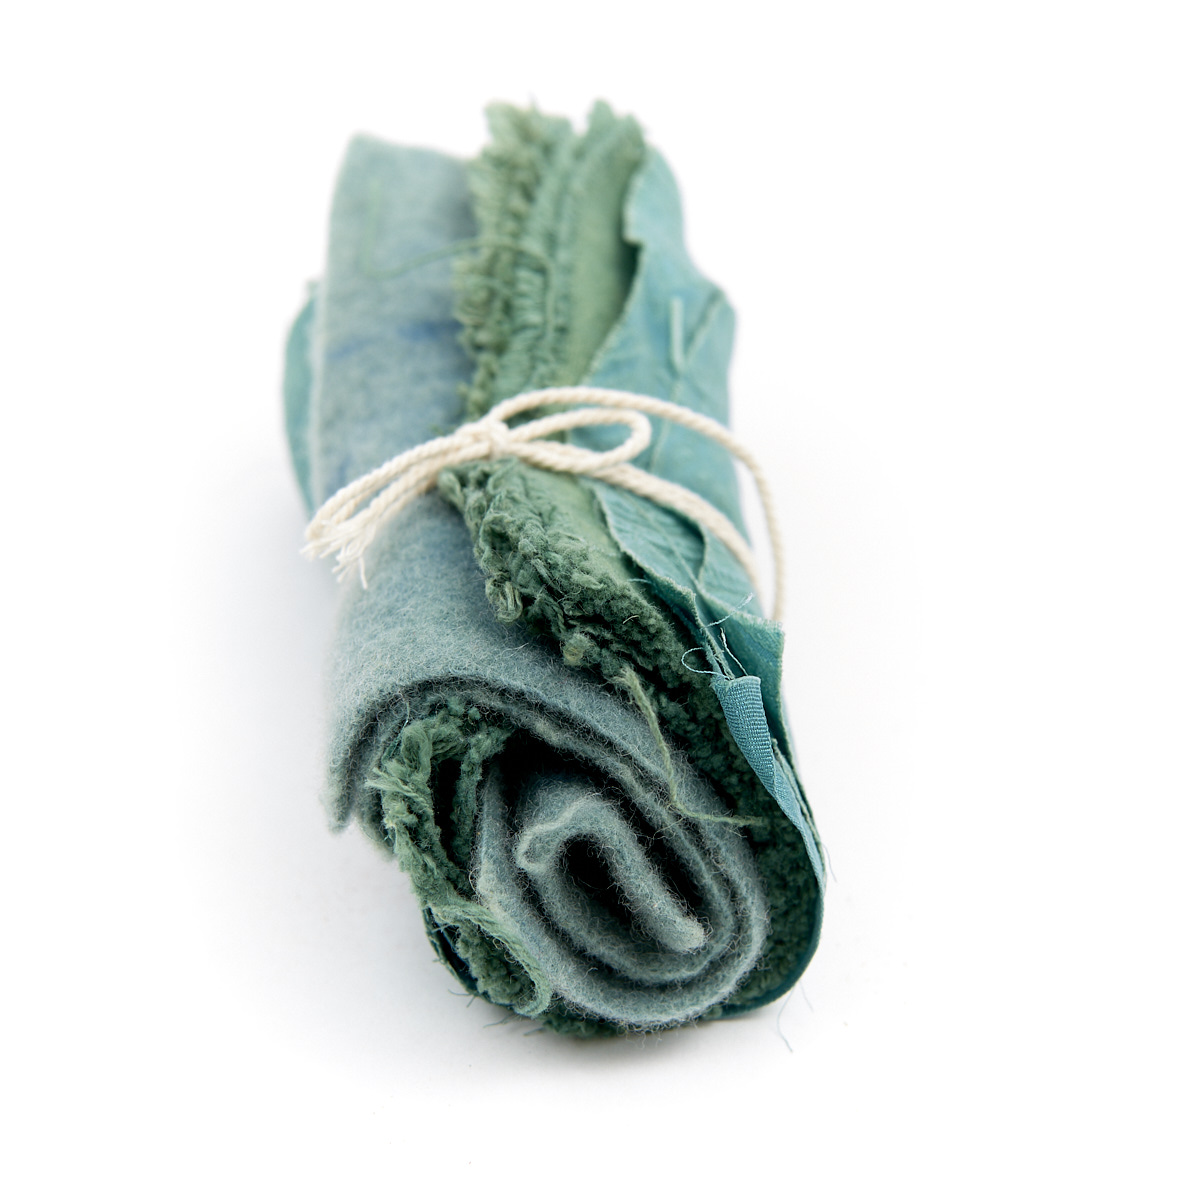
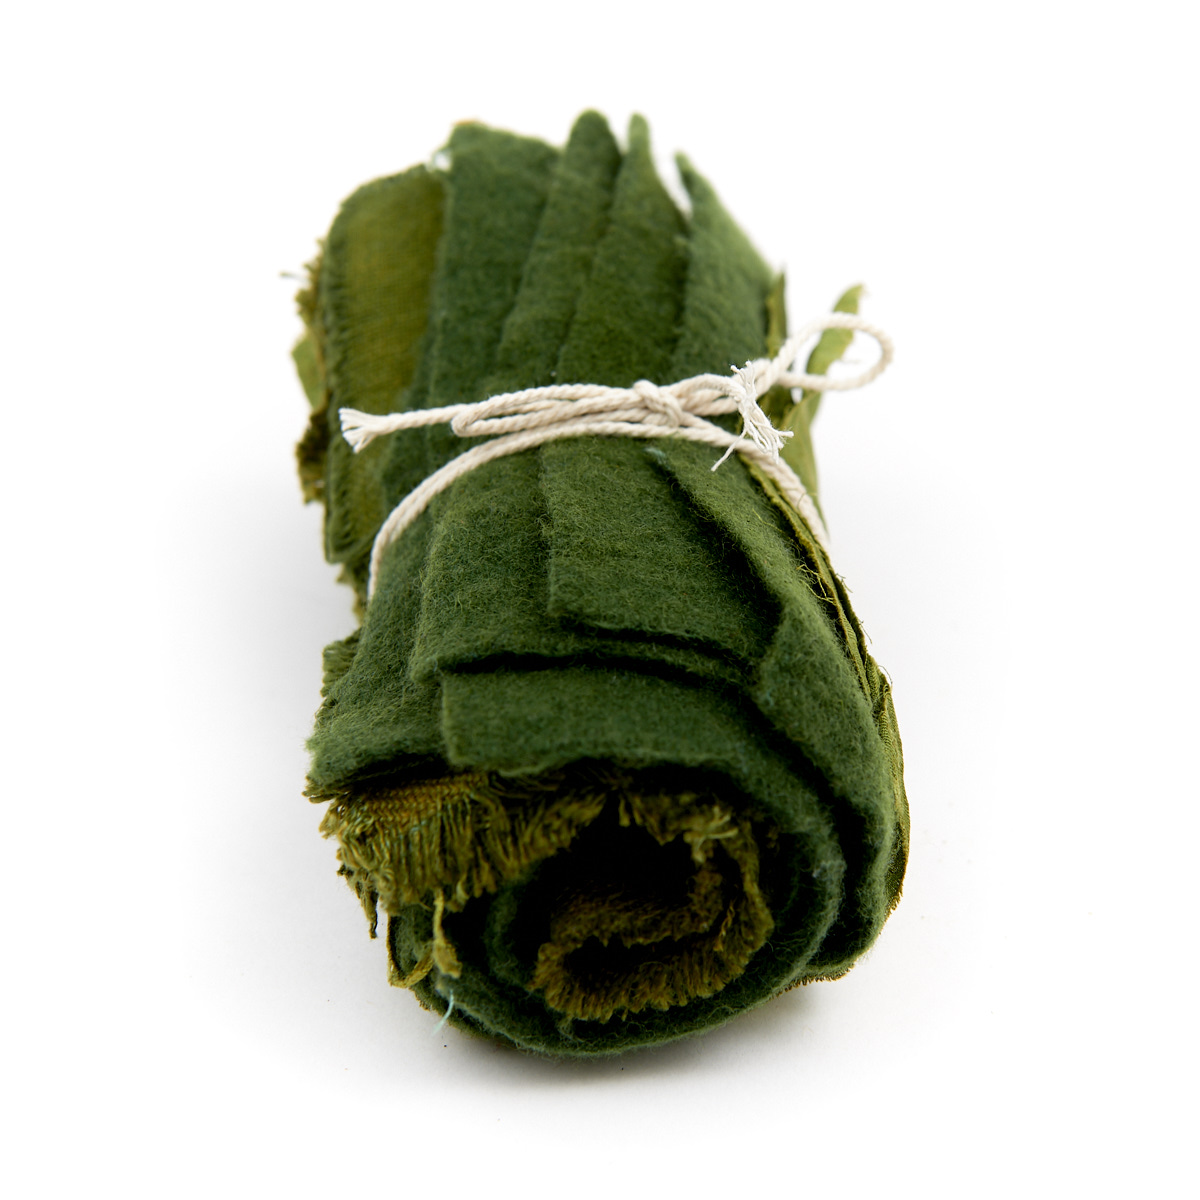
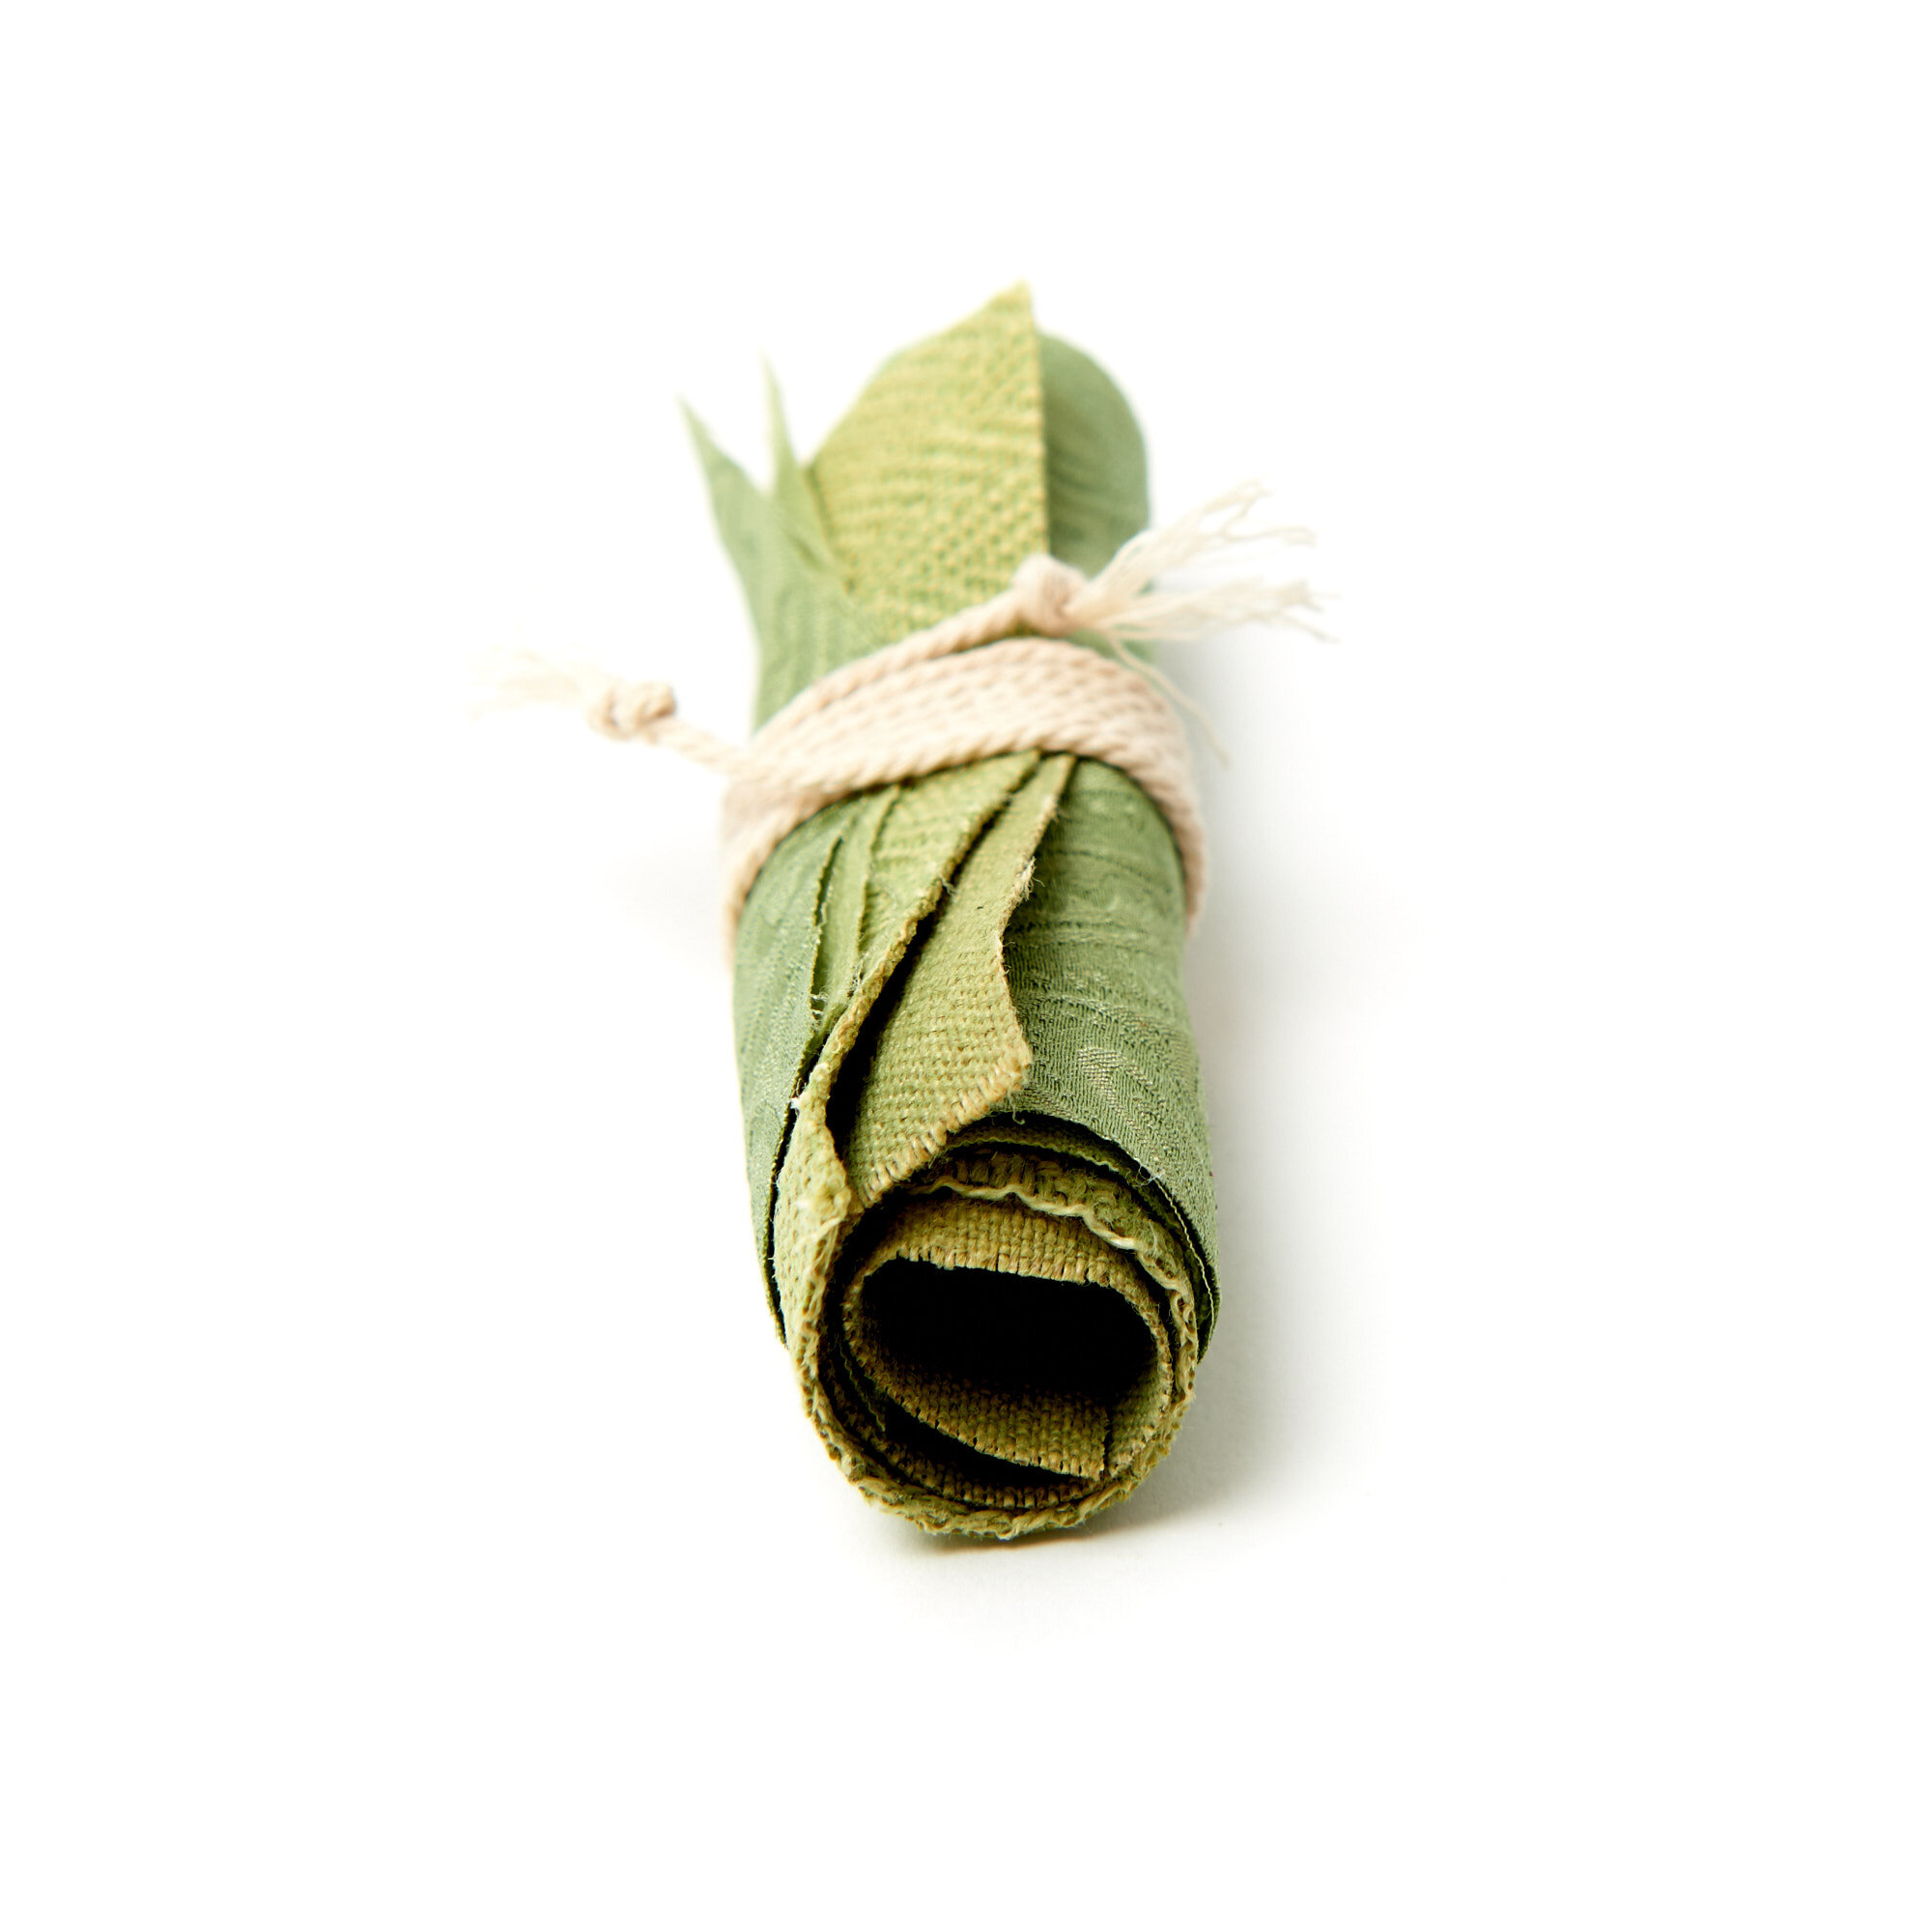
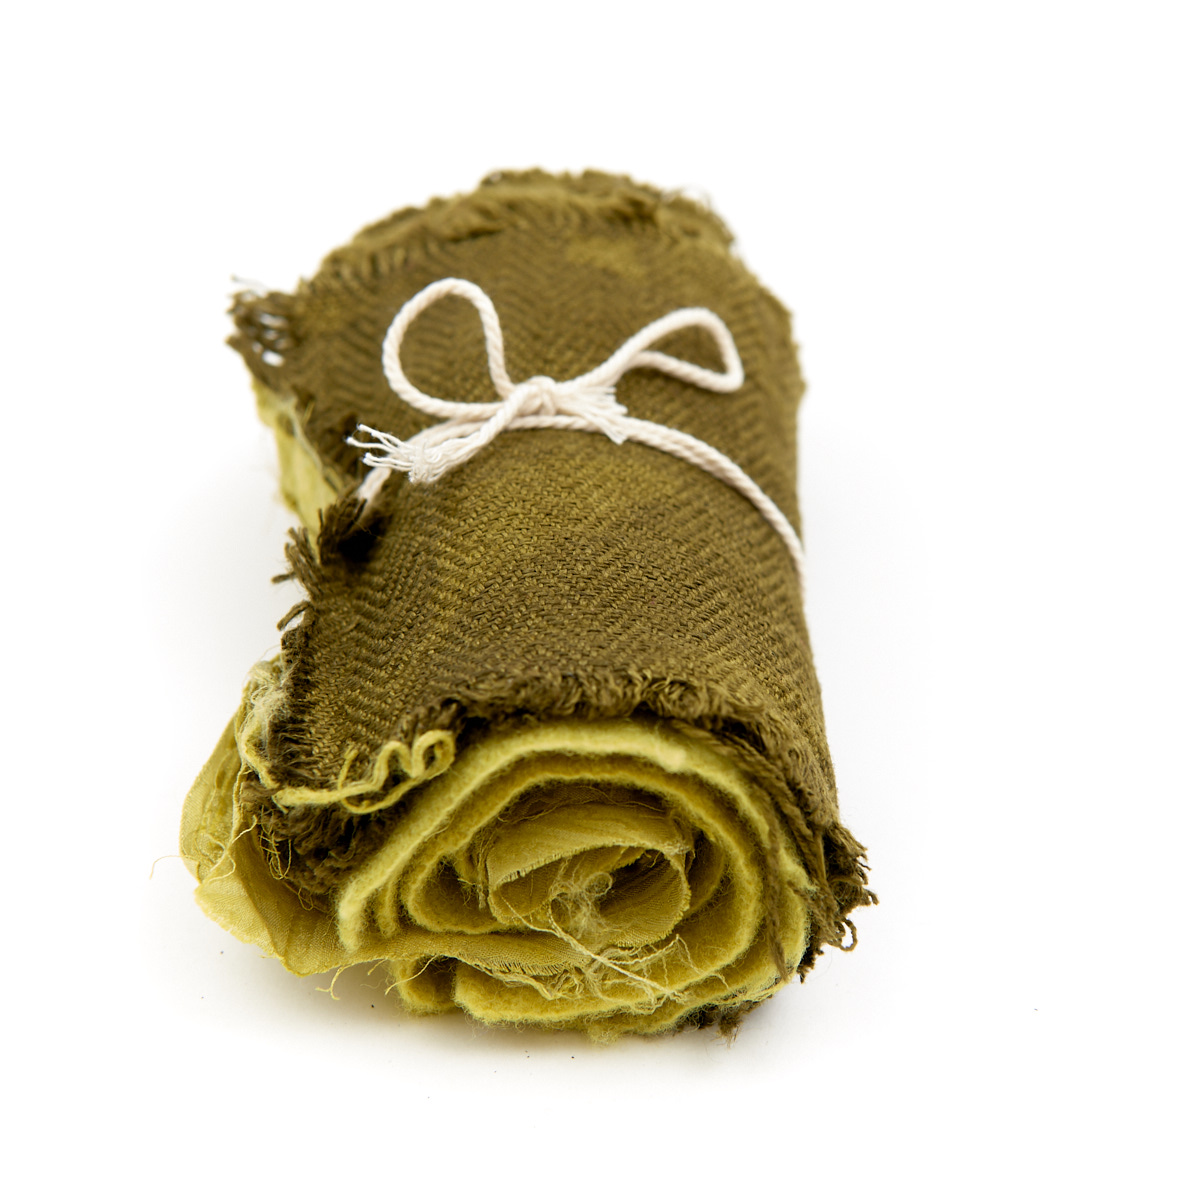
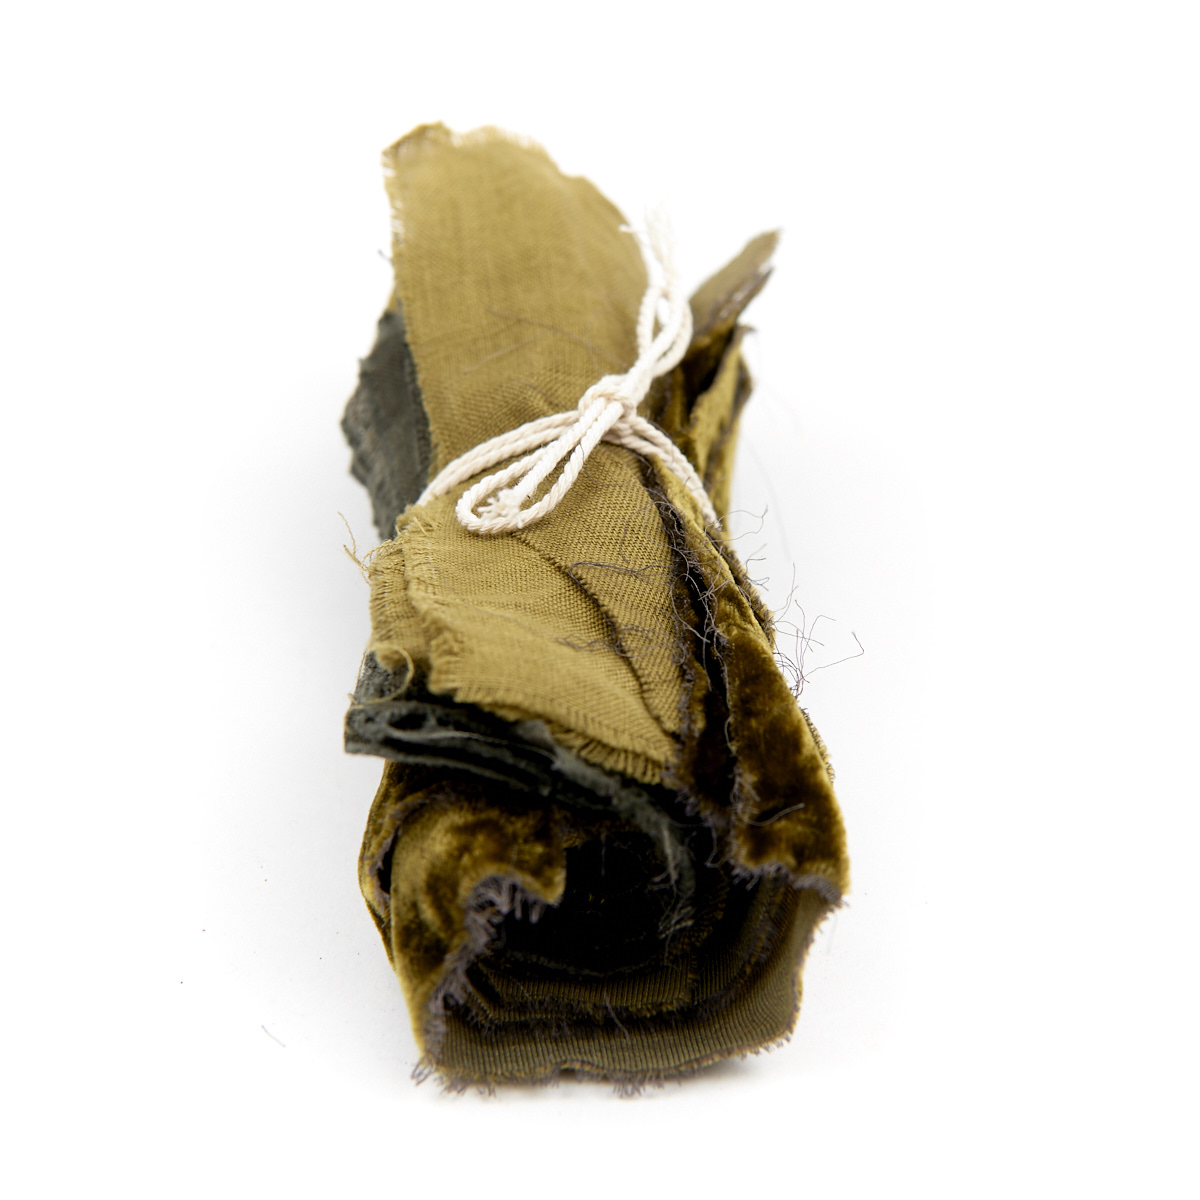
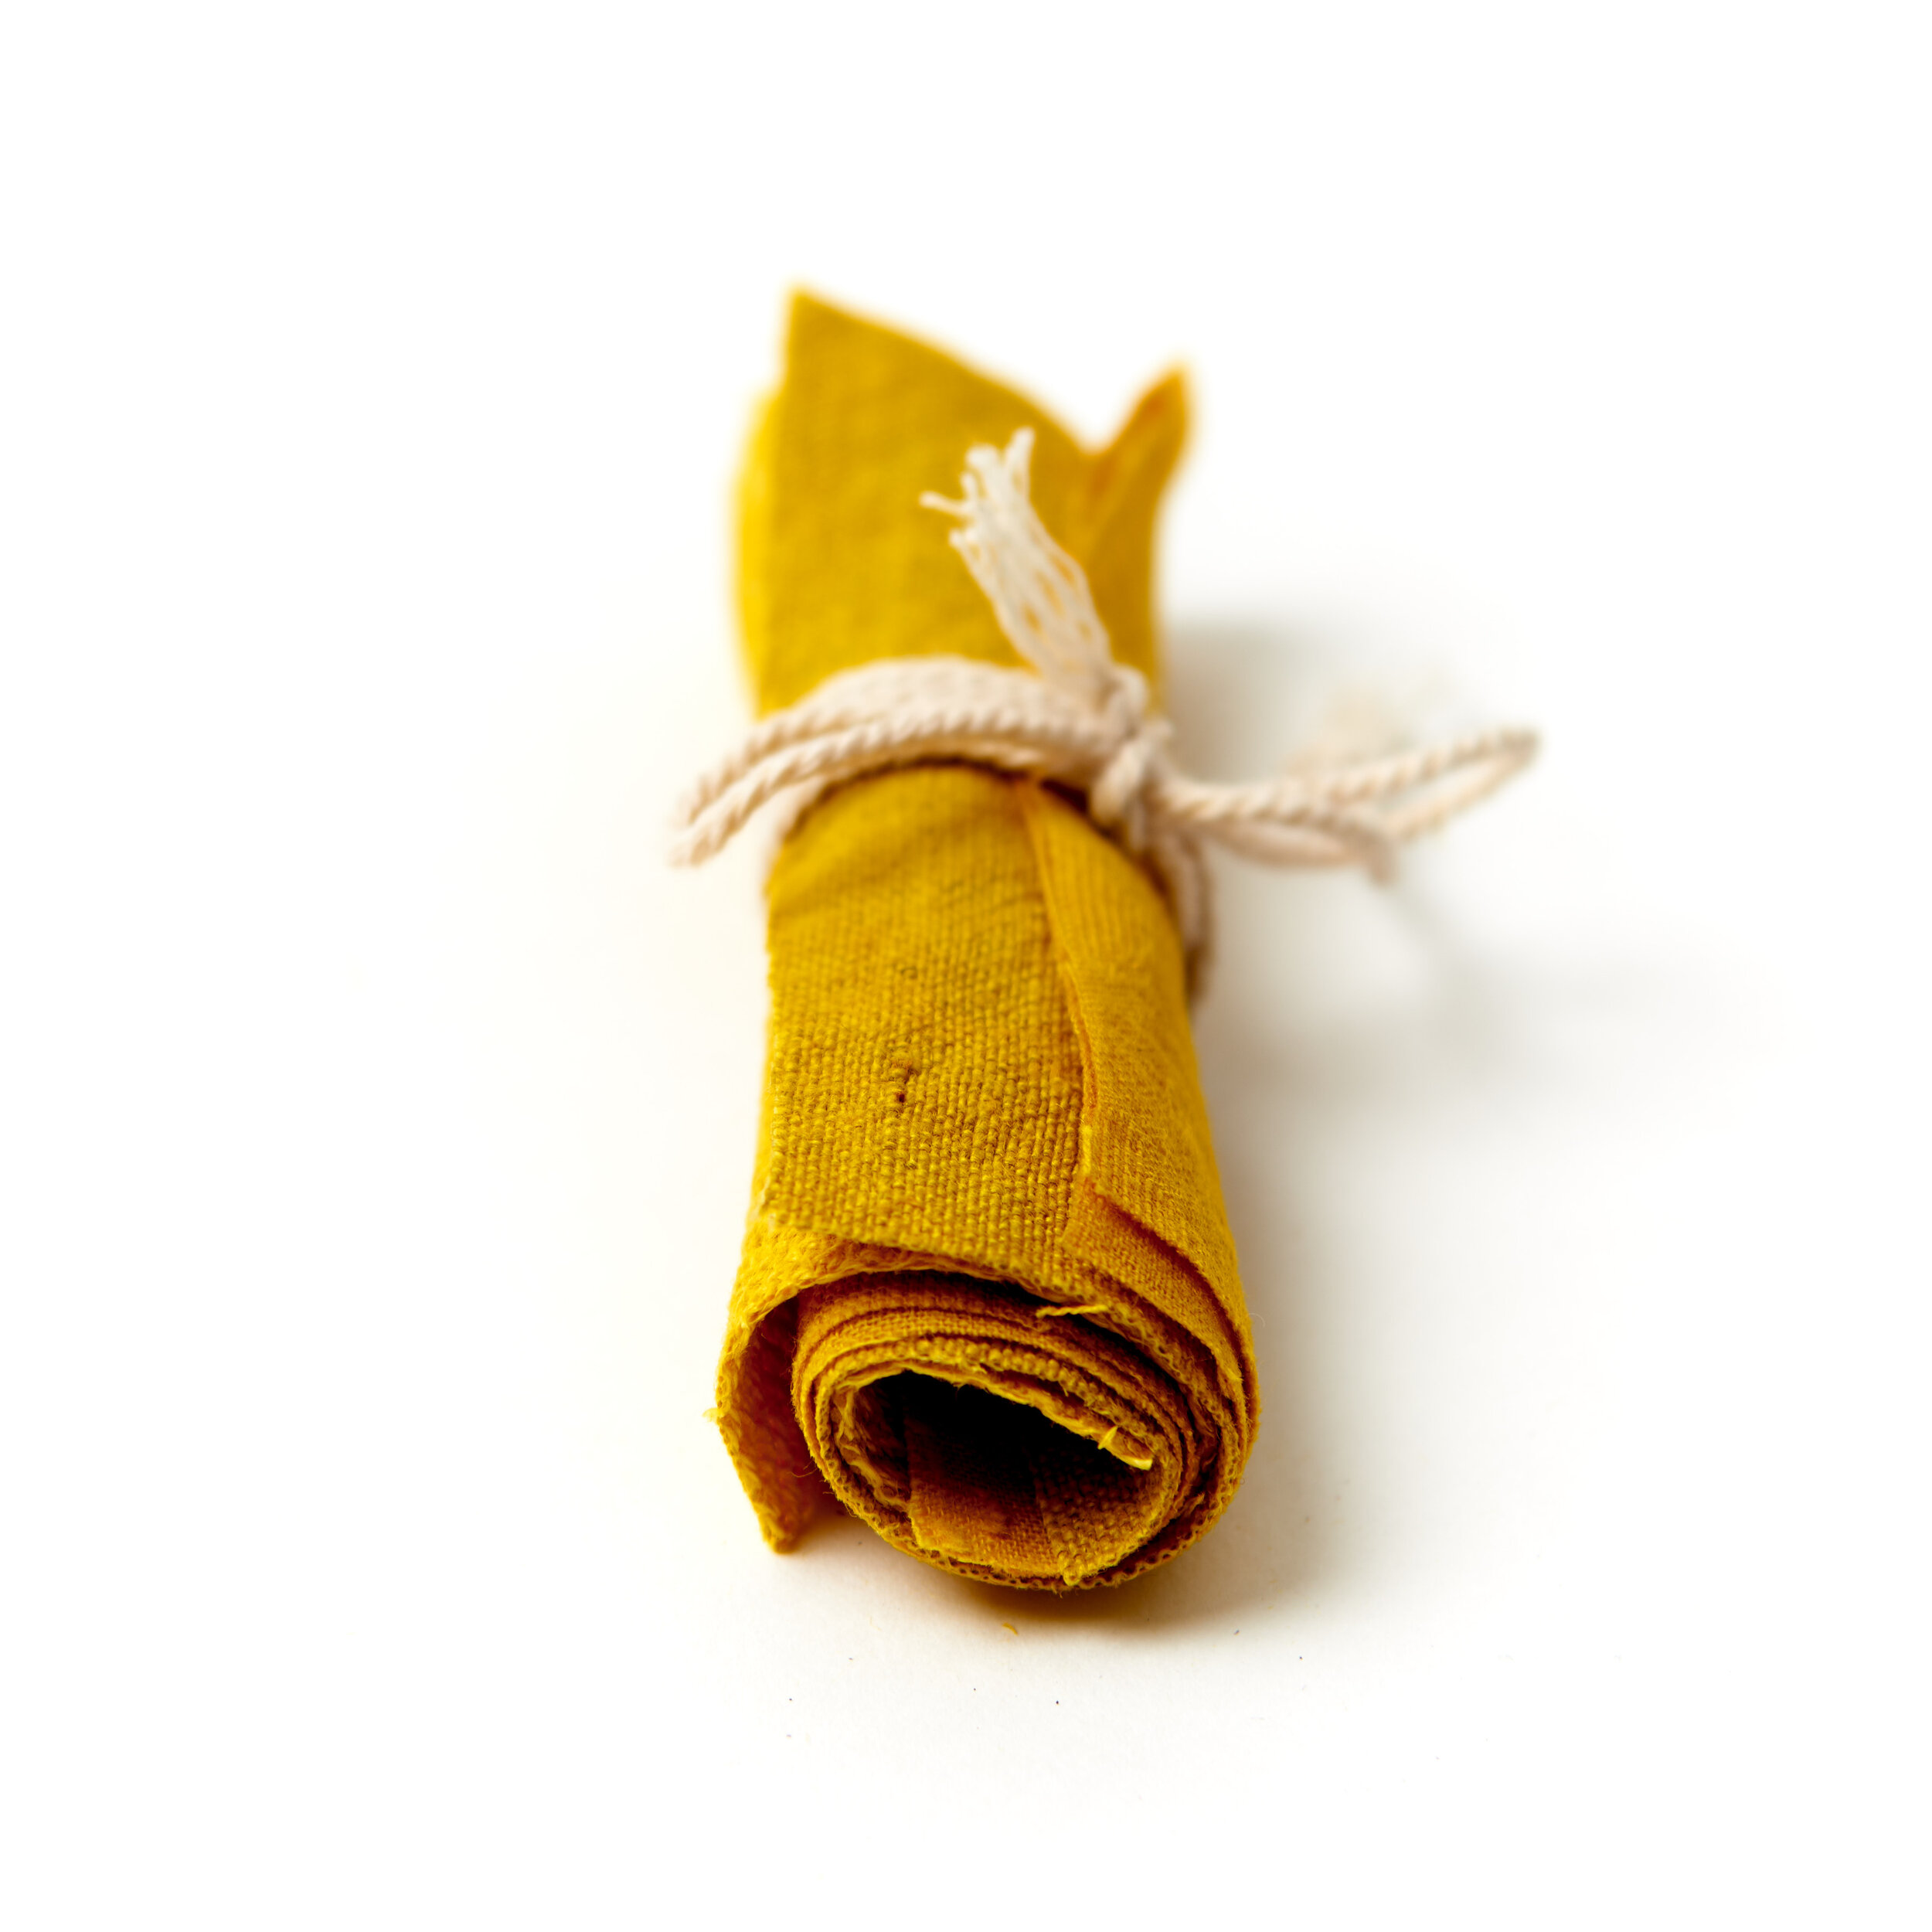
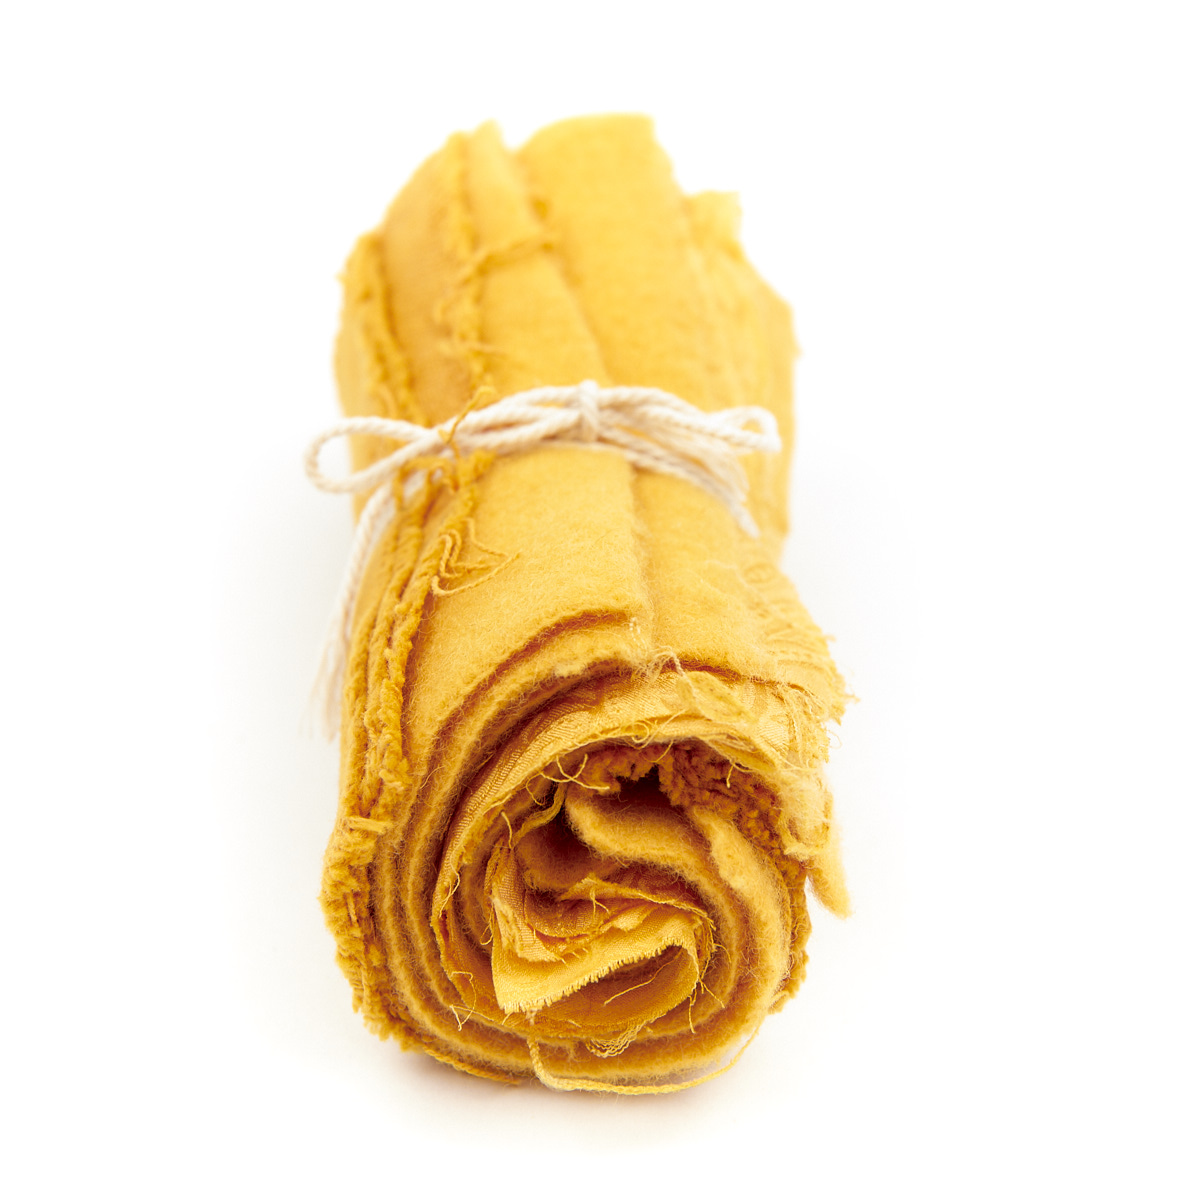
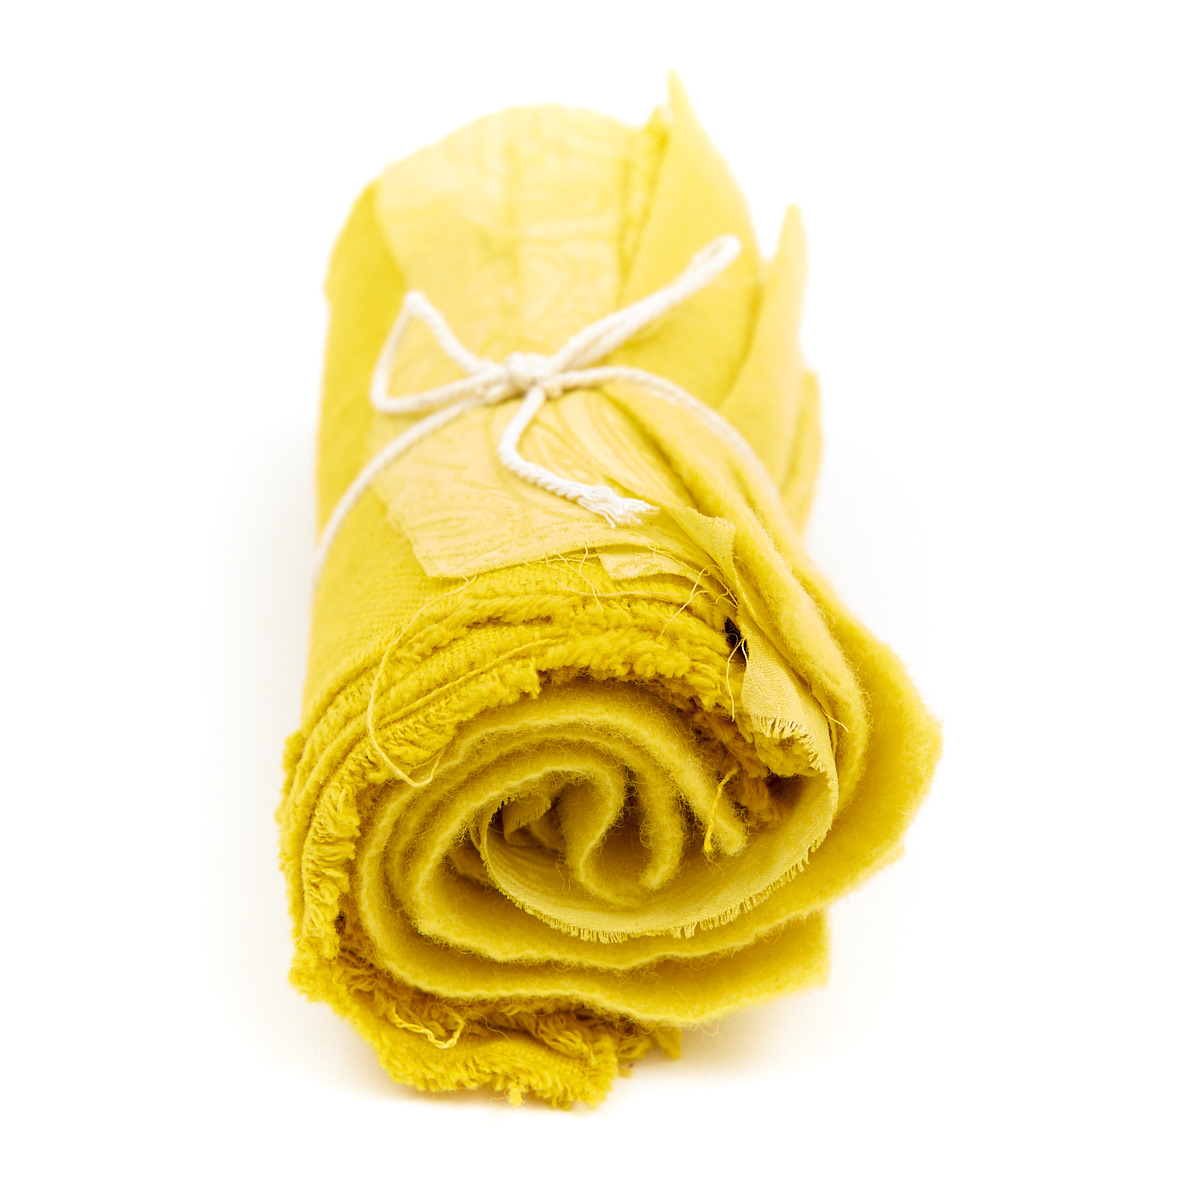
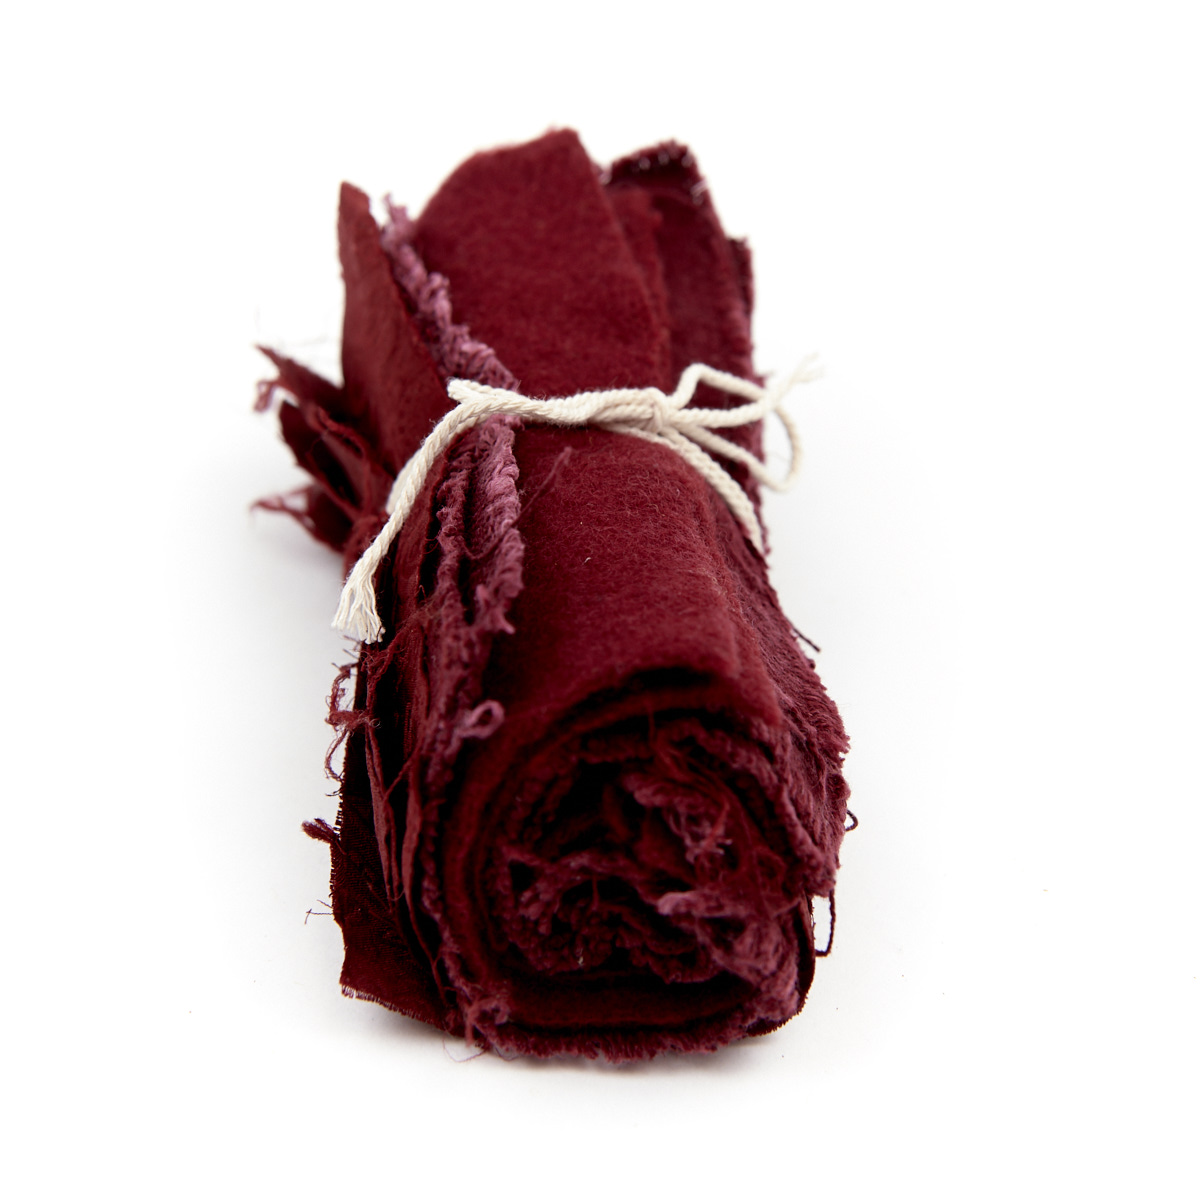
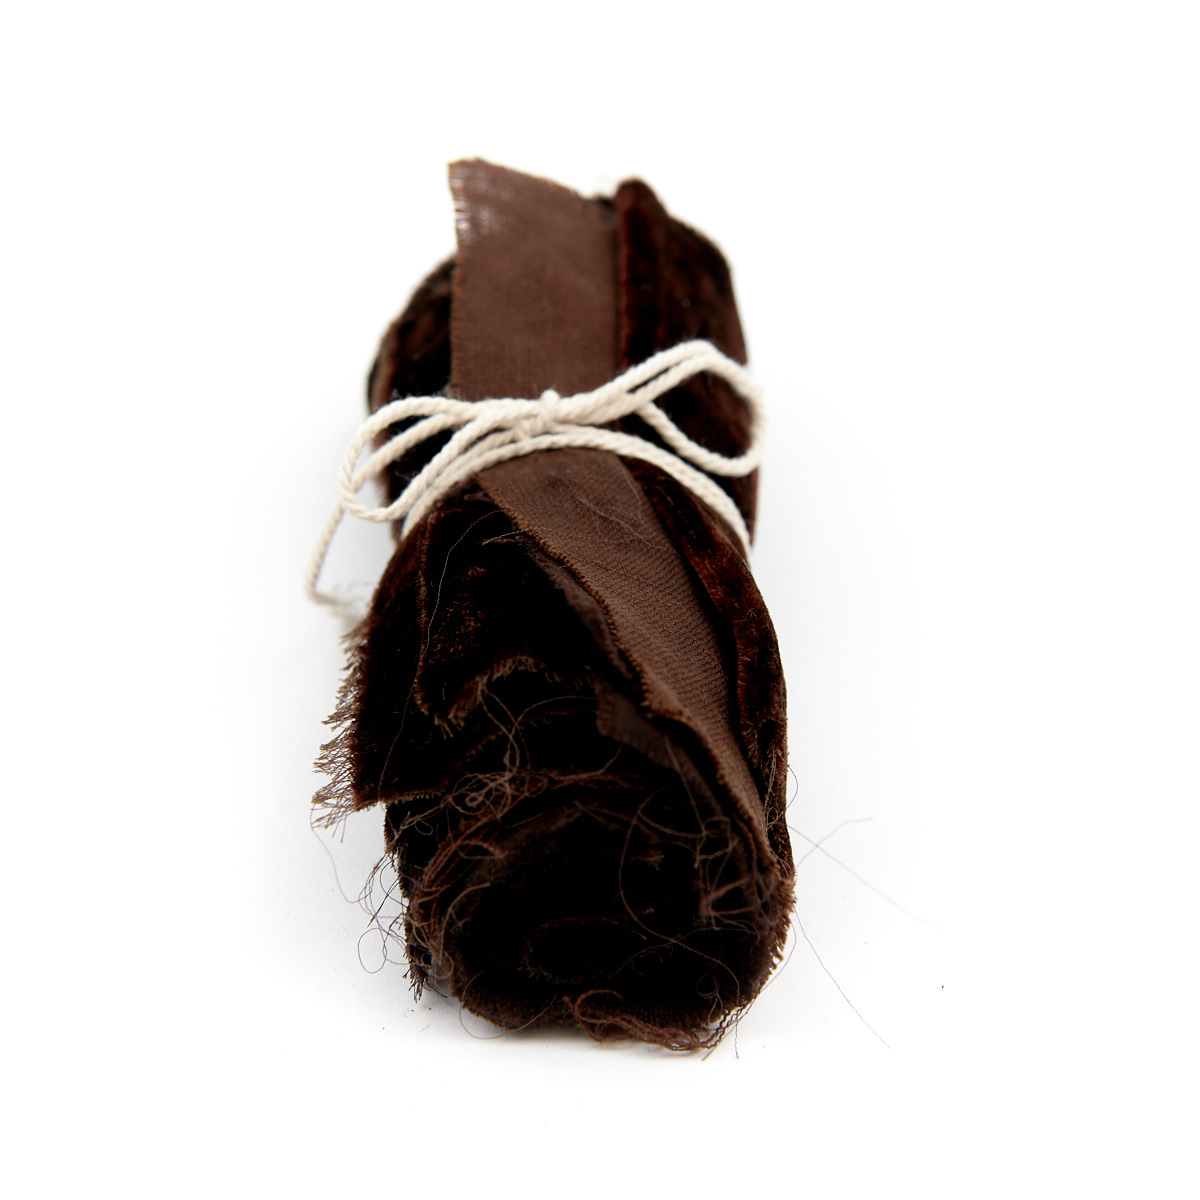
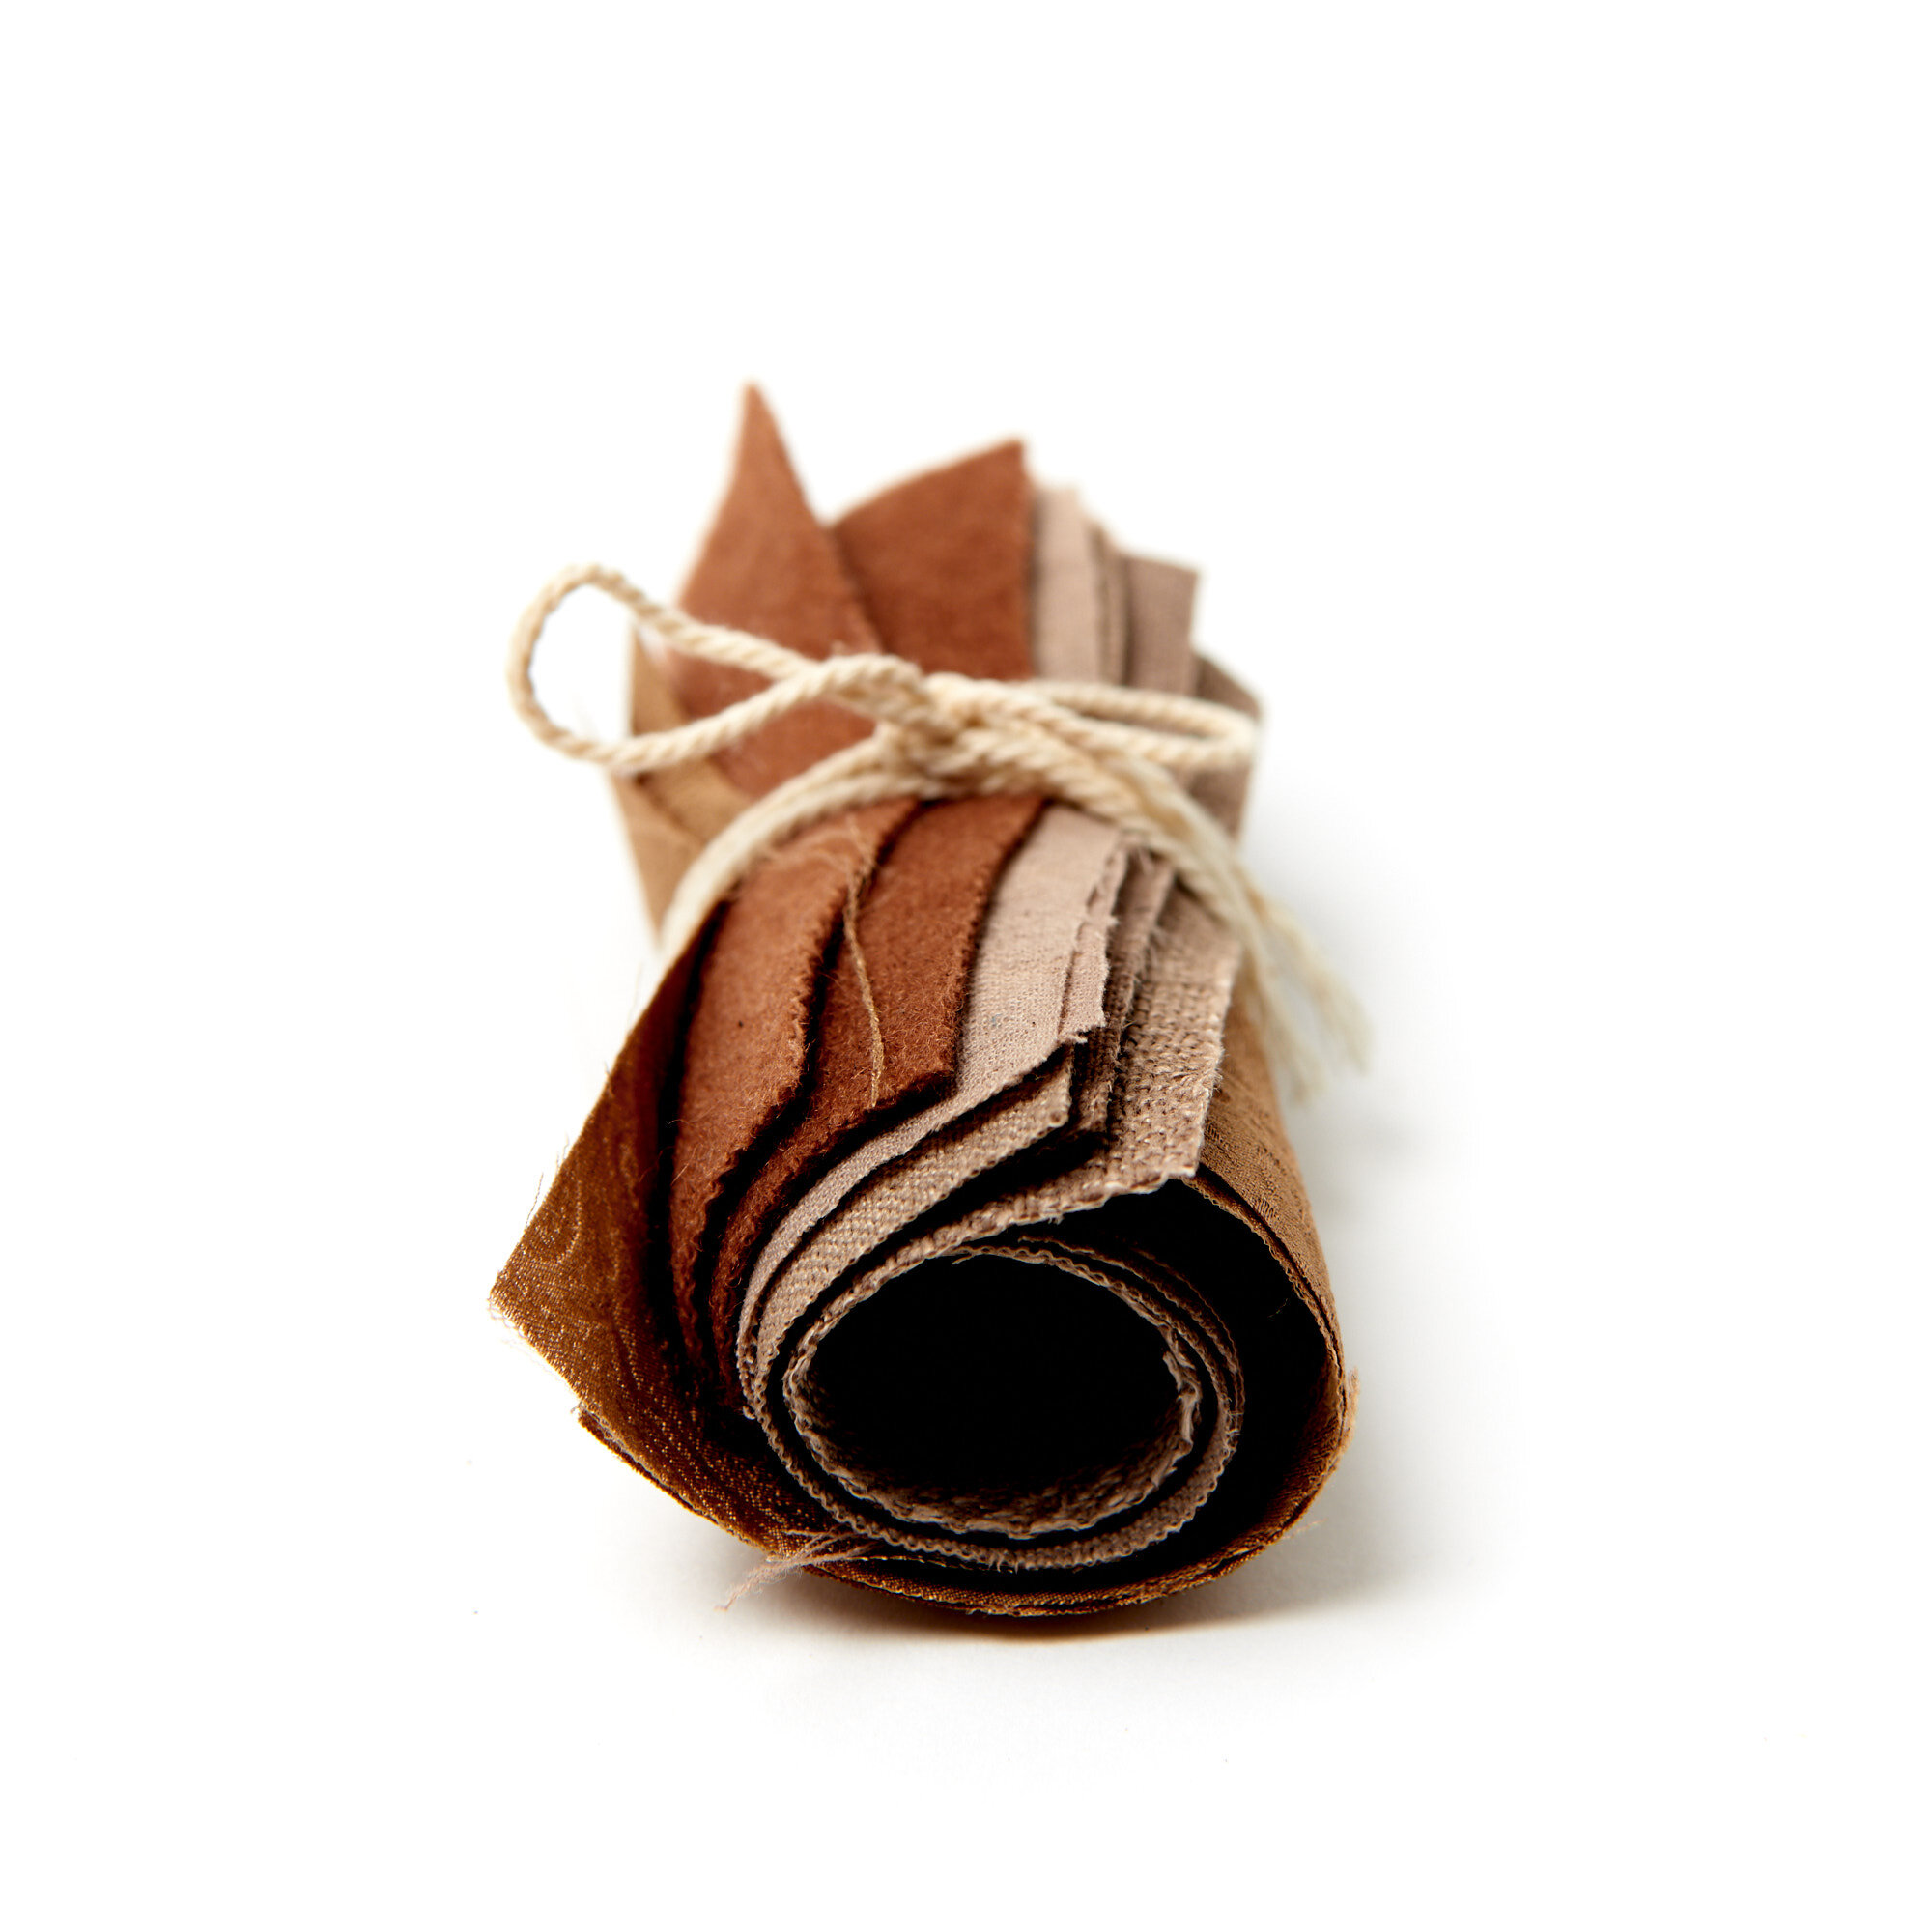
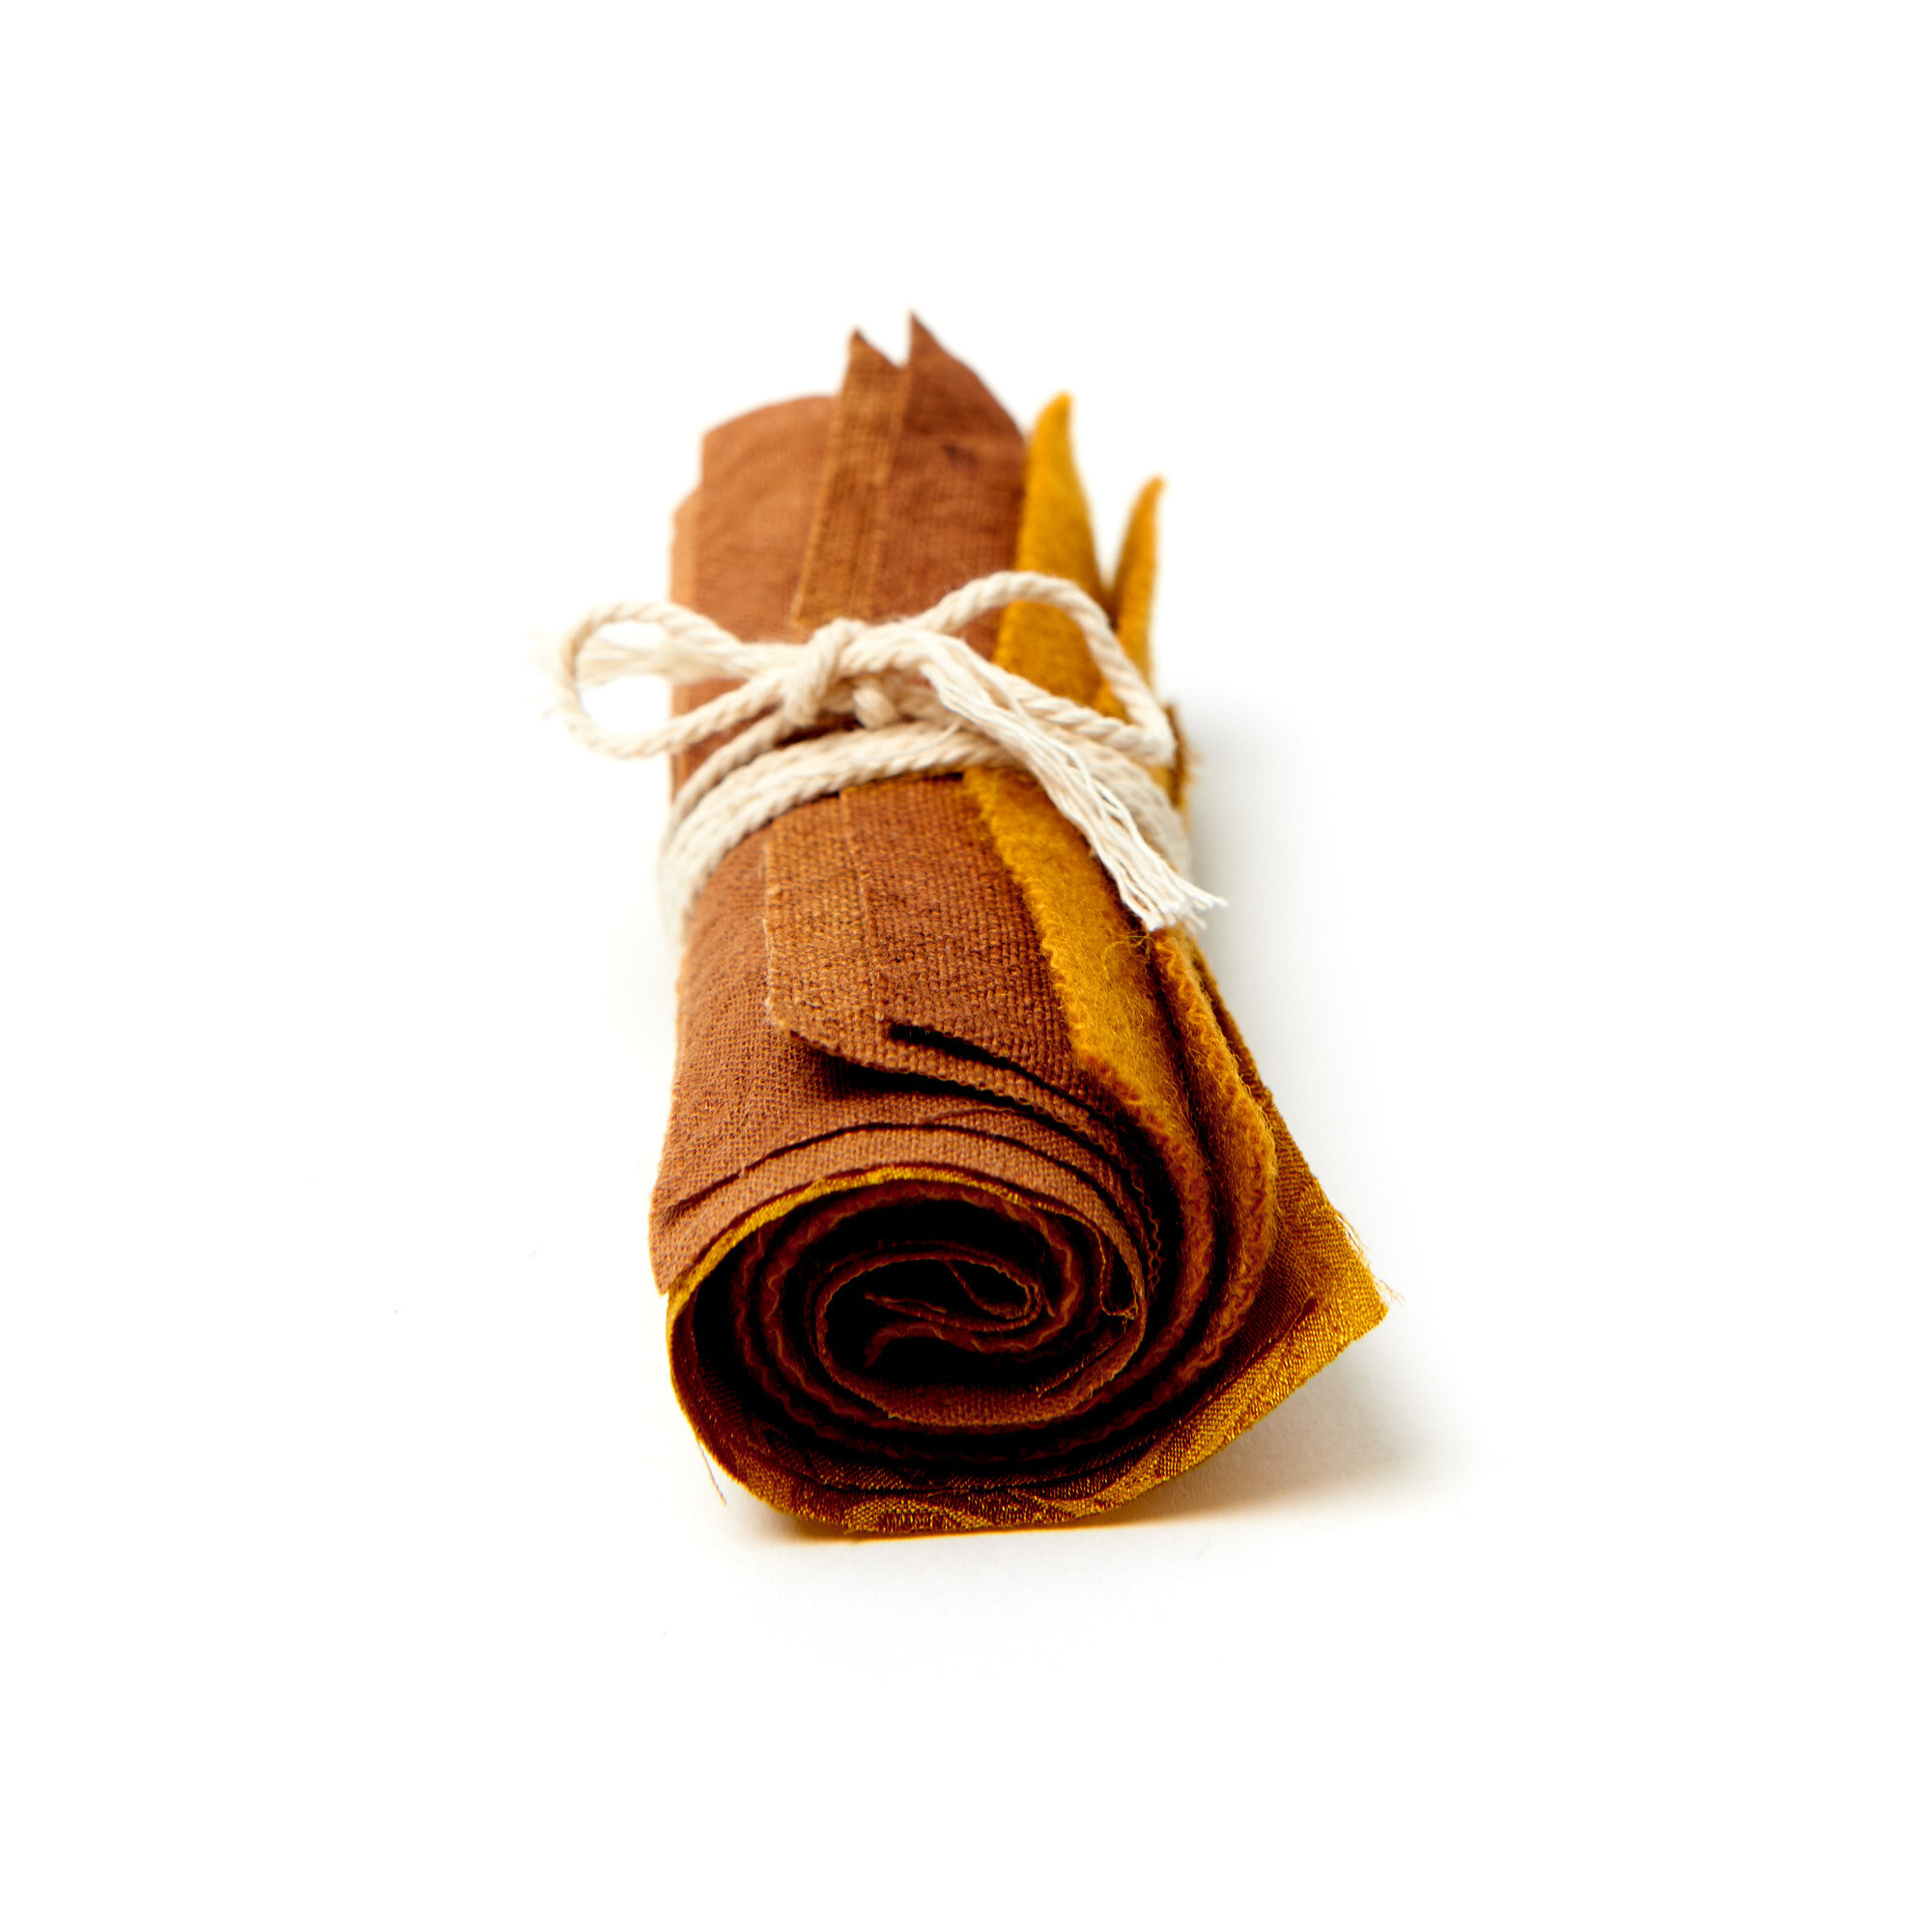
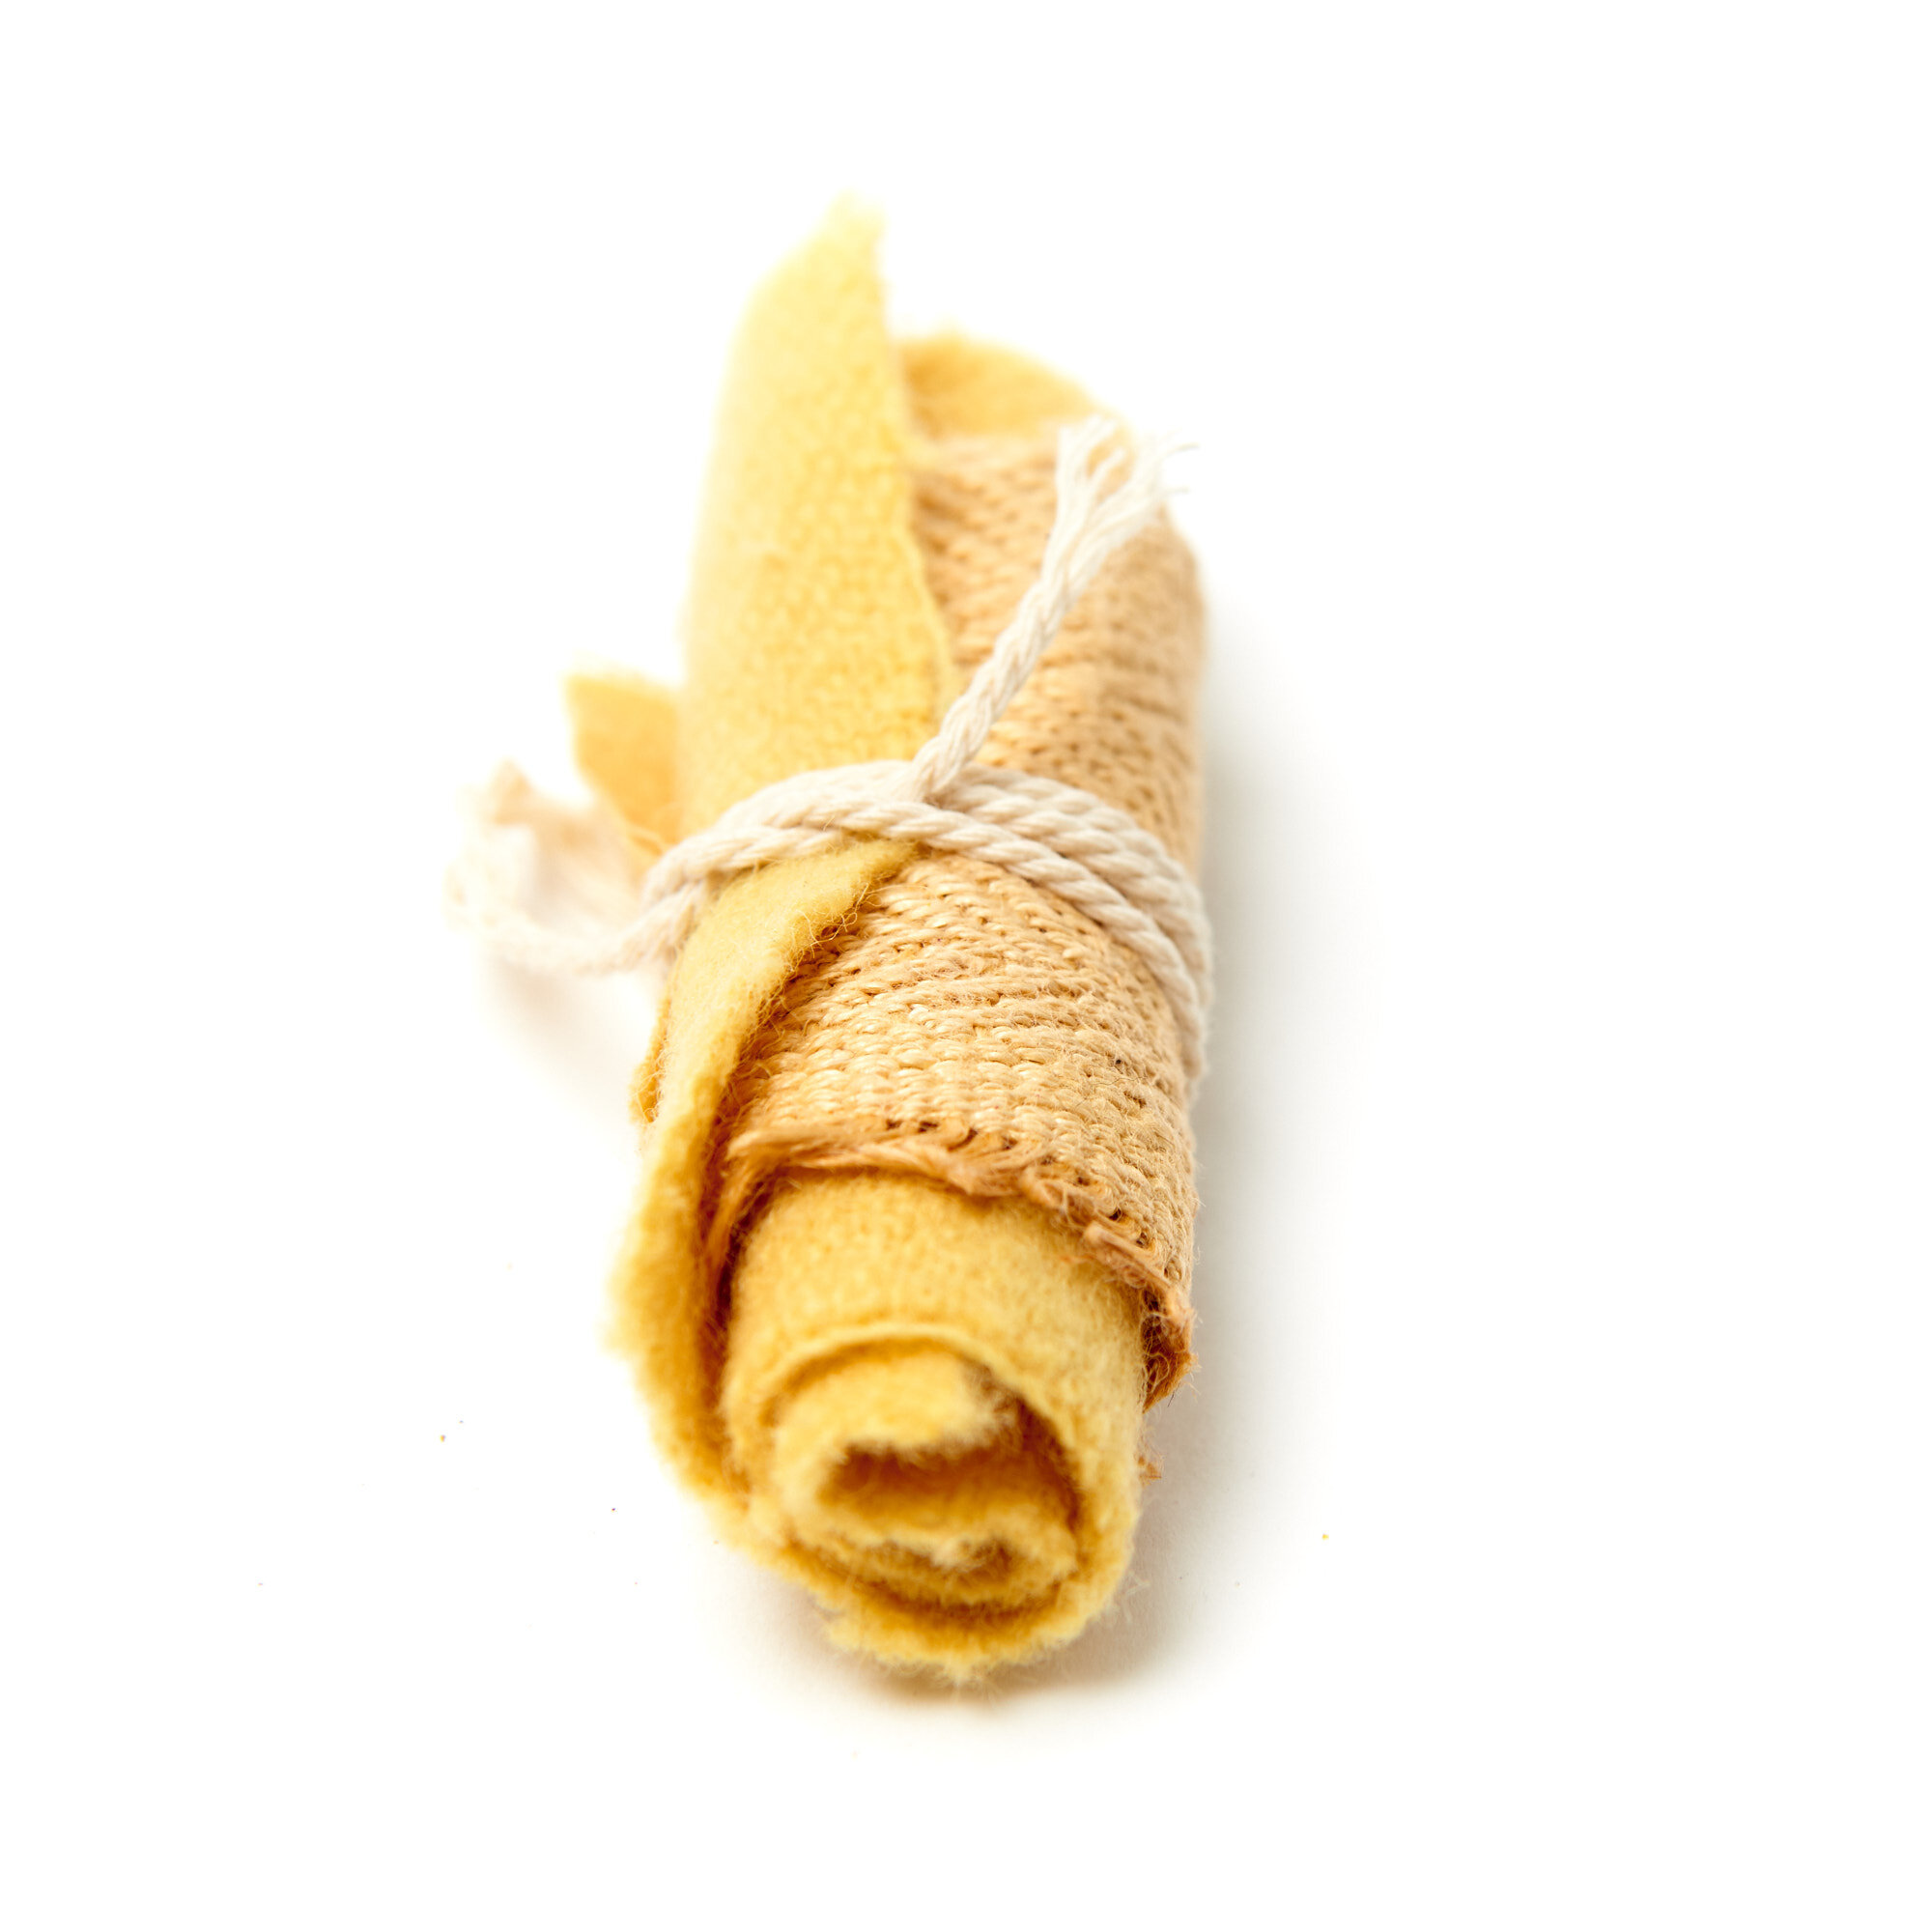
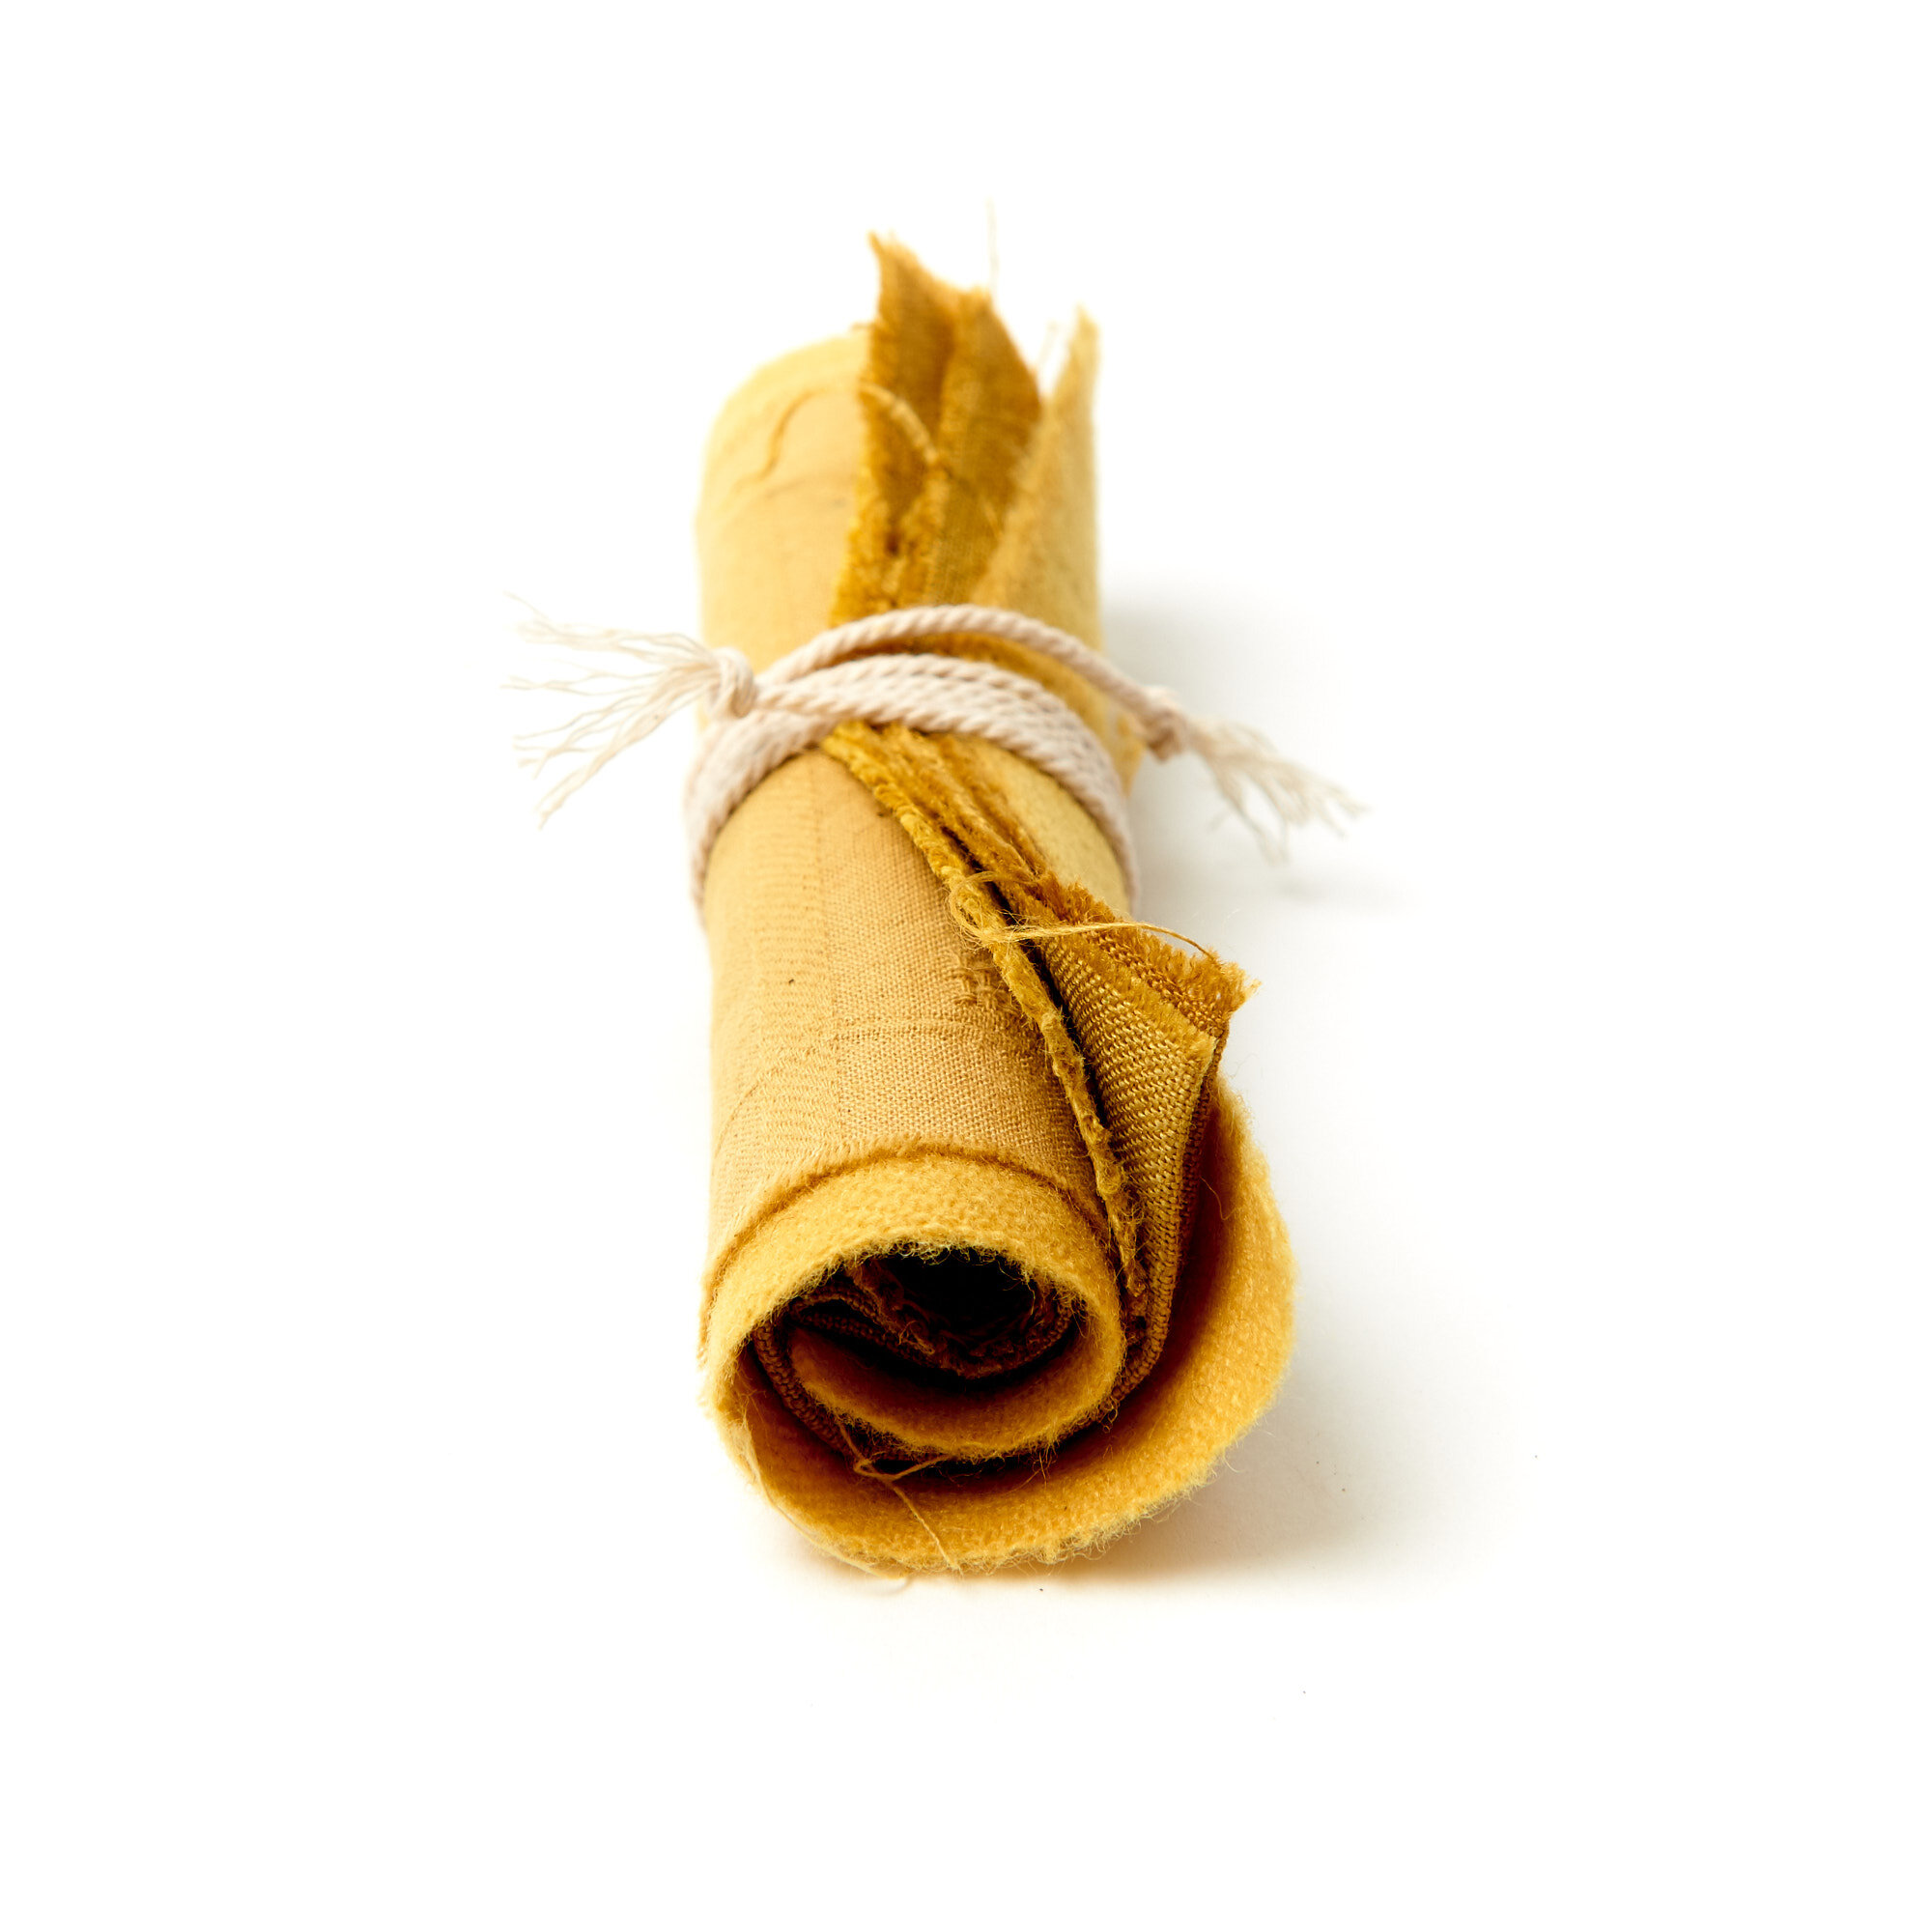
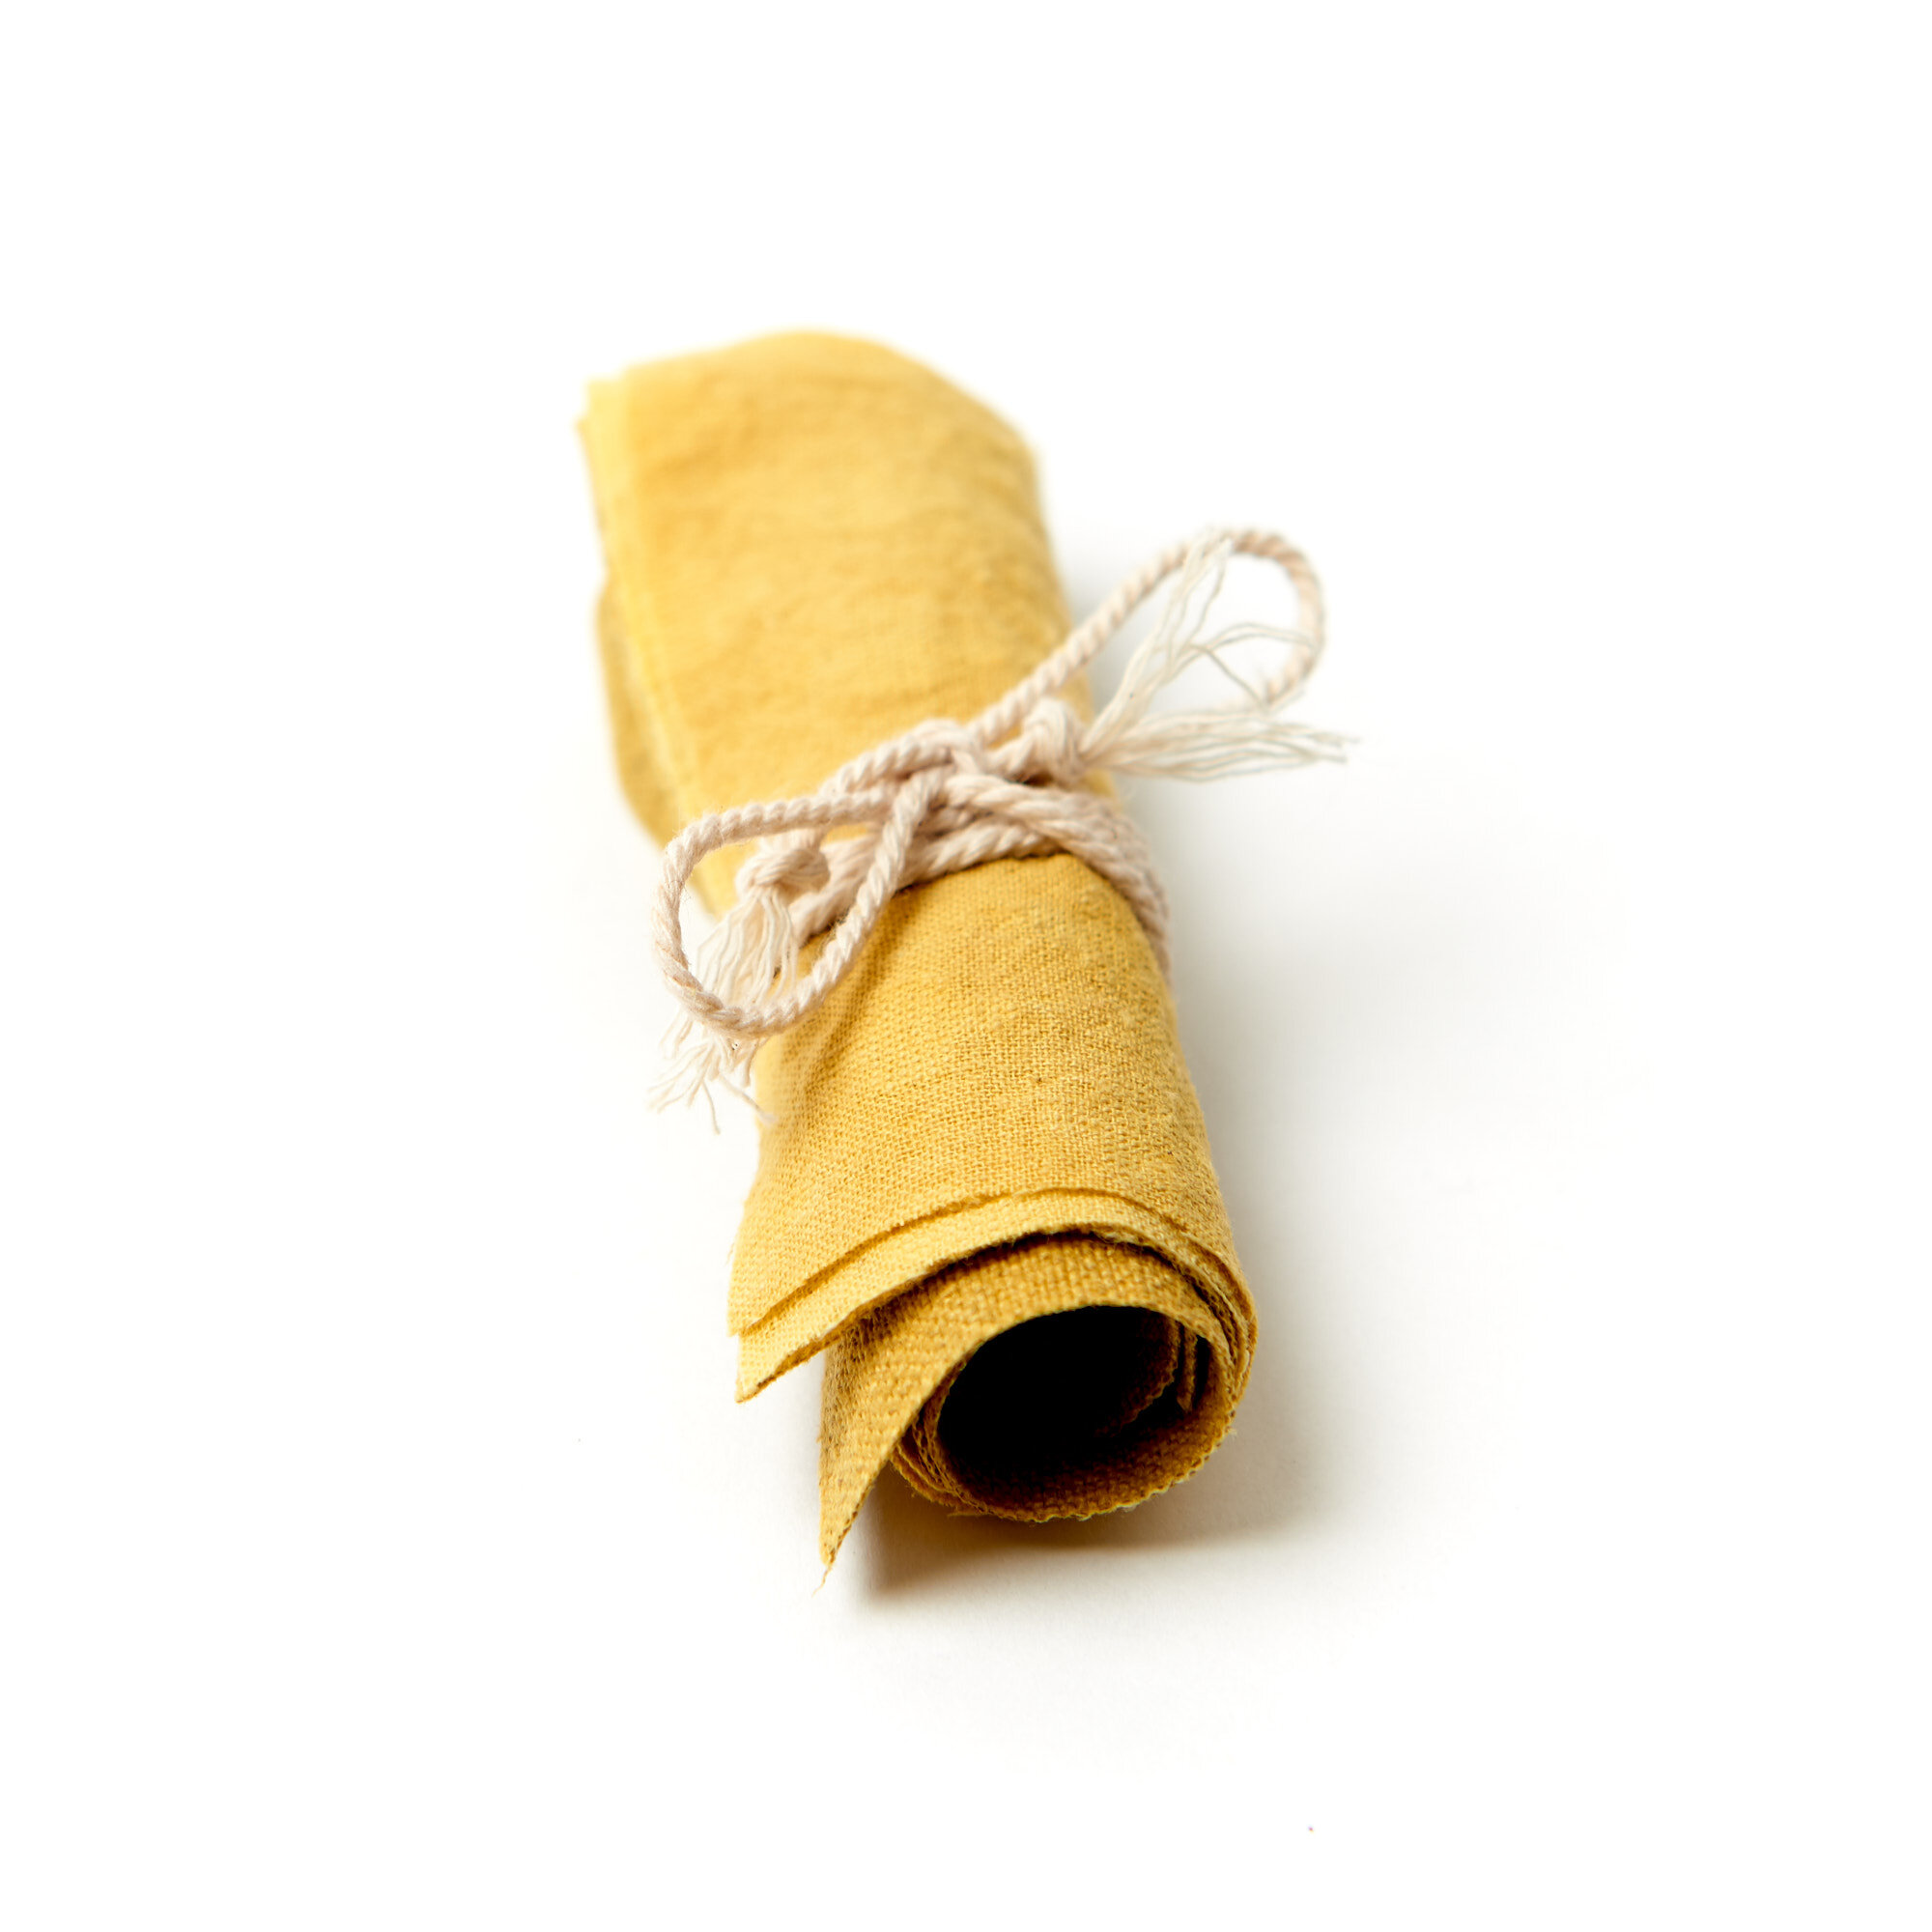
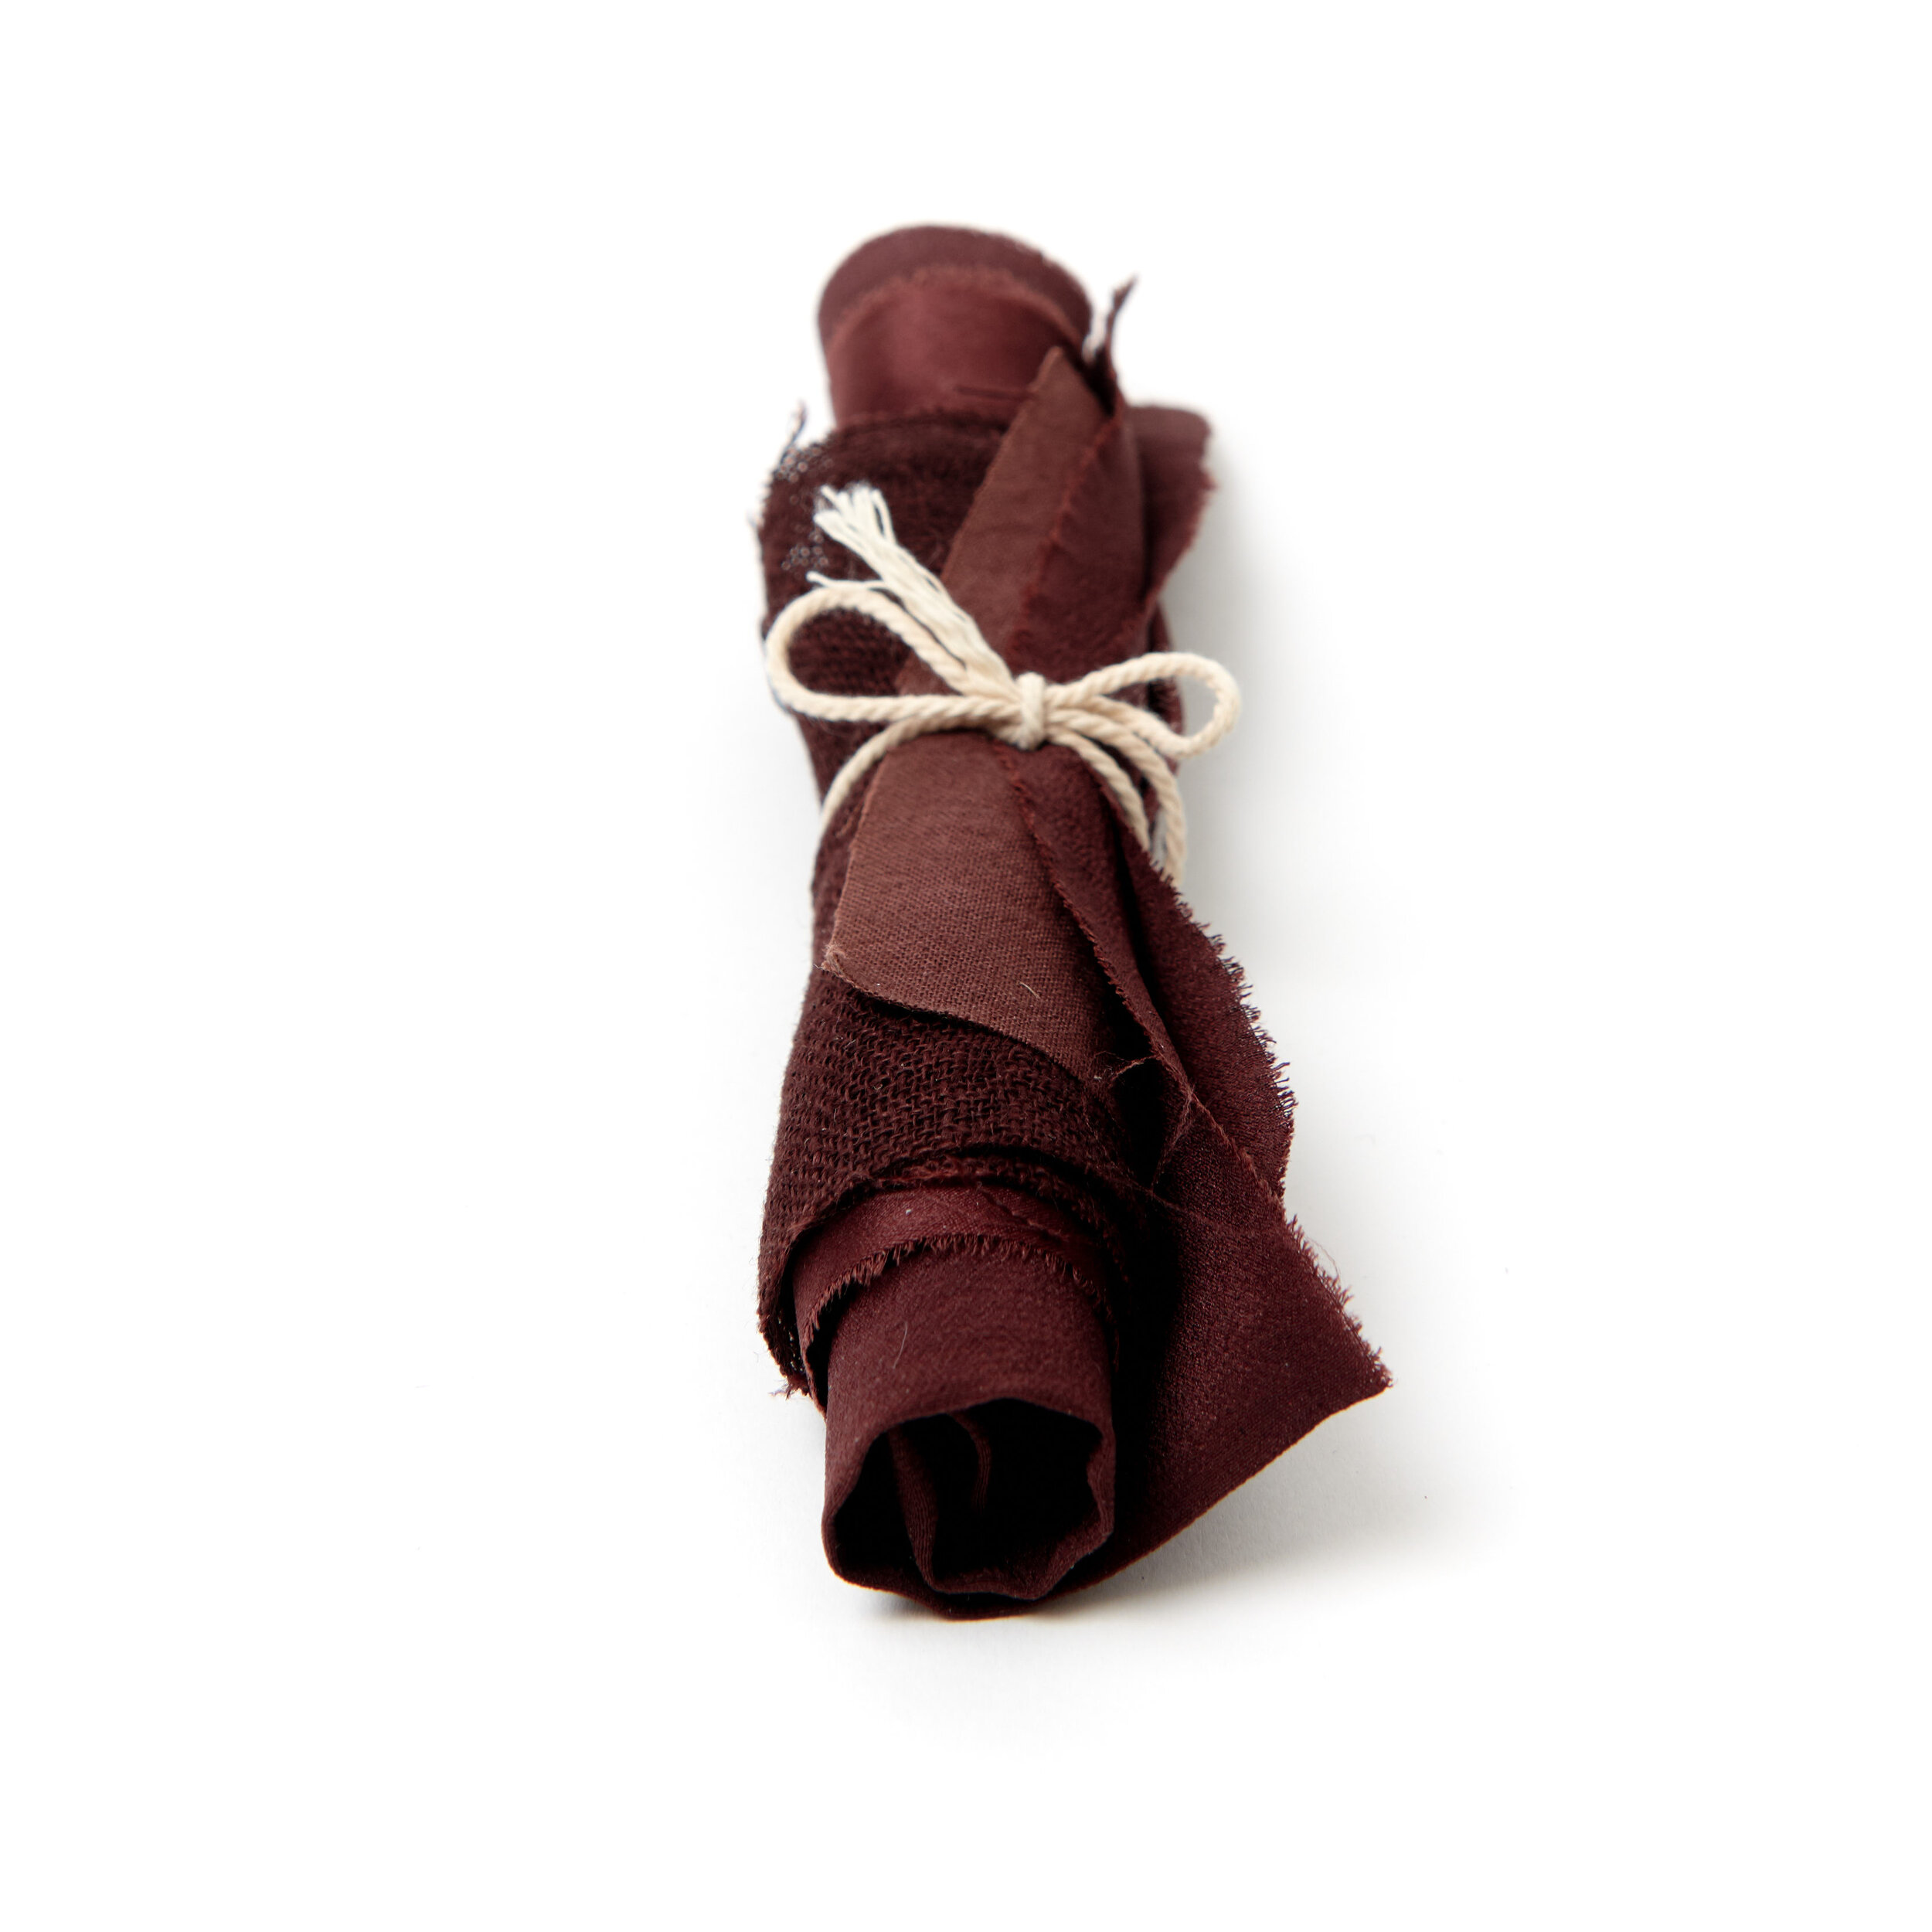
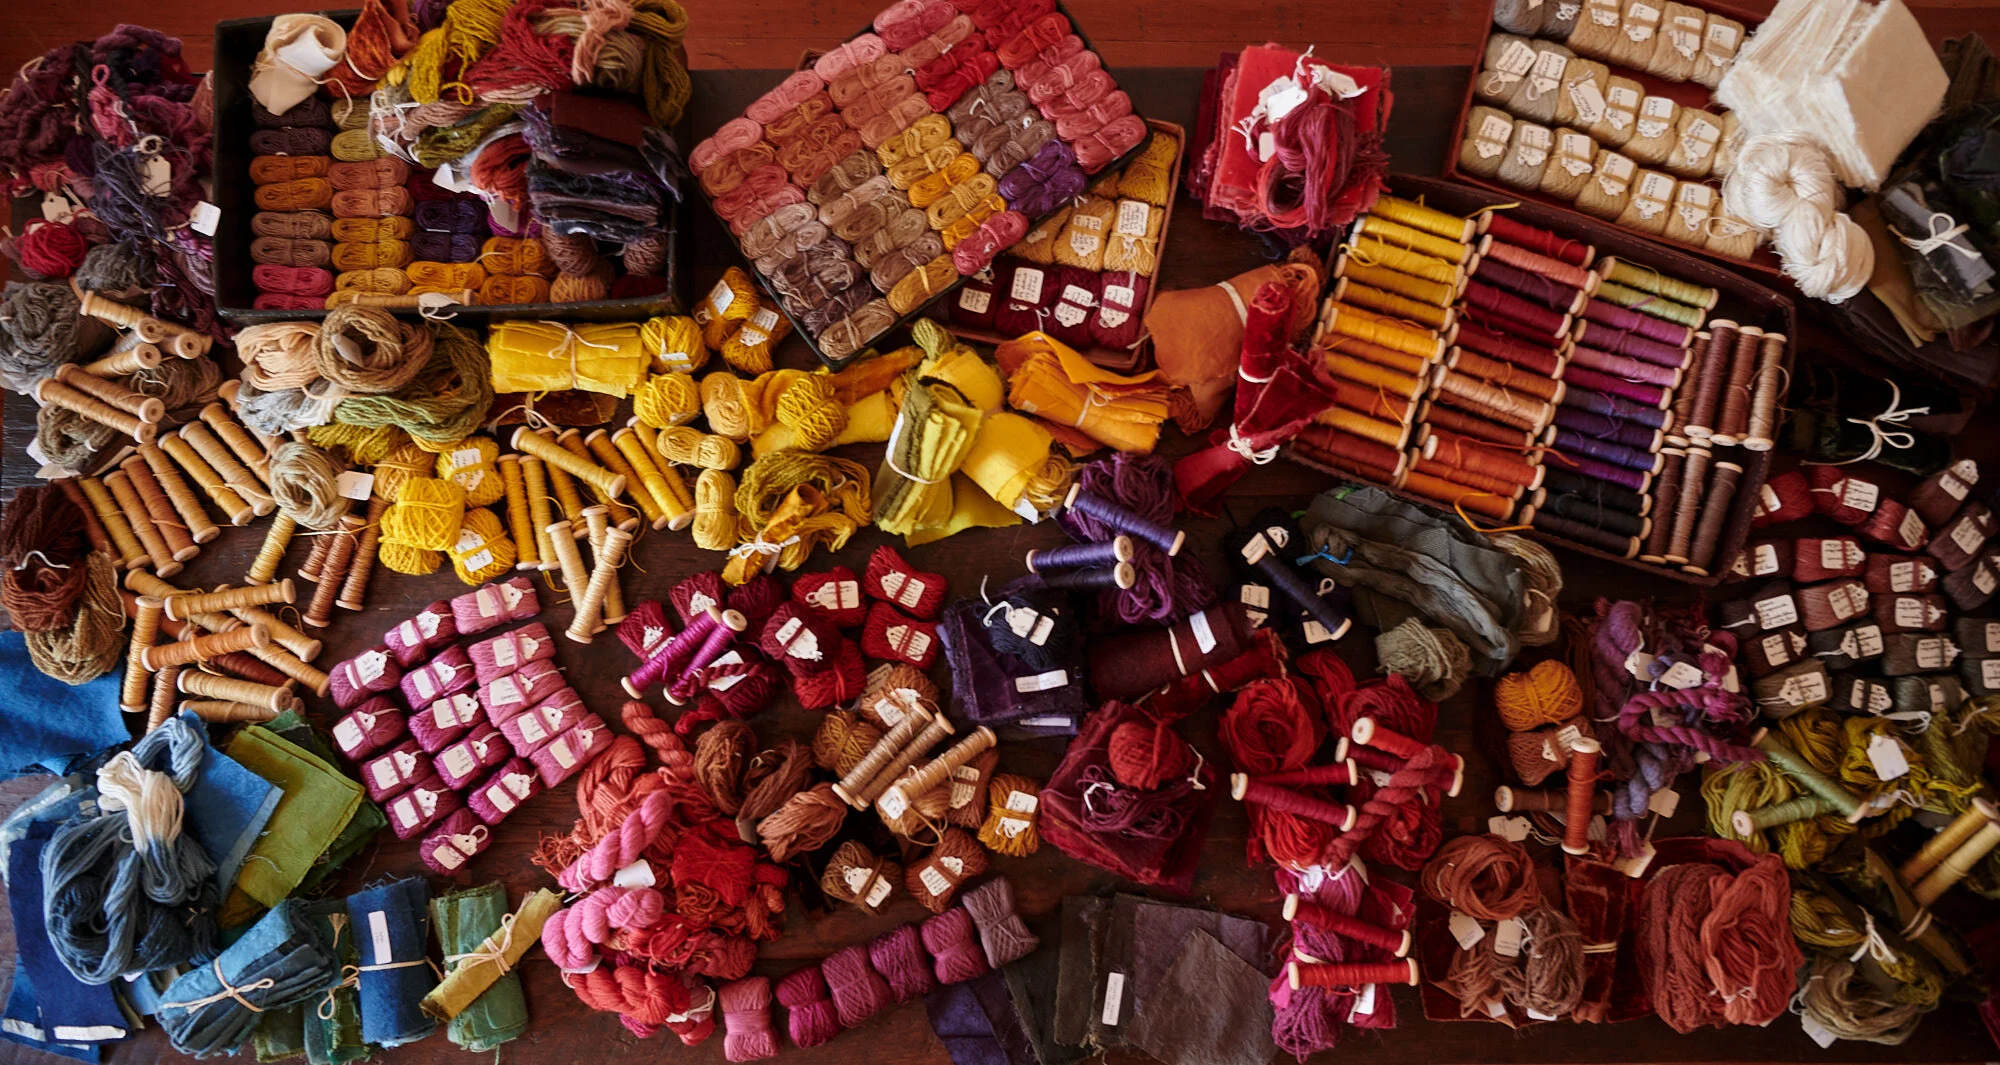
Some colour from natural dyes …